
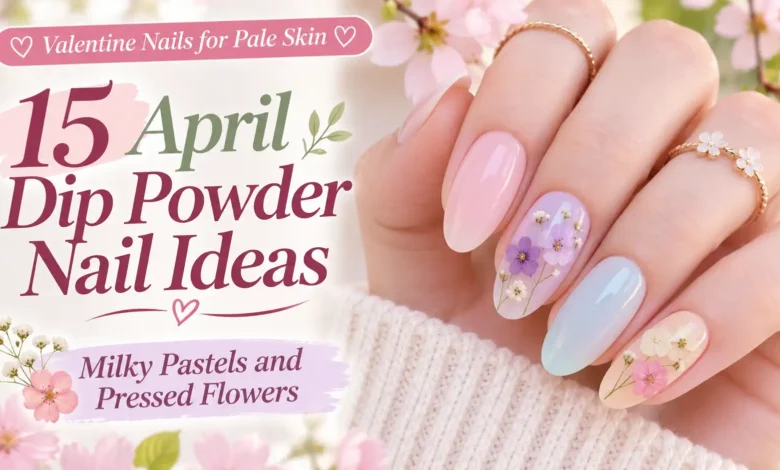
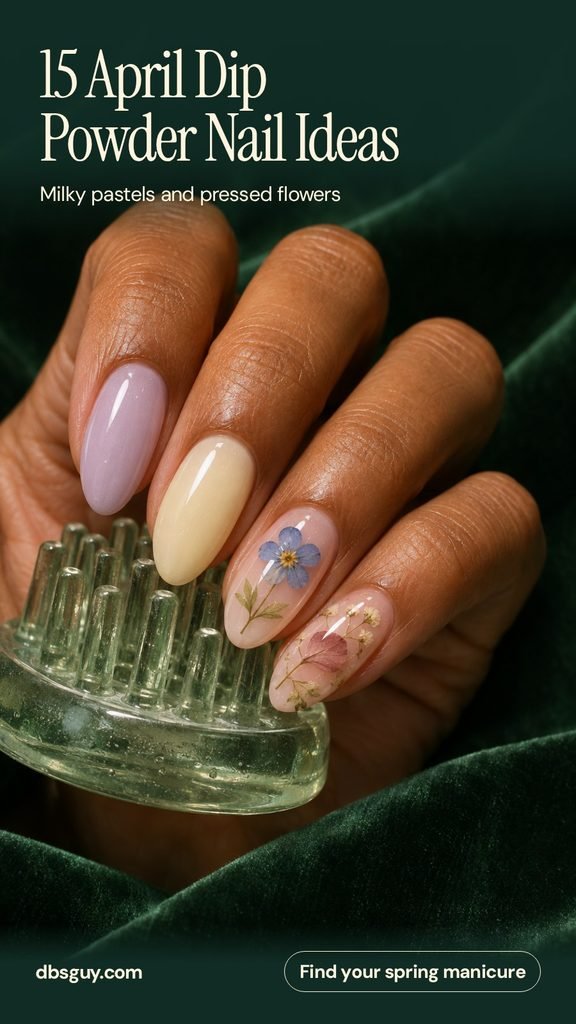
If you wear your nails short, start with a single cream blossom on milky pink. If you want flowers you can see from across the table, try the lilac oval with one oversized purple petal. Like a French manicure? The cornflower tips keep the center sheer and put the petals right at the edge.
When you save a design, tell your nail tech which base color you like, how much natural nail you want showing, and where you want the petals. The images below are AI-generated manicure concepts you can bring along as visual references.
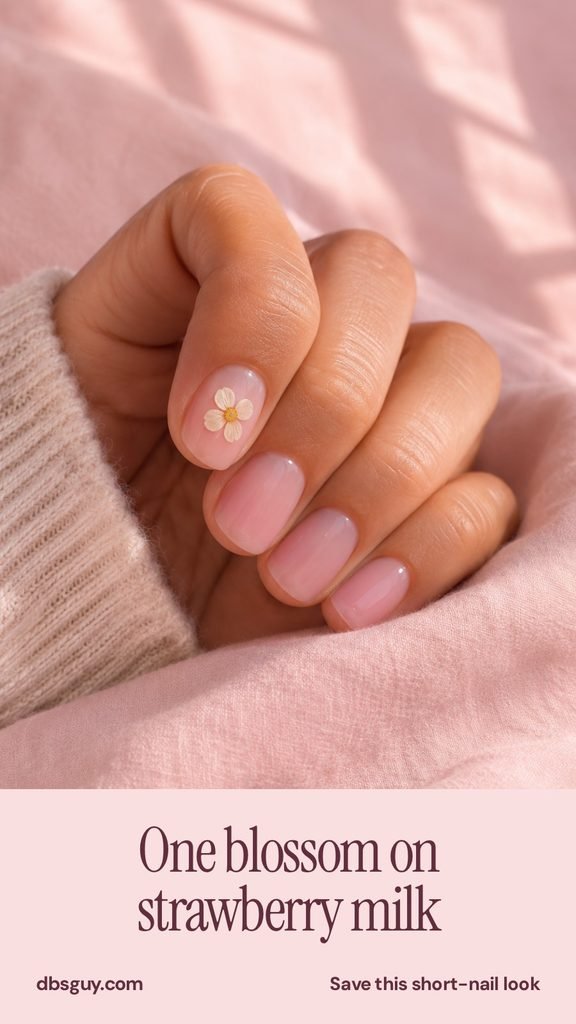
1. One Blossom on Strawberry Milk
Pick this one if you like your nails short enough to type with the pads of your fingers. Choose a strawberry-pink dip sheer enough to let a little of your own nail show. Give one short round nail a single pale pressed blossom with a yellow center. Hold the flower over the nail before committing. You want to see a little pink all the way around it, even at the widest petals.
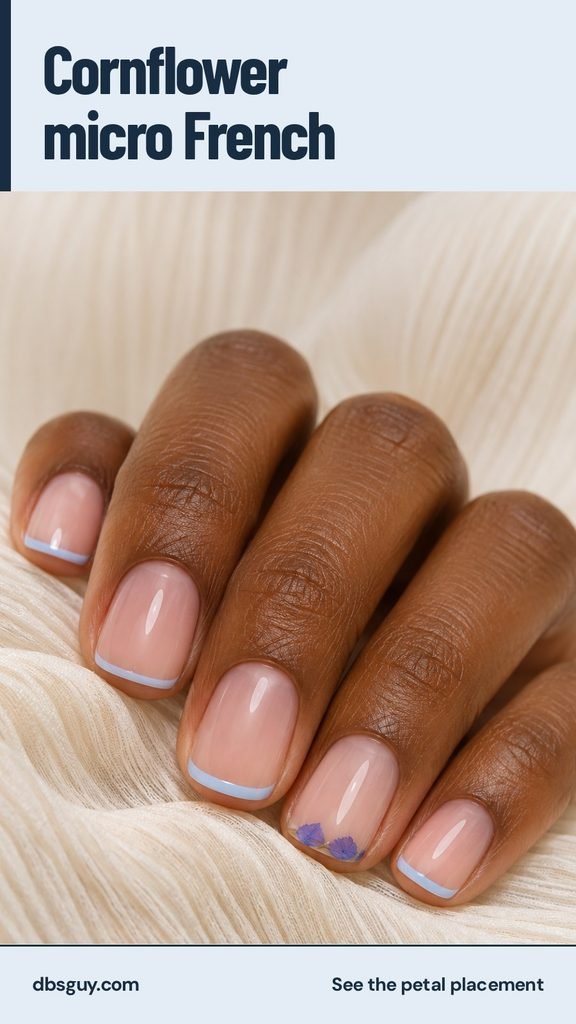
2. Cornflower Micro French Tips
A hairline of sky blue traces the ends of these soft squares. On one nail, let blue pressed-petal pieces interrupt the line like a few loose brushstrokes. Ask for the flakes at the very tip so the sheer pink nail bed stays open. If you wear your nails almost flush with your fingertips, two small pieces in one corner will still give you the idea.
3. An Apricot Half-Moon of Petals
Turn a reverse French manicure into a loose crescent of coral petals. The curve follows the base of one apricot nail, with a sliver of peach showing between the art and the cuticle. Space the pieces far enough apart to see the curve. For a narrower nail, stop the crescent a little sooner on each side.

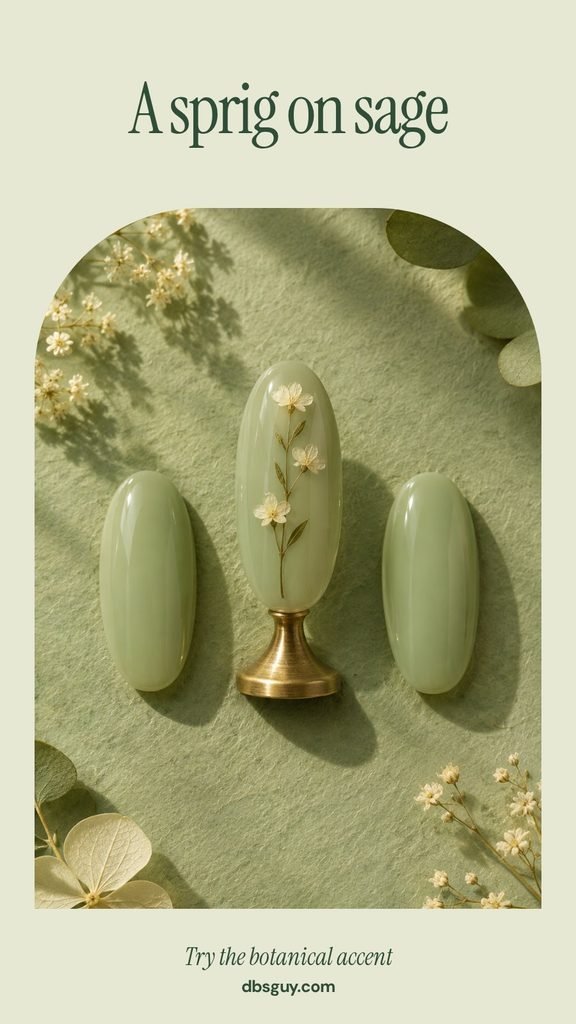
4. A White Flower Sprig on Milky Sage
Use a whole stem for this one. A green stem with a few ivory blossoms fits the long axis of an oval nail, much like a sprig pressed between the pages of a book. Set it a touch off-center so the fine branches show. For a short oval, use the flowering top of the sprig and shorten the bare stem. A muted base makes the white blooms easy to pick out. Explore more shades in our guide to sage and mint spring nails.
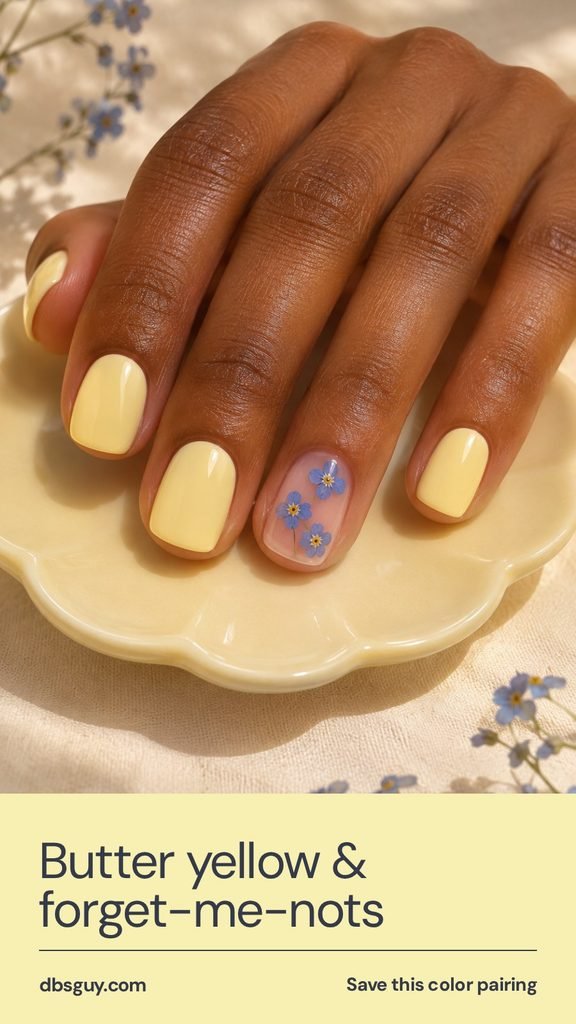
5. A Forget-Me-Not Window in Butter Yellow
Give the yellow its own space. Ask for creamy butter dip on the solid nails and a sheer blush base for the blue flowers on the accent. That change in opacity makes the flowers look as though you are seeing them through a little window. Choose this over an all-yellow set if you want one nail that shows some of your natural color.
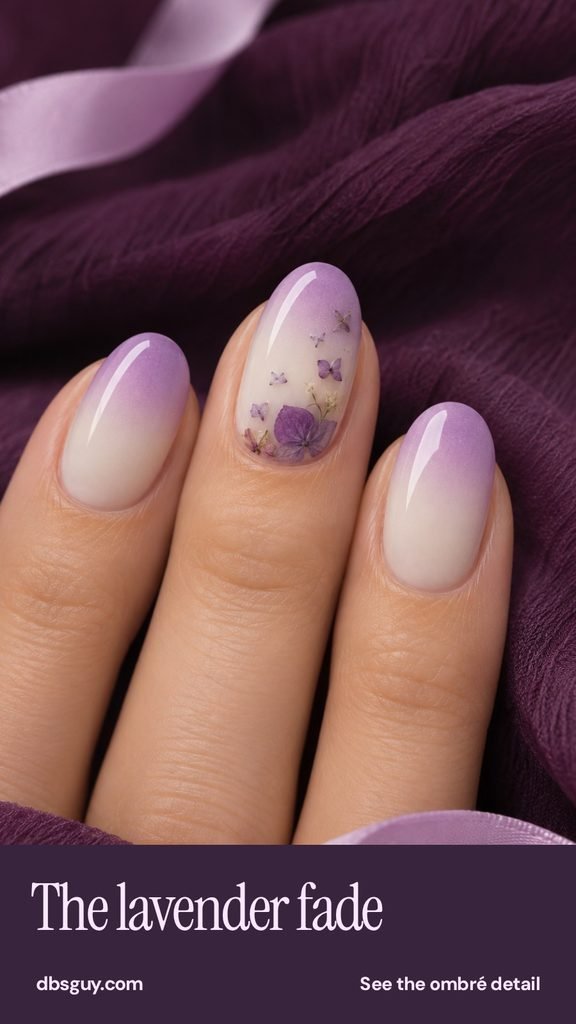
6. A Lavender Fade With a Violet Flower at the Base
Two details work in opposite directions here. The dip fades from milky ivory at the base to lavender at the tip. On the accent nail, a deeper violet flower sits low against the ivory, with a few fragments trailing toward the tip. Ask to see the ombré on a sample first. You want enough light space around the flower to see the shape of its petals.
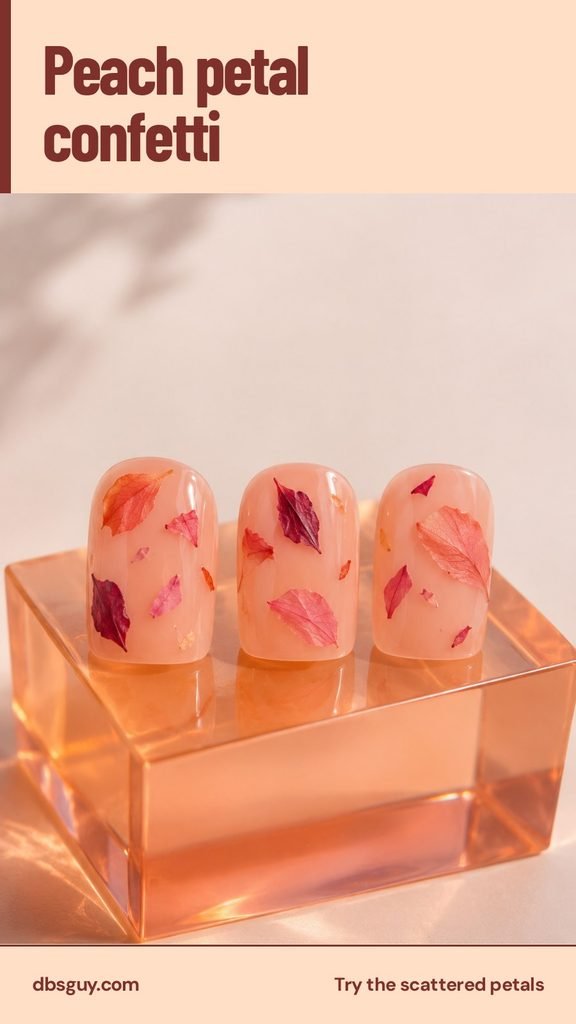
7. Peach-Milk Petal Confetti
Torn petals make wonderful use of the small bits left in a dried-flower packet. Pick coral, dusty pink, and one darker berry shade, then scatter the pieces across a peach-milk base. Vary their sizes and leave peach visible between them. The tiniest dark specks give a short squoval nail plenty of detail, even when there’s no room for a whole blossom.
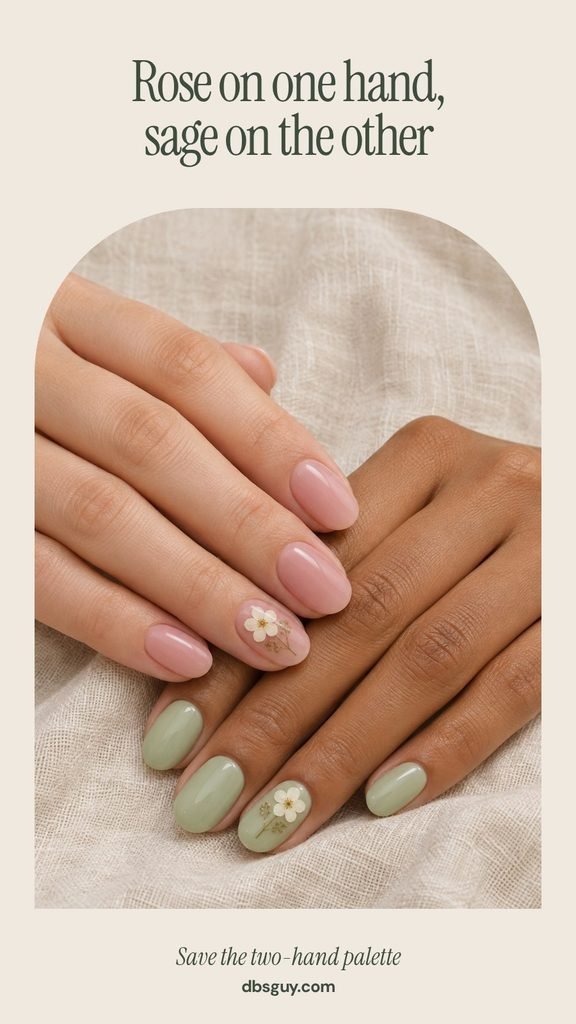
8. Rose on One Hand, Sage on the Other
For a two-color set, try giving each hand its own shade. Soft rose goes on one and milky sage on the other. Repeat a small white pressed blossom on an accent nail of each hand so the two colors look like a pair when you wrap your fingers around a cup. Match the milkiness of the pink and green swatches for a quieter finish.
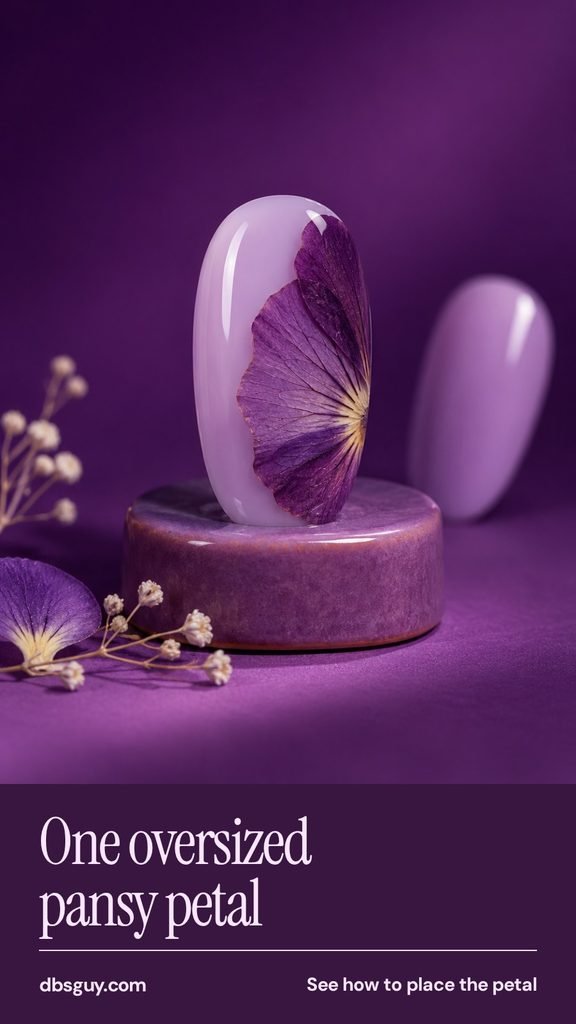
9. One Oversized Pansy Petal
Choose a single purple pansy petal with visible veins. It can fill nearly half a lilac oval, as if the nail were a close crop of a much bigger flower. Position the veined part first and trim the outer edge to fit the nail. This is a good design to show your nail tech in close-up, since the petal you choose changes the whole print.
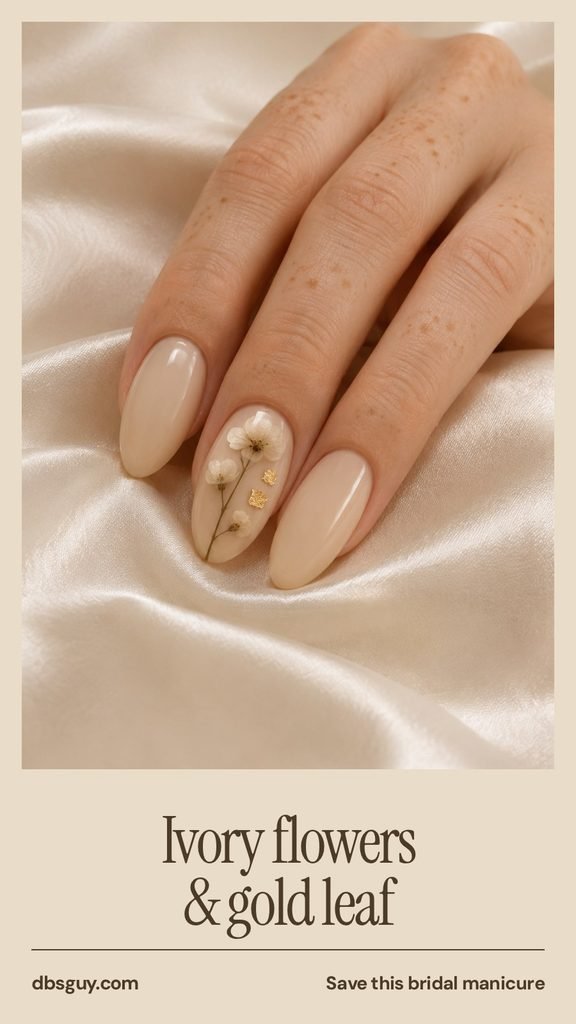
10. Oat Milk, Ivory Blossoms, and Gold Leaf
For an April wedding, try one small ivory floral spray over an oat-colored base. A couple of irregular gold-leaf flecks beside the stem catch the light when your hand turns. Keep the gold clear of the blossoms so their outlines survive in close-up pictures. Hold a cream swatch and a beige swatch beside the dried flowers to see which one gives their pale edges more definition.
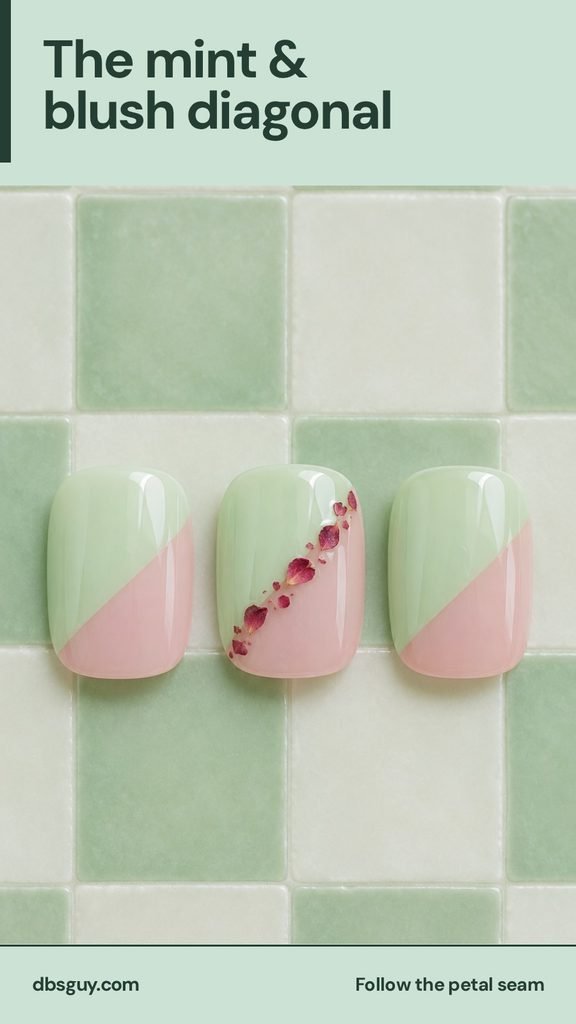
11. A Petal Seam Between Mint and Blush
Divide a soft square diagonally into milky mint and sheer blush. On one accent nail, run tiny rose-colored fragments along the dividing line. You can leave little gaps between the petals because the color change underneath already draws the diagonal. For the cleanest salon reference, point out which corner is mint and ask for the same orientation on the neighboring nails.
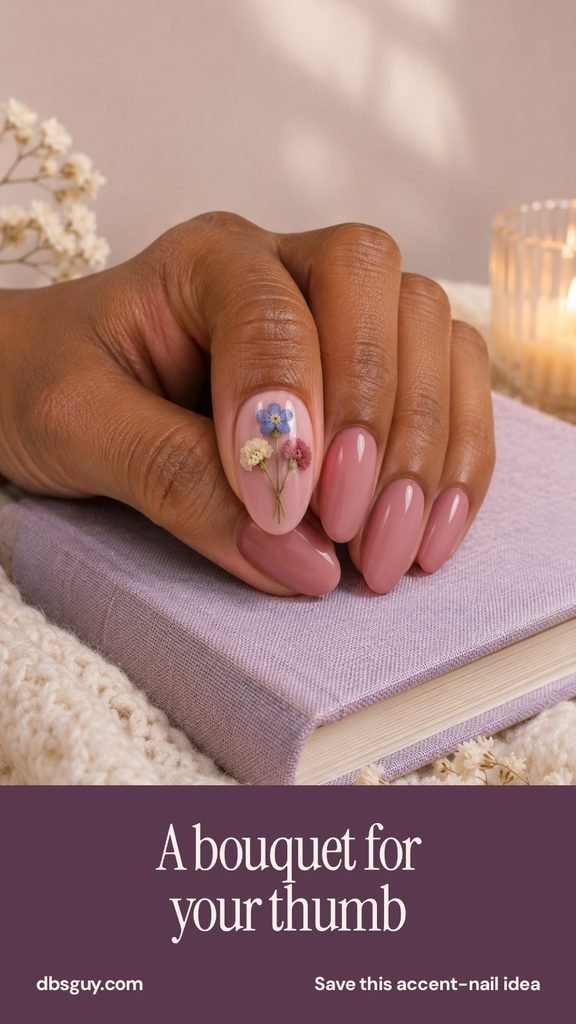
12. A Miniature Bouquet on the Thumb
Give the bouquet the widest canvas on your hand. On a dusty rose thumb, gather little blue, cream, and rose blossoms so their fine stems meet at one point. The other nails can stay plain, which makes the bouquet a small surprise when you pick up a book or hold out your hand. If your thumb is short, ask for shorter stems and keep the flower heads full.
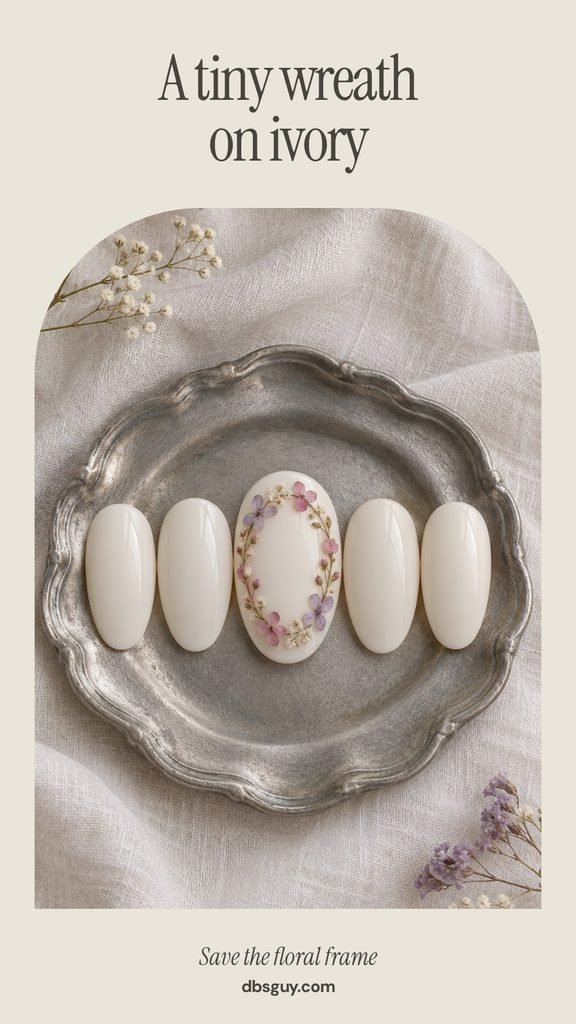
13. A Pressed-Flower Wreath on Ivory
Frame one oval nail with little pink and lilac pieces. Follow its outline just inside the edges, leaving an unbroken patch of milky ivory in the center. That patch is what makes the wreath readable from a distance. Ask your nail artist to lay out the top and bottom of the oval first. If the middle looks crowded, smaller fragments will preserve its shape.
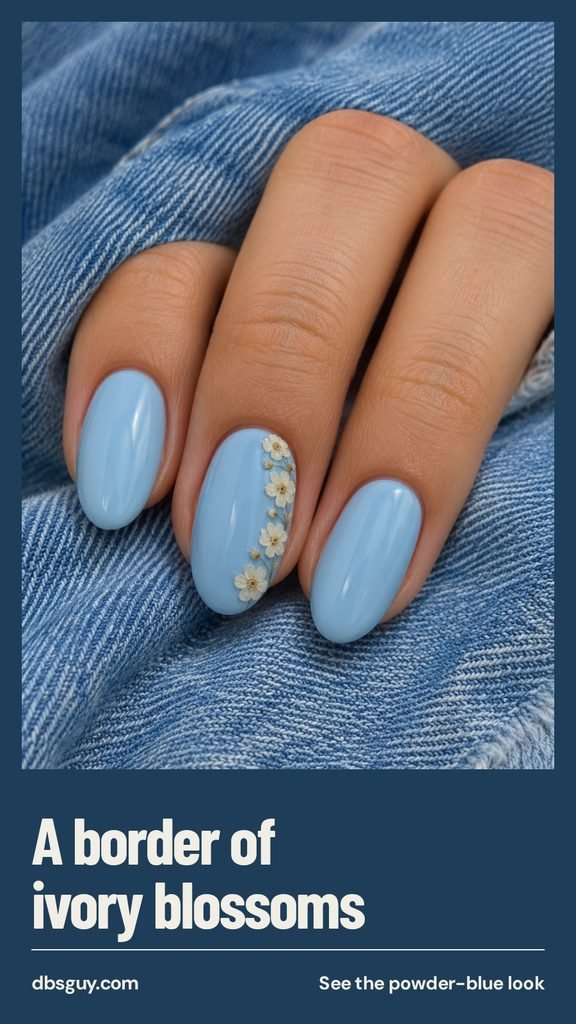
14. An Ivory Flower Border on Powder Blue
If you like an all-blue manicure, save the flowers for one side of a single nail. Tuck a narrow trail of ivory blossoms just inside a long edge, leaving a broad strip of powder blue beside it. On a shorter nail, keep the same border width and use fewer flowers. Widening the strip would turn this delicate line into a patch.
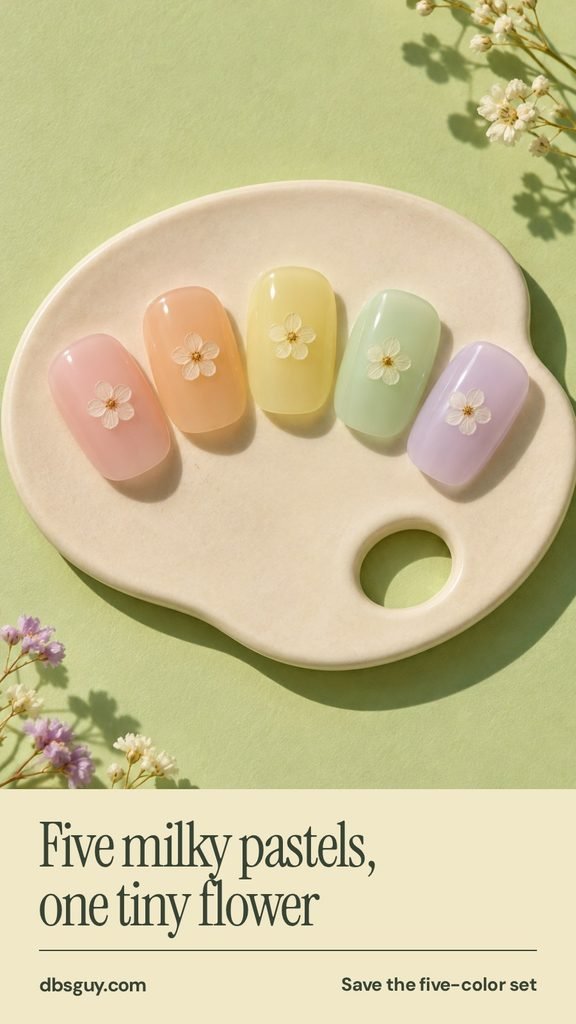
15. Five Milky Pastels With a Flower on Each
Line up blush, apricot, butter yellow, mint, and lilac swatches in that order. Look at them together before assigning one shade to each finger. If one looks much chalkier than its neighbors, try a sheerer version of that color. Repeating one small white flower across all five shades gives the palette a rhythm, and it saves you from choosing a favorite pastel.
Taking a pressed-flower design to the salon
How do I ask for pressed flowers in a dip manicure?
Say, “I’d like a milky dip base with flat, dried nail-art flowers sealed under clear dip.” Before booking, ask whether your tech offers this service and has the flower colors in your reference. If you do your own dip, Revel Nail’s dried-flower tutorial shows where the flowers and clear powder go in its system. Follow the sequence for the liquids and powder you use.
How sheer should my milky base be?
Hold the finished color swatch over your own nail. For the butter-yellow window, you should still be able to see some natural pink through the accent. For the ivory wreath, choose enough coverage to make a quiet, even center. To compare two similar bases, lay a spare petal on each swatch and look at them in daylight.
What if the pressed flower is too large or curls up?
Lay it against a sample tip with a curve like yours before applying dip. If the center sits flat but an outer petal sticks out, separate that petal or use a smaller blossom. For a curved nail, the confetti design lets you use pieces that fit. A flat arrangement gives your nail tech a smoother shape to seal.
