21 Valentine Gifts for Students From Teachers That Are Easy to Make for the Whole Class

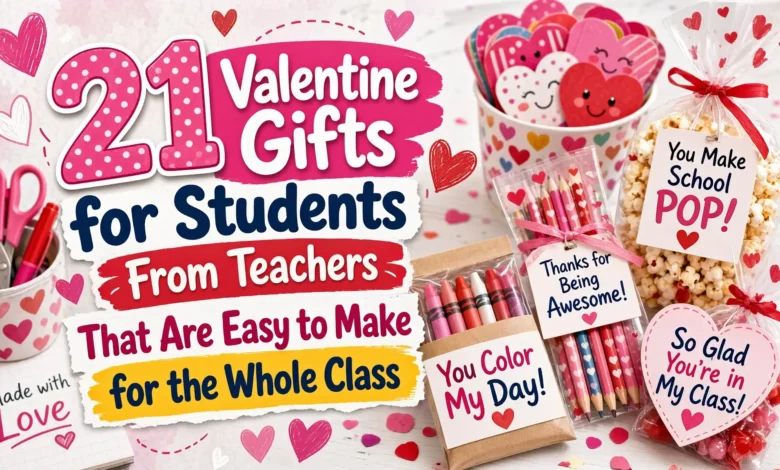
A pencil in a paper heart, a tiny sketchbook, or a note that names something you appreciate about a student can make a thoughtful Valentine without turning your week into a craft marathon. For a whole class, choose one gift you can assemble in stages, then add the same warm greeting to every copy.
These 21 Valentine gifts for students from teachers include fully handmade paper gifts and simple assemblies around store-bought supplies. Start with the bookmark, sticker pocket, or personal note if you want very little prep. Choose a paper game or craft kit when you want the gift to give students something to do afterward.

The images are AI-generated concepts showing the gift designs, not photographs of classroom-tested projects. Use the written measurements and your actual supplies when assembling them.
Plan one gift your whole class can receive
Check the roster, celebration date, school gift rules, and students’ material needs before buying supplies. Make one gift per student plus two spares. For a class of 28, that means 30 finished gifts—not 30 multipacks. Keep the gifts comparable, and set aside copies for students who are absent.
All the ideas below are nonfood, but that does not make every material suitable for every child. Check the school’s allergy plans and use approved supplies. CDC’s school food allergy guidance emphasizes planning to prevent and respond to reactions. Keep ingredient and warning labels available on purchased supplies; check paint, adhesives, and other craft materials too.
Follow each product’s age guidance. Small parts are unsuitable for children younger than 3, and older students may also need larger pieces or different materials. The grade suggestions below describe the activity’s complexity, not a substitute for product labels or individual accommodations. Adults should do the slit cutting. Offer precut pieces, broad crayons, or help with writing when needed.
Choose by the work involved: bookmarks, notes, coupons, and reading cards use little assembly. Pencils, stickers, erasers, paint sets, and bubbles need purchased supplies. Weaving, mosaics, chains, crowns, and paper desk companions make gifts students can finish themselves.
1. Slip a pencil through a paper heart
A useful classroom supply feels like a gift when the packaging is part of the design. Use a broad cardstock heart, roughly 4 inches across, with “Keep creating!” written in the middle.
For each student, gather one unsharpened pencil and one heart. An adult cuts two horizontal slits, one above and one below the message, just wide enough for the pencil. Thread it through so the message stays visible. Try one with your actual pencil before cutting the rest; oversized slits let the heart slide.
For 30 gifts, cut all 30 hearts first, write the messages, then thread the pencils. Kindergarten through fifth grade is a useful starting range, with the pencil size chosen for your students.

2. Make a flat reading bookmark
Cut cardstock into 2-by-6-inch rectangles. Add a small heart at the top and a reading message below it: “Your next adventure awaits.” Leave the back blank for a student’s name or a tiny drawing.
Skip tassels and raised decorations so the bookmark lies flat inside a book. A strip of colored paper along one edge gives it a finished look without another assembly step. Lamination is optional; ordinary cardstock is enough for this version.
Arrange five horizontal 6-by-2-inch rectangles on a US letter-size sheet. Six sheets make 30 bookmarks. This works across elementary grades; use shorter text and a larger picture for beginning readers.

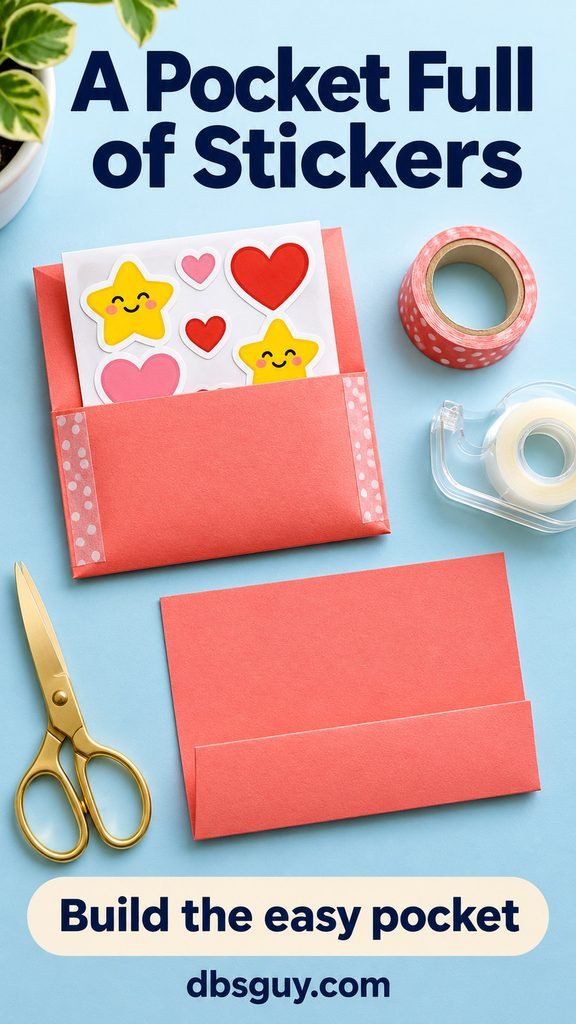
3. Fold a pocket for a sticker sheet
This pocket gives stickers a little presentation without individually peeling or sorting them. Start with a 4-by-6-inch paper rectangle, positioned vertically. Fold the bottom 2 inches upward and tape the two side edges, leaving the top open.
Slide in one small intact sticker sheet with its backing attached. Test the pocket first: a sheet wider than the opening will need a larger paper rectangle. Write a greeting on the front before filling it, while the paper is still flat.
For 30 students, count 30 usable sticker sheets, not 30 individual stickers, unless you plan to divide sheets evenly. Broad, easy-to-peel stickers suit younger elementary students better than tiny intricate ones.
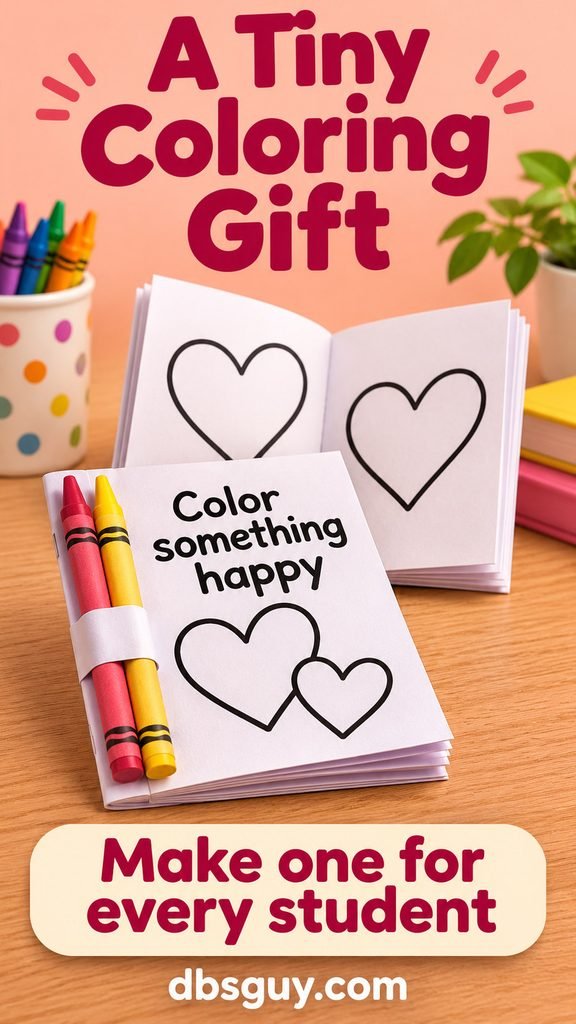
4. Bundle a coloring booklet with two crayons
Make a small booklet with two sheets of paper, each cut to 5½ by 8½ inches. Nest them, fold them together across the middle, and you have eight small pages counting both sides. Draw or print simple outlines before folding, checking their orientation on one sample.
Use large hearts, a friendly face, and an open space for the student’s own drawing. Wrap a paper band around the closed booklet to hold its pages and two whole crayons together; slide it off before coloring. No staples are needed.
Thirty booklets require 30 full letter-size sheets and 60 crayons. This is especially adaptable for kindergarten through second grade: larger outlines leave more room for broad marks.
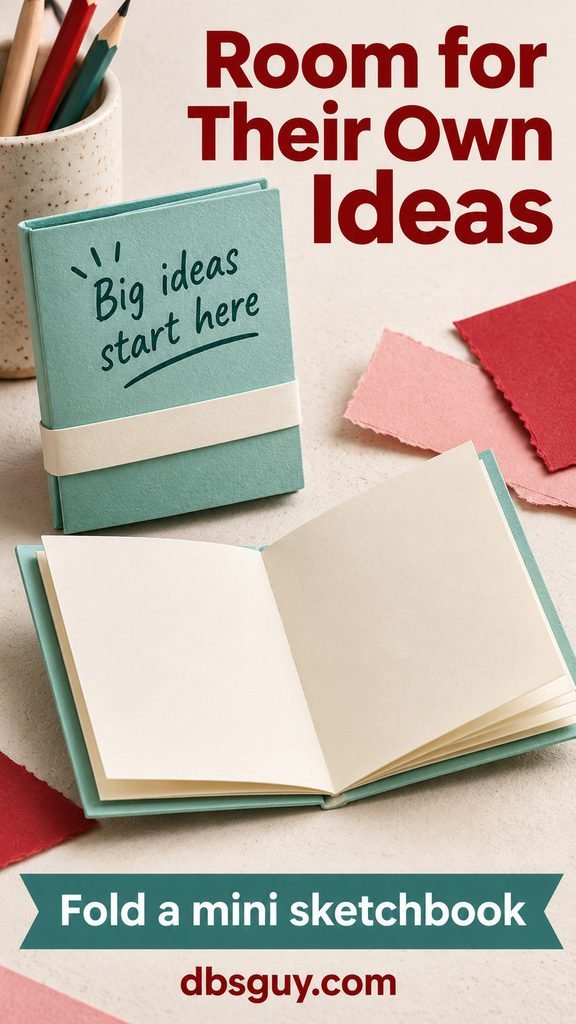
5. Fold a blank mini sketchbook
For students who would rather invent a picture than color one, leave the pages empty. Fold one 5½-by-8½-inch cardstock cover around three paper pieces of the same size. The finished book is roughly 4¼ by 5½ inches, with 12 blank interior pages.
Keep the nested sheets together with a removable paper belly band around the closed book. Add “Big ideas start here” to the cover. Students can take the band off to draw and replace it afterward; explain that the loose pages are intentionally unbound.
For 30 books, allow 15 full sheets of cardstock and 45 full sheets of plain paper. A plain cover and a small heart also make this suitable for older elementary students.
6. Attach a full-size eraser to an encouragement card
Choose a useful rectangular eraser rather than a tiny novelty shape. On a 4-by-6-inch card, write “Every draft can change.” Attach the wrapped eraser below the message with a removable tape loop.
The point is to connect the gift with revising and trying again, without making a student feel singled out for mistakes. Give everyone the same message. Keep the eraser’s original packaging and age information intact; do not put tape directly on its working surface.
One eraser and one card per student are enough. Second through fifth grade is a practical fit for the writing theme. For students who use different writing tools, choose an equally useful alternative from this list.

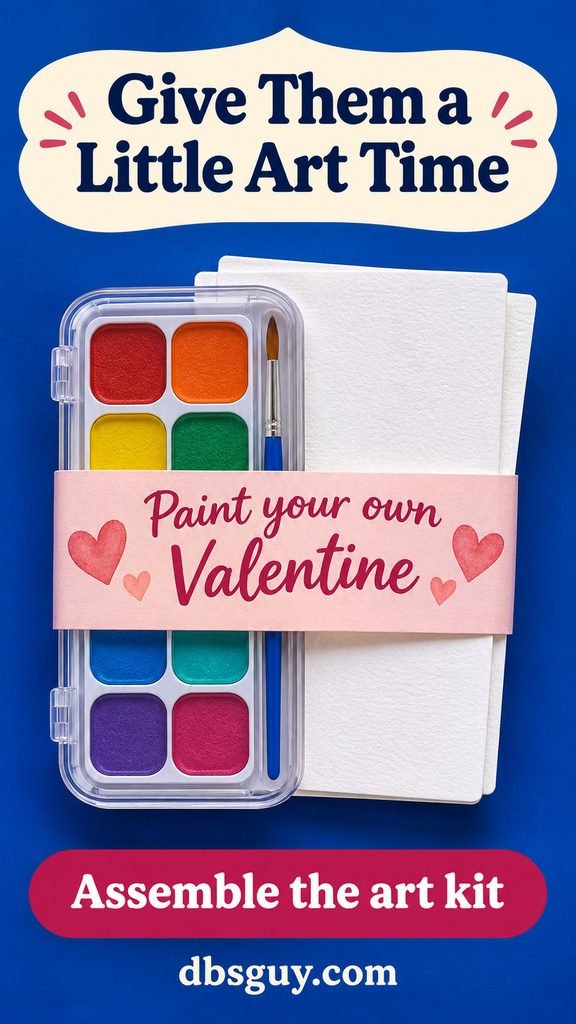
7. Put together a watercolor card kit
Pair one small, school-approved washable watercolor set with two blank 4-by-6-inch watercolor cards. A wide paper band around the closed set and cards turns them into one bundle. Write “Paint your own Valentine” on the band.
Choose a set that includes its own brush, or count a brush separately for every gift. Leave the paints in their original labeled case. The cards can become Valentines for family or friends; students do not need to make a return gift for the teacher.
This option uses more purchased supplies than the paper gifts, so price the entire class set before committing. It suits elementary students who can use the selected paint set with the supervision its label requires.
8. Add a removable sleeve to sealed bubbles
A bubble bottle makes a take-home gift when indoor use would disrupt the school day. Keep the cap closed and add a narrow paper sleeve around the lower part of the bottle. “A little fun for later” makes the intended timing clear.
Fit the sleeve around one actual bottle before cutting a batch. Tape the paper to itself, leaving the manufacturer’s instructions and warnings uncovered. If the bottle is too small to wrap without obscuring them, attach a flat card to its outer packaging instead.
Count one sealed bottle per student. Check school rules and age labels, and send the gift home upright in its original packaging. Avoid opening bottles to add color, fragrance, or glitter.

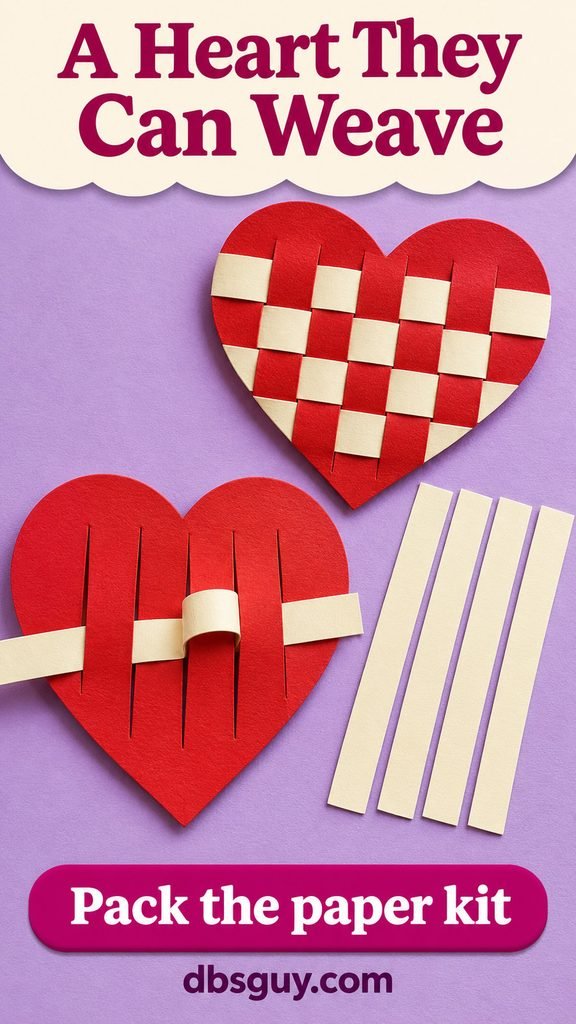
9. Pack a paper-heart weaving kit
Cut a broad paper heart about 6 inches across. Fold it across the middle horizontally, then make four parallel cuts inward from the folded edge, stopping well before the outer edge. Unfold it to reveal four vertical interior slits. An adult should prepare this part.
Add four contrasting strips, about ½ inch wide and long enough to extend beyond the heart. Test their width against the slit spacing. Students weave each strip over and under, reversing the pattern on the next strip, then secure the ends on the back with classroom glue.
Pack one heart and four strips per student: 30 hearts and 120 strips for a class set. This is a more involved option for roughly second through fifth grade; wider strips and fewer slits simplify it.
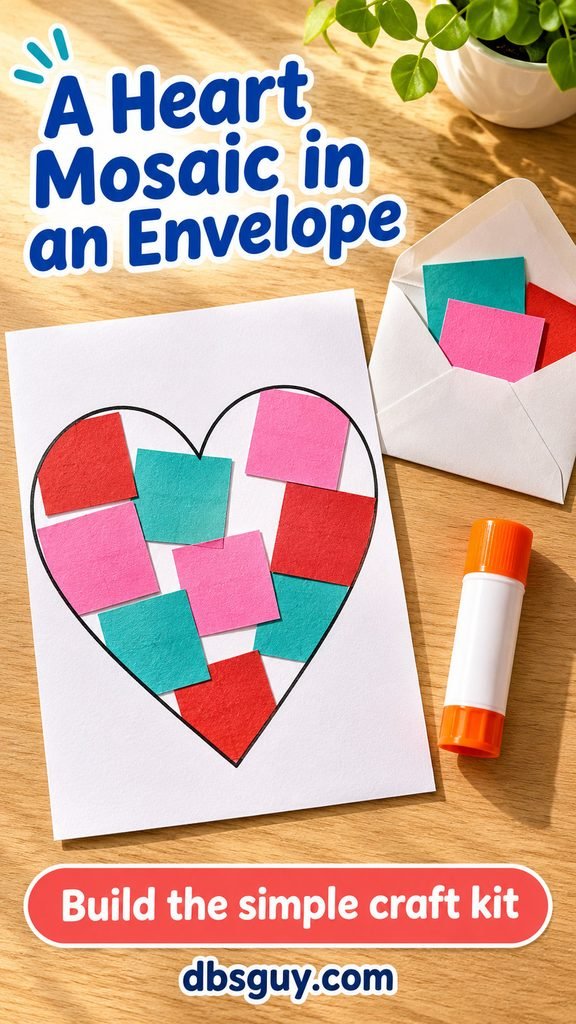
10. Fill an envelope with a heart mosaic kit
Draw a large heart outline on a 5-by-7-inch card. Add an envelope of broad colored paper squares, sized to fit your outline, in two or three colors. The student glues the squares inside the outline, leaving small gaps between them.
Make one sample to see how many squares cover your heart, then portion that amount into every envelope. A sparse mosaic is fine; the design does not need to be completely filled. Use leftover construction paper rather than buying decorative confetti.
This can be a kindergarten-through-third-grade gift to complete at a supervised craft table with shared glue sticks. For take-home kits, tell families that glue is needed. Offer larger torn-paper pieces when cutting or handling squares is difficult.
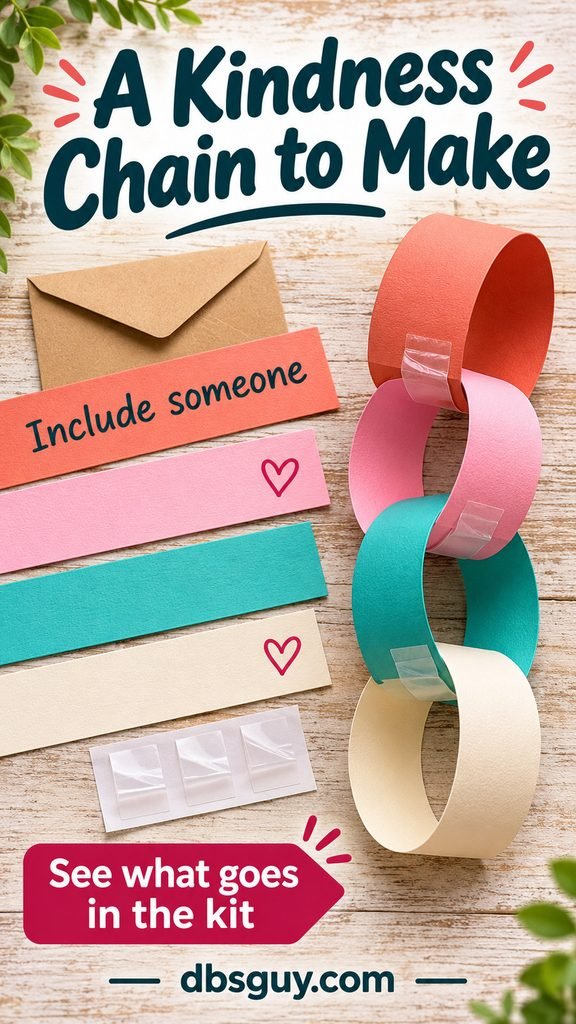
11. Give a four-link kindness chain kit
Put four 1-by-8-inch paper strips in an envelope. Write a simple action on each: “Include someone,” “Say thank you,” “Offer help,” and “Listen.” The recipient turns the strips into a small connected paper chain.
To assemble it, curve the first strip into a loop and tape its ends. Pass the next strip through that loop before closing it, then repeat. Provide folded tape tabs on release paper, or plan to use classroom tape together.
For 30 kits, cut 120 strips. Treat the phrases as optional ideas, not tasks students must report completing to earn the gift. First through fourth graders can decorate the links before joining them.
12. Make a paper-airplane starter pack
Include two letter-size sheets and a note that says “Let your ideas take flight.” You can give the sheets flat, with one sample plane displayed, rather than folding a whole fleet that gets crushed in backpacks.
For a basic dart, fold a sheet lengthwise and reopen it. Fold the top corners to the center crease, fold the new sloping edges toward the center again, then fold the plane in half along the original crease with the folds inside. Fold each outer side down to form a wing, leaving a narrow body to hold.
Students can draw a heart before folding. Use an agreed open flight area, aiming away from faces. This fits roughly second through fifth grade, with adult folding help as needed.

13. Make a take-home tic-tac-toe set
Draw a three-by-three grid on a 6-inch square of cardstock. Cut ten paper counters about 1½ inches square: five with hearts and five with stars. Using different symbols as well as colors makes the two sets easier to tell apart.
Pack the board and counters in a paper envelope. Add the rule: two players take turns placing one counter in an empty square; the first to make a row of three wins. A full board without a row is a draw.
For 30 gifts, count 30 boards and 300 counters. Cut counters in strips before dividing them into squares. This is a kindergarten-through-fifth-grade option when the pieces and rules fit the students.

14. Turn a heart drawing into a four-piece puzzle
Draw a large heart across a 6-by-6-inch cardstock square. Add a few broad stripes or dots that cross the center, so students have clues for matching the pieces. Cut once vertically and once horizontally through the middle to make four equal squares.
These are straight-edged pieces, so you do not need a jigsaw template or special cutting tool. Pack each puzzle separately as soon as it is cut; pieces from similar designs are easy to mix up.
For younger students, include a small drawing of the completed heart on the envelope. Kindergarten through second grade is a useful starting point. Keep it a playful gift rather than a timed task.

15. Tuck four story starters into an envelope
This gift is for making up something new. Write one prompt on each of four cards: “A tiny door appears in your classroom.” “A robot needs help making a friend.” “A cloud follows you home.” “Your backpack starts giving advice.”
Add a small drawing to each card so a student can choose by picture. Put all four in a paper envelope with “What happens next?” on the front. The recipient can tell a story aloud, draw it, dictate it, or write it.
For 30 envelopes, you need 120 cards. First through fifth grade can use the same prompts in different ways. Present them as an invitation to imagine, with no assignment to hand in.

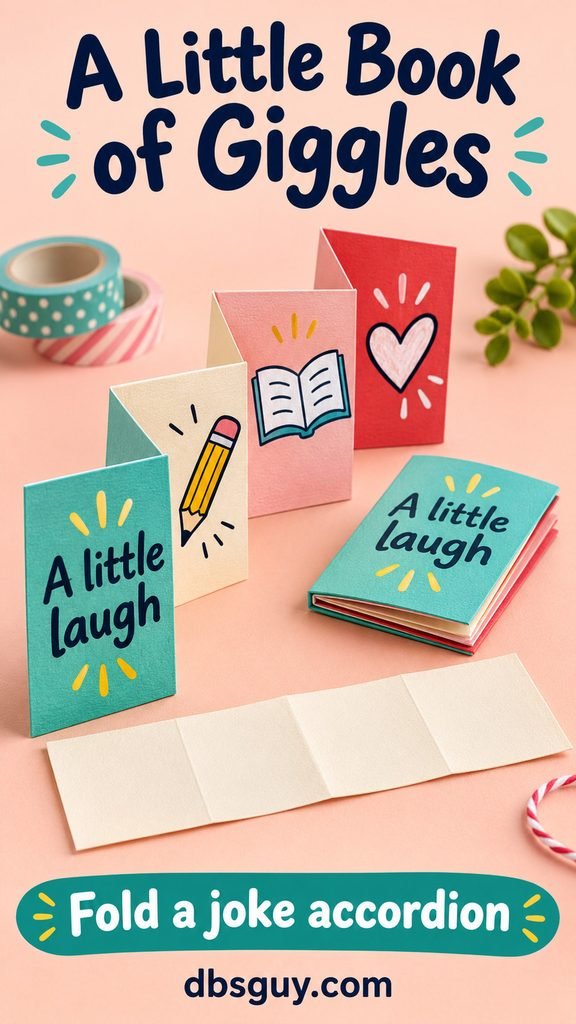
16. Fold a little joke accordion
Cut a 3-by-12-inch paper strip and fold it into four equal panels, alternating the fold direction. Put “A little laugh” on the front panel. Use the other three for short question-and-answer jokes, with a simple drawing beside each.
Try these familiar school puns: “What is a pencil’s favorite place? Pennsylvania.” “Why did the student bring a ladder? To reach high school.” “What do you call a bear with no teeth? A gummy bear.” Write the answers upside down if your readers enjoy the reveal.
Make one readable master, then reproduce it before cutting and folding the class set. This fits independent readers especially well; younger students may need someone to read the jokes aloud.
17. Write a note about something you noticed
A small envelope can hold the most personal gift on the list. Use a brief, specific observation: “I noticed how you welcomed a new classmate,” or “Your question about the story gave us something new to discuss.” Add a warm Valentine greeting and your signature.
Base each note on something you actually observed. If you cannot recall a specific moment, use an honest message such as “I’m glad you’re part of our class.” Avoid comparisons, private information, and labels such as “my favorite student.”
Use matching envelopes and similar note lengths so the presentation feels equally considered. The decorative twine shown in the image is optional; a plain envelope is complete on its own. This works at any school age; keep the design simple for older students.

18. Give a classroom-choice coupon
Make a card for one small choice you can realistically honor, such as choosing the next read-aloud from two books you have already selected. Print “Choose our next read-aloud” and a clear redemption date on it.
Before giving 30 coupons, plan 30 turns or another workable rotation. If that does not fit your schedule, change the offer to choosing an independent reading spot from approved options. Do not promise a classroom privilege that conflicts with school rules or another student’s access needs.
Give the coupon as a gift, with no behavior requirement attached. A simple drawing helps younger readers understand it, while a plain ticket design can suit older elementary classes.

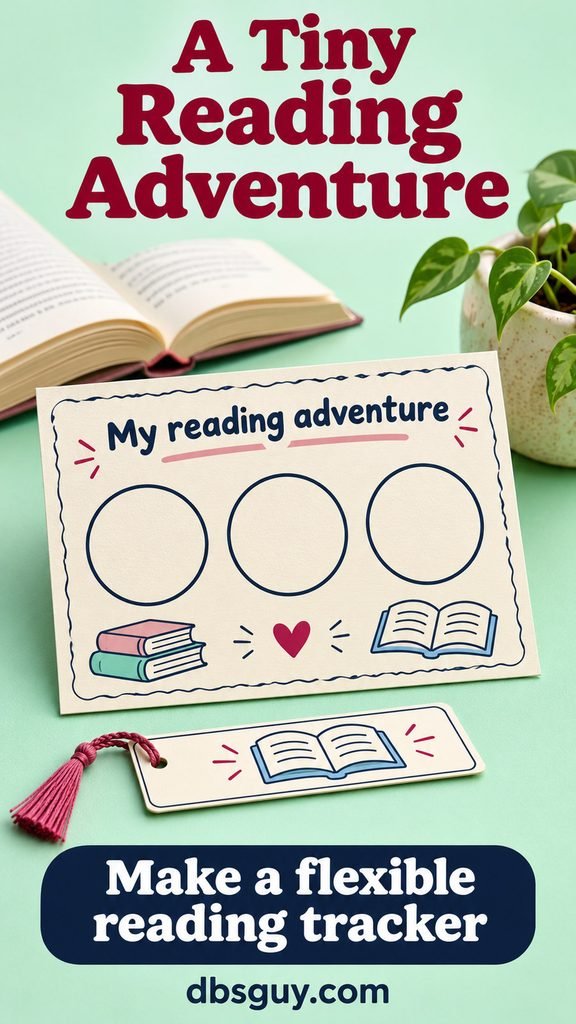
19. Make a three-stop reading adventure card
On a 4-by-6-inch card, draw three large empty circles under “My reading adventure.” Under them, write: “Revisit a favorite.” “Try something new.” “Share one part.” Students can color a circle when they want to remember a reading moment.
Let reading include listening to a book, sharing one with an adult, or exploring an accessible format. “Share” can mean a drawing, a conversation, or a private note. There is no required book length, deadline, or reward for finishing.
This is an invitation students can tuck into a book or keep on a desk. Make one card per student, and add a personal greeting on the back. It adapts from early elementary through fifth grade.
20. Pack a decorate-your-own paper crown
Cut a broad cardstock band with simple wide points along one long edge. Include two plain extension strips and several large paper hearts in an envelope. Students decorate the front, then an adult helps fit the band loosely and tape the overlapping ends.
Keep the extensions separate until fitting; a single fixed size will not work for every student. Use tape instead of staples at the join, and skip elastic, strings, glitter, and little stick-on gems.
For 30 kits, prepare 30 front bands, 60 extension strips, and equal portions of hearts. This suits kindergarten through third grade. A student who prefers not to wear a crown can keep theirs flat as a decorated paper band.

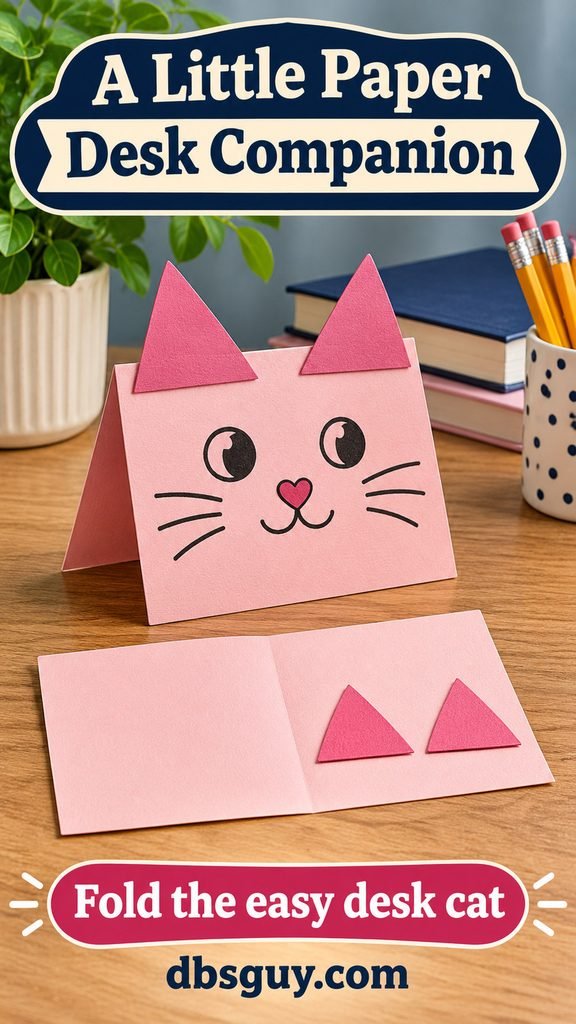
21. Fold a paper cat for a desk
Fold a 4-by-6-inch cardstock rectangle in half so the two panels are each 4 by 3 inches. Set it down like a small tent. Draw eyes, whiskers, and a heart-shaped nose on the front, then glue two broad paper triangle ears near the top fold.
Crease the fold firmly and open the base until the cat stands. There is no stuffing, loose eye hardware, or complicated template. Make the basic tents ahead, or give each student a flat folded card and two ears to decorate later.
For 30 cats, count 30 rectangles and 60 ears. This fits roughly kindergarten through fourth grade with help as needed. Use a small paper envelope if the gift will travel home flat.
Assemble the class set without losing count
Make one complete sample before cutting or buying the rest. Check that the object fits, the message is readable, and the gift can go into a backpack. Then work in passes: cut everything, write or print everything, attach or fill everything, and count the finished gifts.
Use the roster to check off each recipient as you label or distribute gifts. Keep spare gifts unlabeled. For personalized notes, put each note into its matching envelope immediately rather than leaving a pile to sort later.
Set a total budget first. Divide it by the number of finished gifts, then include packaging and supplies you do not already own. For example, a hypothetical $15 budget for 30 gifts is 50 cents per gift before tax. That is budget math, not a claim about current store prices.
If you are pairing the gifts with a celebration, Valentine Classroom Ideas for a Day Full of Crafts, Games, and Kindness offers activities to build around them. Keep the gift simple enough that you still have time to prepare the day itself.
Questions teachers may have
What can I make without buying a favor for every student?
Use supplies you already have to make bookmarks, sketchbooks, four-piece puzzles, story cards, joke accordions, or personal notes. Start by counting usable paper and envelopes; “handmade” does not automatically mean there are no extra supplies to buy.
Are these gifts completely allergy-free?
No. They are nonfood ideas, and materials still need to fit individual students’ plans. Check labels and school guidance before choosing paints, adhesives, stickers, or packaged favors. Use an approved alternative when a material is unsuitable.
Can I give just a Valentine card?
Yes. A signed card with a sincere greeting is a complete gift. For more ways to shape the message, see 21 Valentine Card Ideas That Make a Simple Message Feel Personal. There is no need to add a purchased item to make it count.
What if my class does not celebrate Valentine’s Day?
Follow your school’s approach. Where a friendship or appreciation activity is appropriate, use a neutral greeting such as “Glad you’re in our class” and simple shapes instead of holiday wording. Do not assume a renamed activity resolves every family’s preference.