13 December Nails Simple Enough for Cozy Days and Last-Minute Holiday Plans

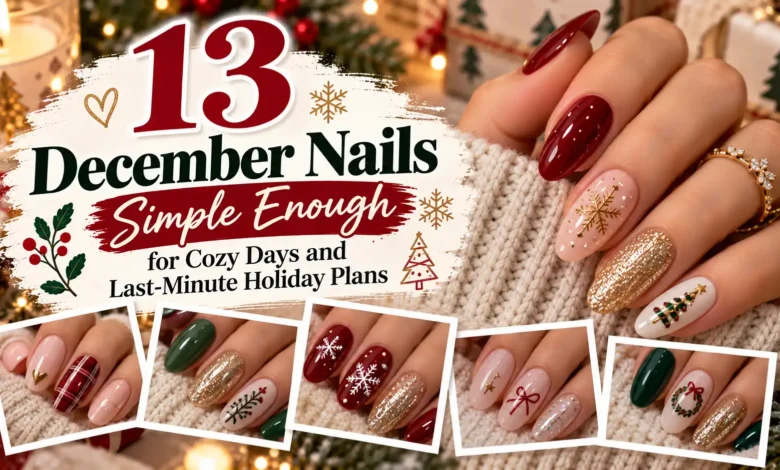
The easiest December manicure starts with one color you enjoy wearing. Sheer rose, cinnamon brown, and cranberry red work on their own; a bow sticker, a few snow dots, or a shimmer accent can dress up a simple base when plans change.
These 13 December nails keep the tools and artwork manageable. Most use regular polish, and the detail-heavy option comes with a simpler alternative. Choose a look you can finish comfortably, with enough time left for the polish to dry.

The images are AI-generated manicure concepts, not photographs of tested salon work. Use them as color and placement references; real finishes vary with the polish, application, and lighting.
Choose Your Look by the Tools You Have
- Only polish brushes: choose sheer rose, cinnamon latte, cranberry, forest with a shimmer nail, slate blue, or the neutral mix.
- A small dotting tool: try snow dots or the sage-and-berry accent.
- A flat nail-sticker sheet: choose a red bow or a silver star.
- A fine nail-art brush: try the gold corner; save burgundy micro tips for when you have time to practice.
- A fine glitter topper: add champagne tips to a fresh or intact blush manicure.
A Simple Setup Before You Paint
Set out your color, the base and top coats your formula calls for, a file, and any one accent tool you need. Smooth rough edges and begin with clean, dry nails. Use thin layers and follow the product directions for timing. There is no single drying time that applies to every polish, and touch-dry nails may still dent when you reach for keys or pull on gloves.
Leave your cuticles intact. The American Academy of Dermatology recommends avoiding cuticle removal, moisturizing after handwashing, and wearing gloves for washing dishes or cleaning. You can keep the preparation gentle and still get a tidy-looking manicure.
1. Sheer Rose for a Quiet December Week
If your December plans are mostly work, errands, and evenings under a blanket, sheer rose is an easy starting point. Choose a translucent rosy pink that leaves a little of your natural nail visible. The finish should look soft and glossy, with no glitter or accent nail needed.
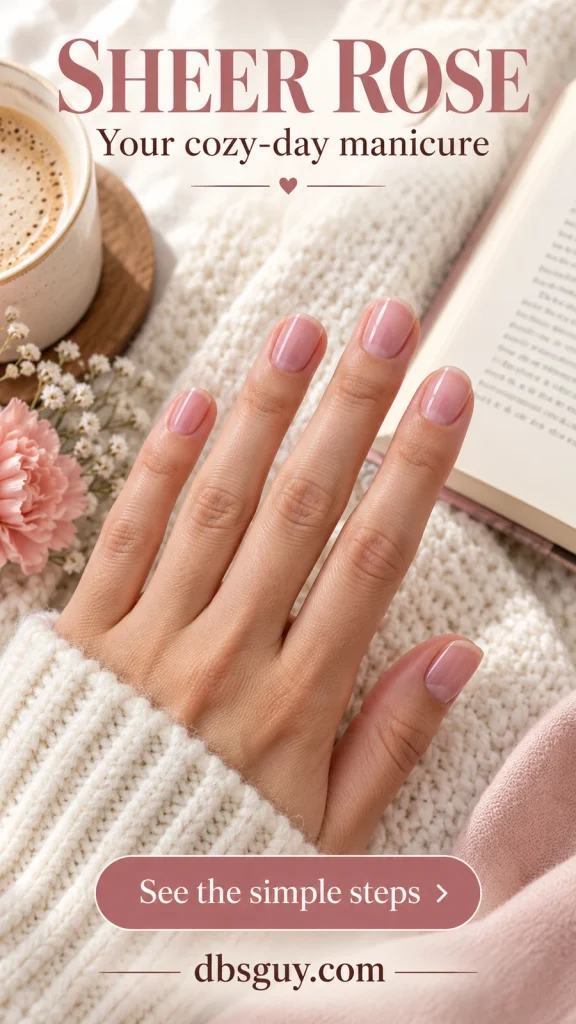
Use a formula intended to be sheer; a streaky coat of opaque pink will give a different result. Apply thin, even layers according to the bottle directions and stop at the coverage you like. A short rounded edge suits the relaxed look. This is also a useful base to choose now if you might add a bow or glitter later.
2. Cinnamon Latte With a Glossy Finish
A medium cinnamon brown brings warmth to a cream sweater without turning your manicure into Christmas nail art. Look for a creamy, opaque brown with a little red or caramel in it. The short squoval shape in the image keeps the color neat; squoval simply means a square edge with rounded corners.
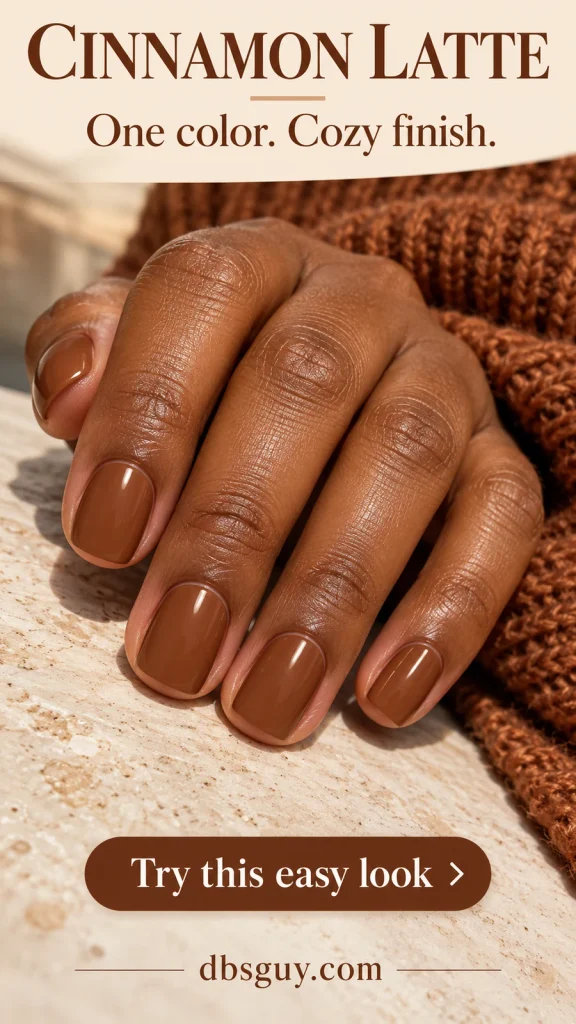
Hold a swatch against your hand before committing. A brown that nearly matches your skin creates a quieter effect, while a lighter or deeper shade gives more contrast. Keep all the nails the same color and finish. If you already own a brown you love, there is no reason to buy a special seasonal shade.
3. Cranberry Red With No Extra Artwork
For an invitation that arrives late in the week, cranberry red makes the color decision straightforward. It is deeper than a bright tomato red but still clearly red in ordinary light. On short rounded nails, the glossy finish feels dressed up enough for dinner and comfortable with jeans the following morning.
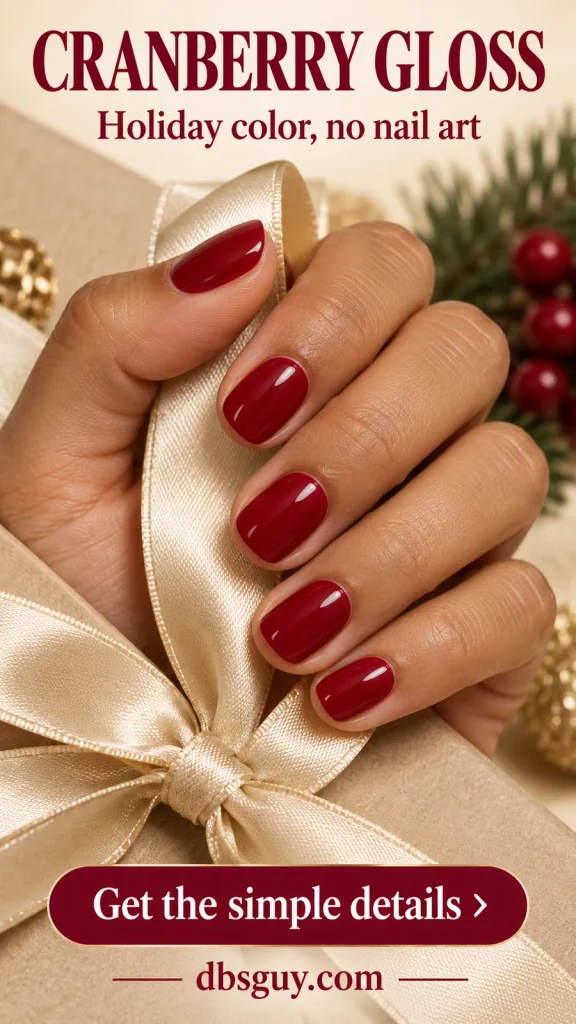
Choose a cream formula rather than a glitter if you want the clean finish shown here. Follow its base-coat instructions, then build the color with thin layers instead of loading the brush for instant coverage. Leave time to dry before pulling on your coat. The simplicity comes from skipping artwork, not from rushing the polish.
4. Forest Green With One Champagne Nail
This pairing puts the sparkle on one whole nail, so there is no tiny pattern to draw. Paint the thumb, index, middle, and pinkie forest green, then use a pale champagne shimmer on the ring finger. A fine shimmer keeps the accent softer than chunky gold glitter.
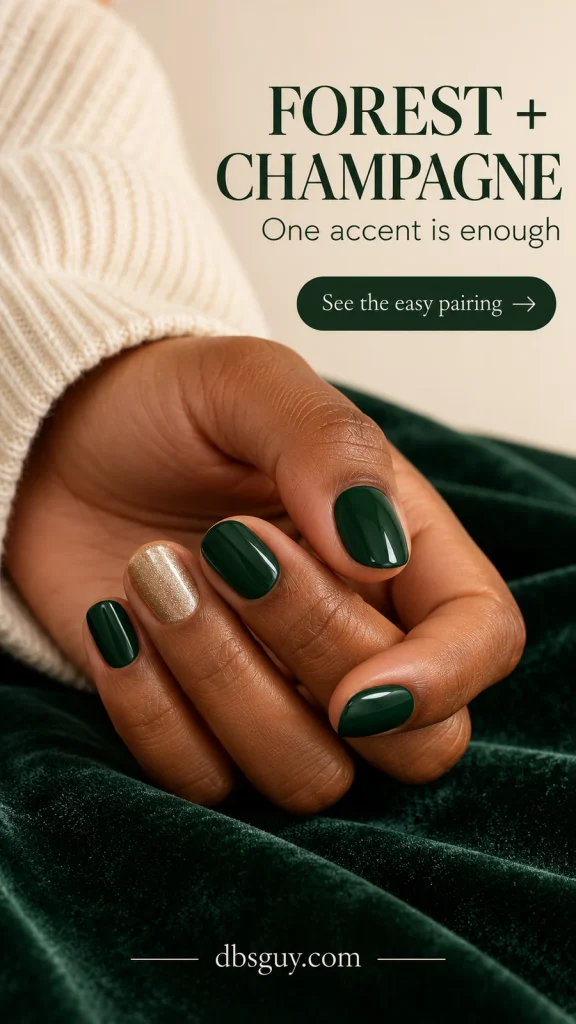
Check whether your champagne polish is opaque or a sheer topper before starting. A topper may need a compatible base color to look like the image. Use that combination only on the accent nail and leave the green undecorated. At a salon, ask for a full shimmer accent nail rather than foil, gems, or a gold French tip.
5. Frosted Slate Blue From One Shimmer Polish
If red and green do not suit your wardrobe, try a dusty blue-gray with a fine pearly sheen. The blue should stay visible underneath the reflection. This gives a frosted winter mood that works for December outings and still feels appropriate in January.

The simplest route is a regular polish with the shimmer already mixed in. Mirror chrome powder creates a different finish and adds another technique. Test a blue swatch in daylight and indoor light; a heavily silvered formula can look gray when you wanted blue. Keep the nails short and the surface free of extra decorations.
6. A Cream-to-Cocoa Neutral Mix
Want variety without painting a motif? Use a different neutral on each nail. The pictured order moves from ivory on the thumb through oatmeal, taupe, and latte to cocoa on the pinkie. Each nail stays one solid color; the change happens across the hand.
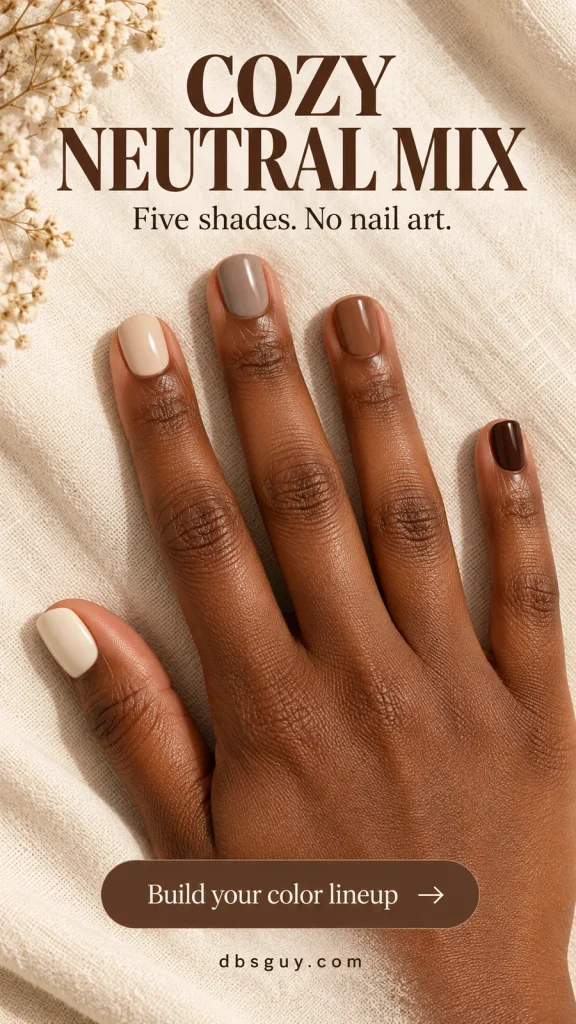
Line up your bottles before painting and choose a warm or cool family so the shades relate. Repeat the same finger order on the other hand if you want an organized look. Five bottles are optional: use three colors and repeat the middle shade across the remaining nails. This is especially useful when you want to use what you own.
7. Five Tiny Snow Dots on Milky Pink
Snow dots give you a winter accent without the branches and symmetry of a painted snowflake. Start with a sheer milky pink manicure and let the base dry enough for detail work. Put five small white dots on one ring fingernail, leaving pink space between them.
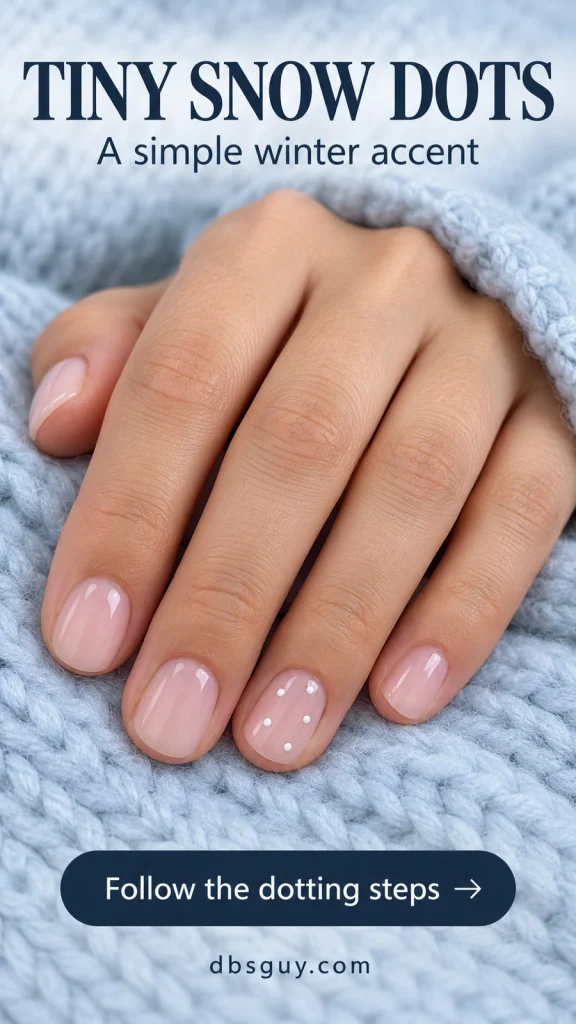
Use the small end of a nail dotting tool, dipping lightly into white nail polish placed on a disposable palette. Practice a few dots first to judge the pressure. Stagger the placement instead of making a rigid row, and stop before the dots crowd together. Let the white set as directed before adding a compatible top coat with a light touch.
8. One Flat Red Bow Sticker
A tiny red bow makes a plain beige manicure feel ready for a gift exchange. Choose a flat nail sticker with two little loops and short tails. Place one on the ring fingernail and leave the surrounding nails plain so the bow stays easy to see.
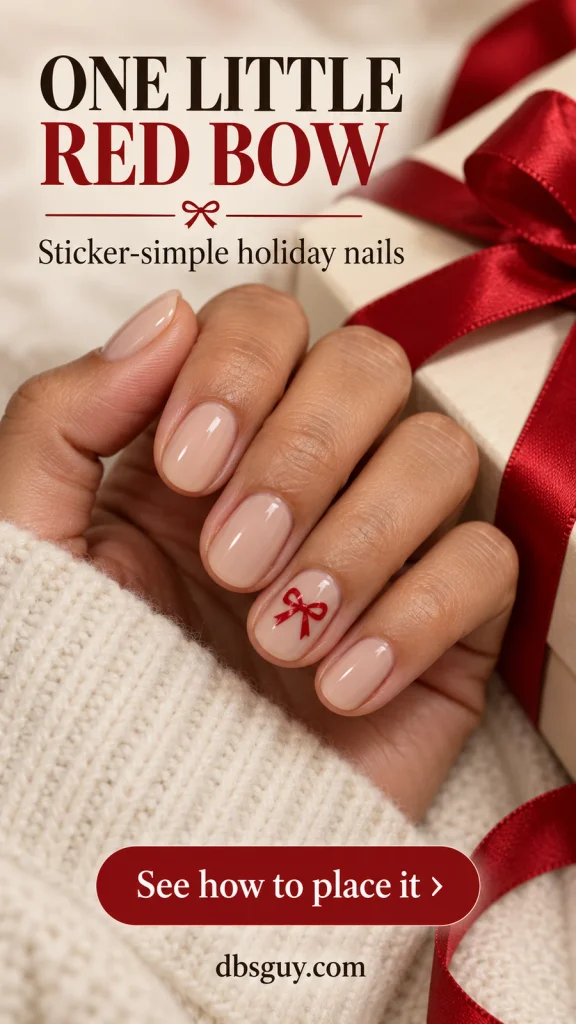
Check the sticker size against your nail before painting. It needs a border of base color around it, including at the sides. Apply it to a fully dry base using the sticker instructions, smooth the edges, and seal if the product calls for it. A flat decal keeps this version simple; a raised bow charm would change both the application and the feel.
9. Burgundy Micro French Tips
Here, the holiday color lives only at the edge. A sheer pink base and a thin burgundy tip give you a lighter-looking alternative to a full dark manicure. Keep the band narrow enough that the pink center remains the main part of the nail.
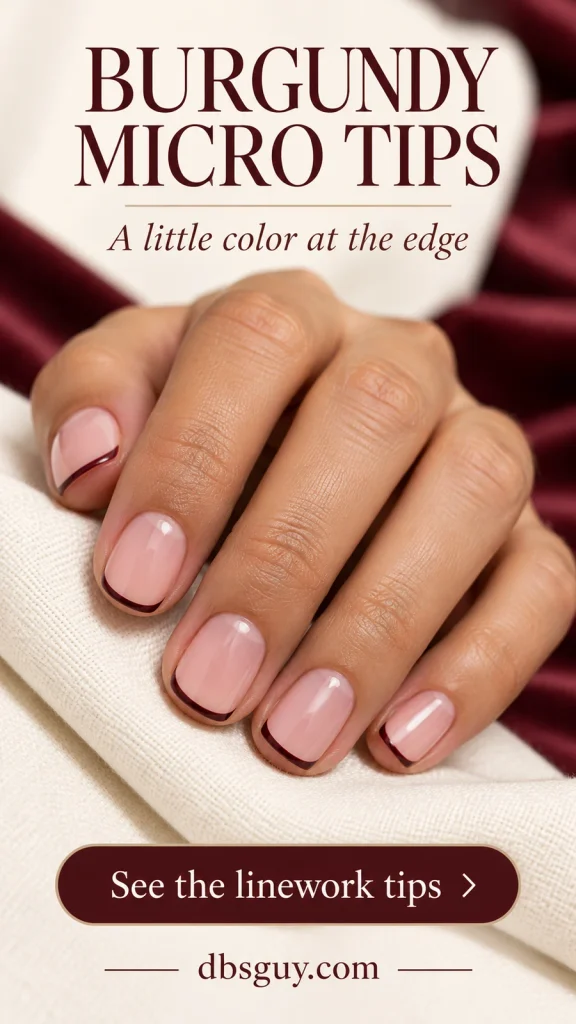
This is the option that asks for more brush control. Rest your painting hand on a table and use a fine nail-art brush to follow the free edge in short strokes. Try one nail before doing the rest. If the line keeps widening as you correct it, switch to one burgundy accent nail or take the reference to a technician. For more ways to scale small details, see these short December nail ideas.
10. Midnight Navy With a Single Silver Star
Midnight navy and one silver star are a good match for an evening invitation, especially with gray knitwear or a black outfit. Choose a blue that remains visibly navy in indoor light. Keep every nail glossy and plain except the ring finger.
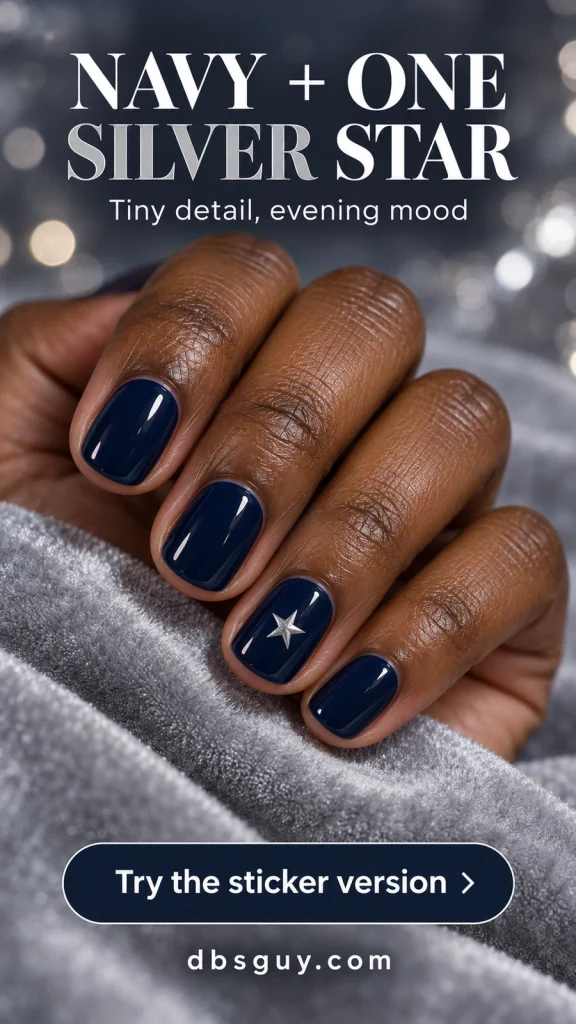
A small flat star sticker removes the hardest part of drawing five even points. Let the navy dry fully, place the star near the center of the accent nail, and follow the sticker directions for sealing. If its points reach the sides, choose a smaller star. The dark margin around the silver is what makes the shape readable.
11. Sage Green With Three Berry Dots
Sage offers a softer green than the forest shade above, and three red dots give it a small festive detail. Use a muted sage cream across the hand. Once it is ready for nail art, add a loose triangle of tiny red dots to one ring fingernail.
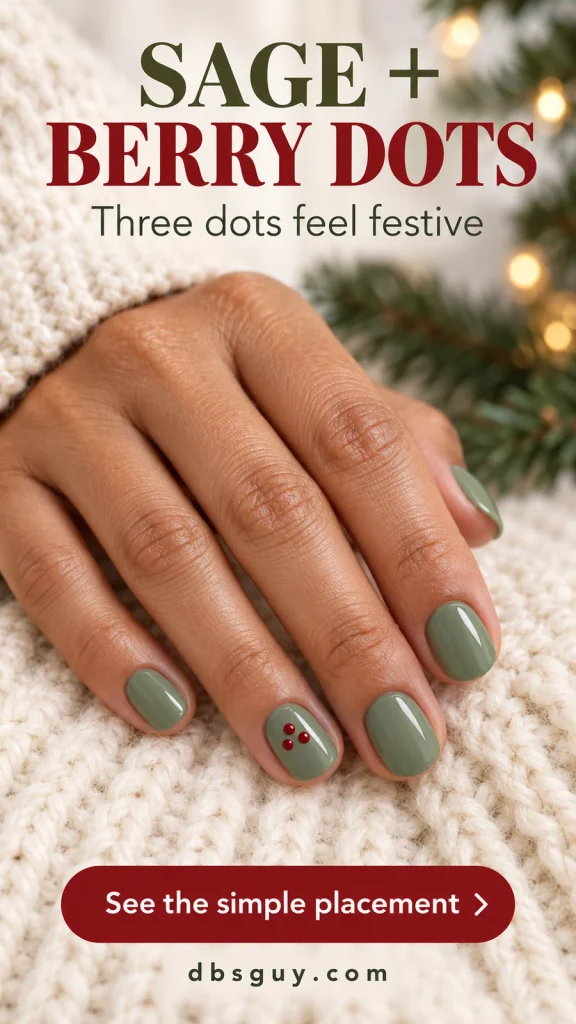
Keep a little green between the dots so they read as a cluster rather than one red patch. A dotting tool is enough; leaves and branches are optional additions you can skip entirely. On a very small nail, make the dots smaller instead of spreading them to the sidewalls. This is a useful choice when you want recognizable holiday colors without a full holly illustration.
12. Mushroom Taupe With a Gold Corner
If you already like a neutral manicure, give one nail a small gold corner. Start with warm mushroom taupe, then place a triangular patch of champagne shimmer at the outer tip of the ring fingernail. Keep the gold to roughly a quarter of that nail so the taupe still dominates.
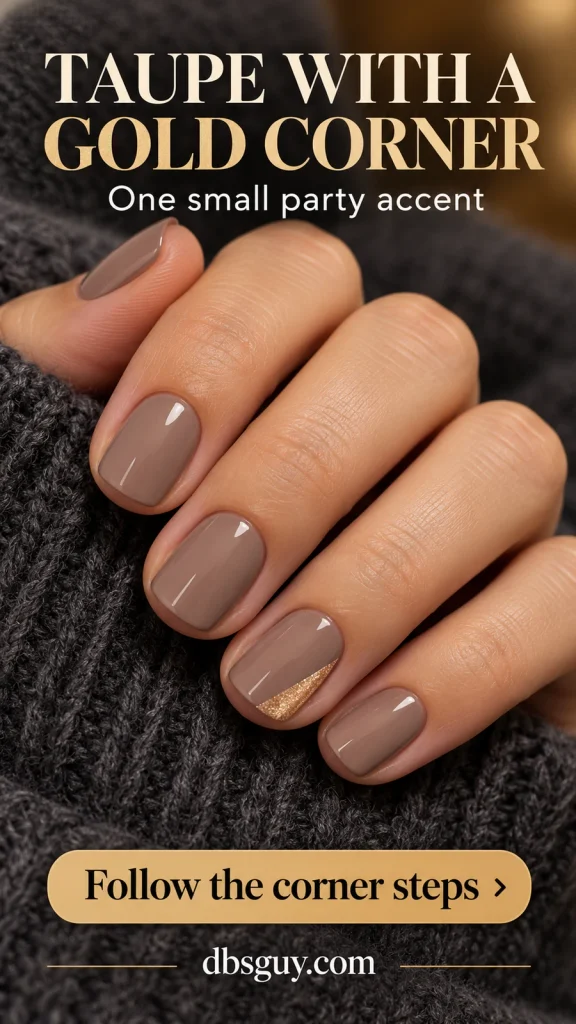
Use a small nail-art brush to sketch the diagonal edge, then fill the little corner with a compatible fine shimmer polish. A slightly softened boundary is fine; this does not need to look like a sharp piece of foil. Avoid covering the whole ring finger as you refine the shape. That would turn it into a different accent from the small corner shown here.
13. Champagne Glitter Tips for a Late Invitation
A light glitter fade is an easy way to dress up a sound, fully dry blush manicure. Choose fine champagne glitter in a clear base. Keep the sparkle concentrated at the tips, then let it thin out toward the middle; the area near the cuticle stays mostly clear.

Wipe excess polish from the brush and make a light pass over the upper part of each nail. Once that layer is ready, add a little more at the very tip. Follow with a compatible top coat as directed. Start with less glitter than you think you need. If the old manicure is peeling or chipped, remove it first rather than building the new detail over loose polish.
When Plans Change, Keep the Base
If your manicure is still smooth and intact, you do not always need to start over. A sheer pink base can become the bow look or the champagne-tip look. Plain taupe can take the little gold corner, and navy can take a star. Add one detail that works with the existing color instead of trying to combine several designs.
If you are starting from bare nails shortly before leaving, pick one solid color and allow its full drying time. Fine lines and stickers are better saved for a less rushed moment. An undecorated cranberry manicure already fits a holiday dinner.
Questions About Simple December Nails
Which December nail design is easiest for a beginner?
A single-color manicure is the most straightforward starting point because there is no placement or pattern to manage. Choose a familiar brush and formula. If you want a small design, practice the snow dots on one nail before committing to an accent on both hands.
Can I recreate these looks without gel?
Yes. These concepts can use regular nail polish, with compatible shimmer toppers or flat nail stickers where needed. Read each product label: a gel polish needs its specified curing system, while a regular polish air-dries. The blue pearl and champagne shimmer are visual finishes here, not instructions to use chrome powder or magnetic gel.
What works best on very short nails?
Solid colors, fine shimmer, and small dots do not depend on a long free edge. Check a sticker against your nail before applying it. If a French tip would cover too much of the visible nail, use that burgundy as a full accent nail instead.
Which looks work after Christmas too?
Sheer rose, cinnamon, slate blue, the neutral mix, navy with a star, and champagne tips all work without a Christmas-specific motif. If you want the same color scheme for New Year’s Eve, the glitter tips or gold corner provide a little evening sparkle without requiring a new theme.