The Ultimate Gluten Free Bread (Artisan Style Loaf)
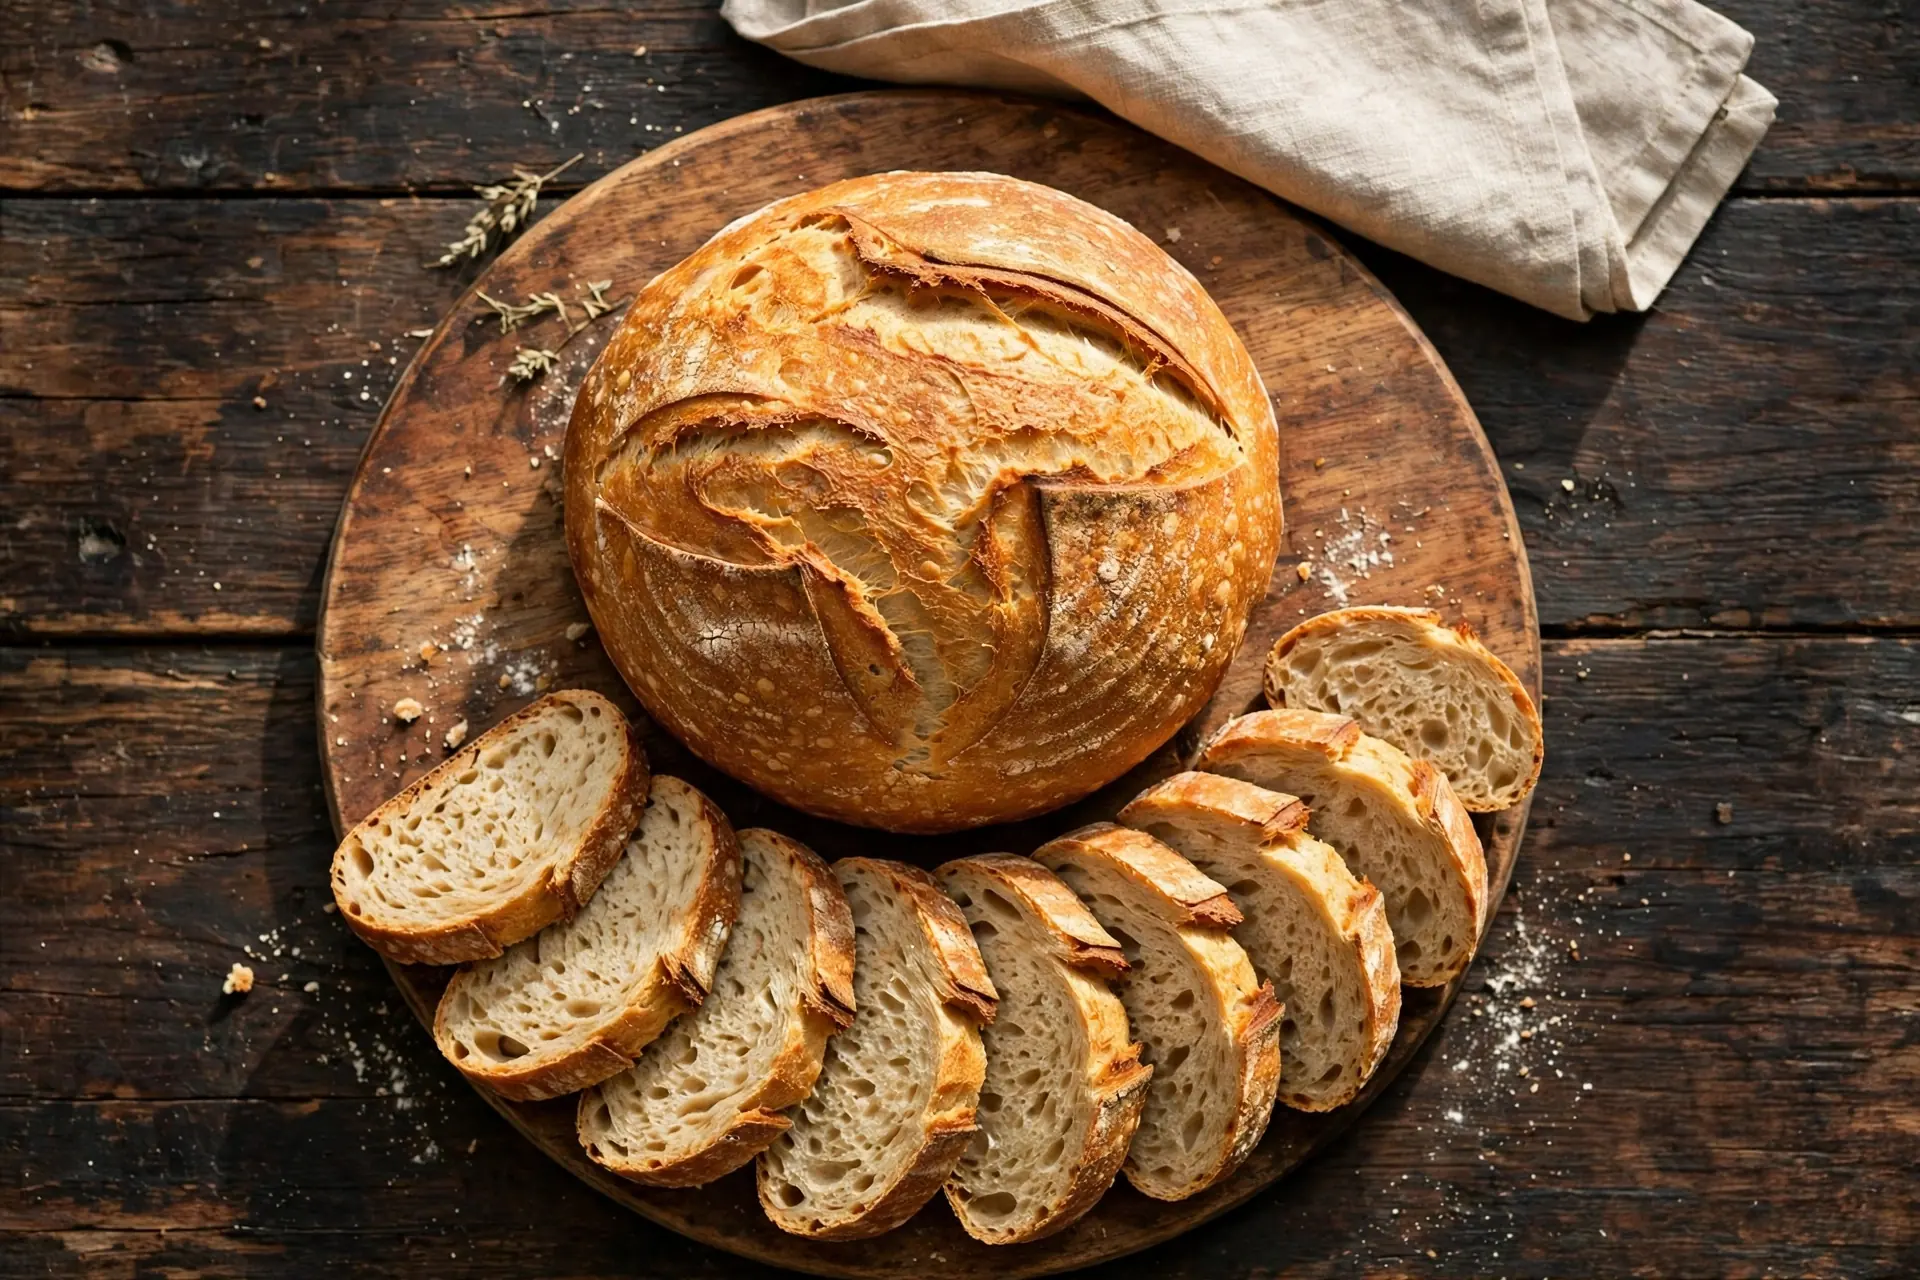
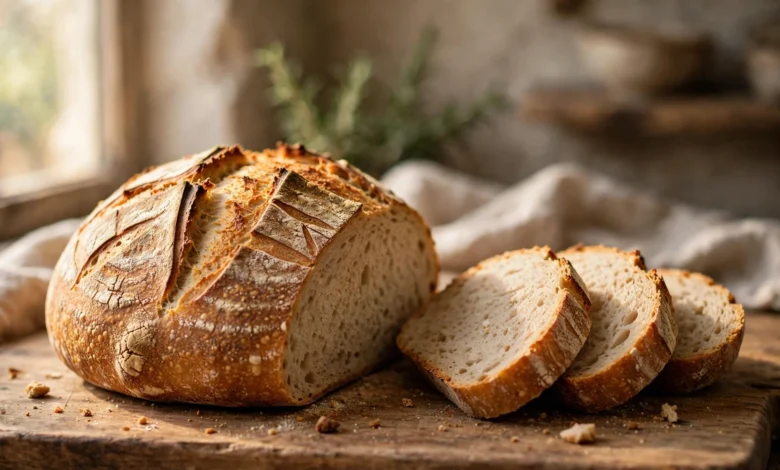
Bread lovers, this one is the real deal. This gluten free bread has everything a proper loaf should have: a soft, chewy, open crumb inside and a deeply crisp, caramelised crust outside. It is genuinely easy to make, and — this is the part that surprises most people — it behaves like regular wheat bread. You can knead it, you can shape it, and it goes through two full rounds of rising, just like a classic artisan loaf. It also happens to be completely vegan, with no eggs and no dairy products at all.
This recipe was developed by Kat, the baker behind The Loopy Whisk, who spent years working on a reliable gluten free bread before she was happy with it — she went on to write a whole gluten free baking book, with more than 15 different bread recipes in it, from artisan loaves like this one to enriched doughs like cinnamon rolls and babka. That experience shows in this loaf: it tastes, smells, looks and feels like regular bread, because the method treats it like regular bread.
There are a few important differences from wheat bread, both in the ingredients and in the method, and they are exactly what makes this recipe work. Below, I walk you through every one of them, step by step.
Why You’ll Love This Gluten Free Bread Recipe
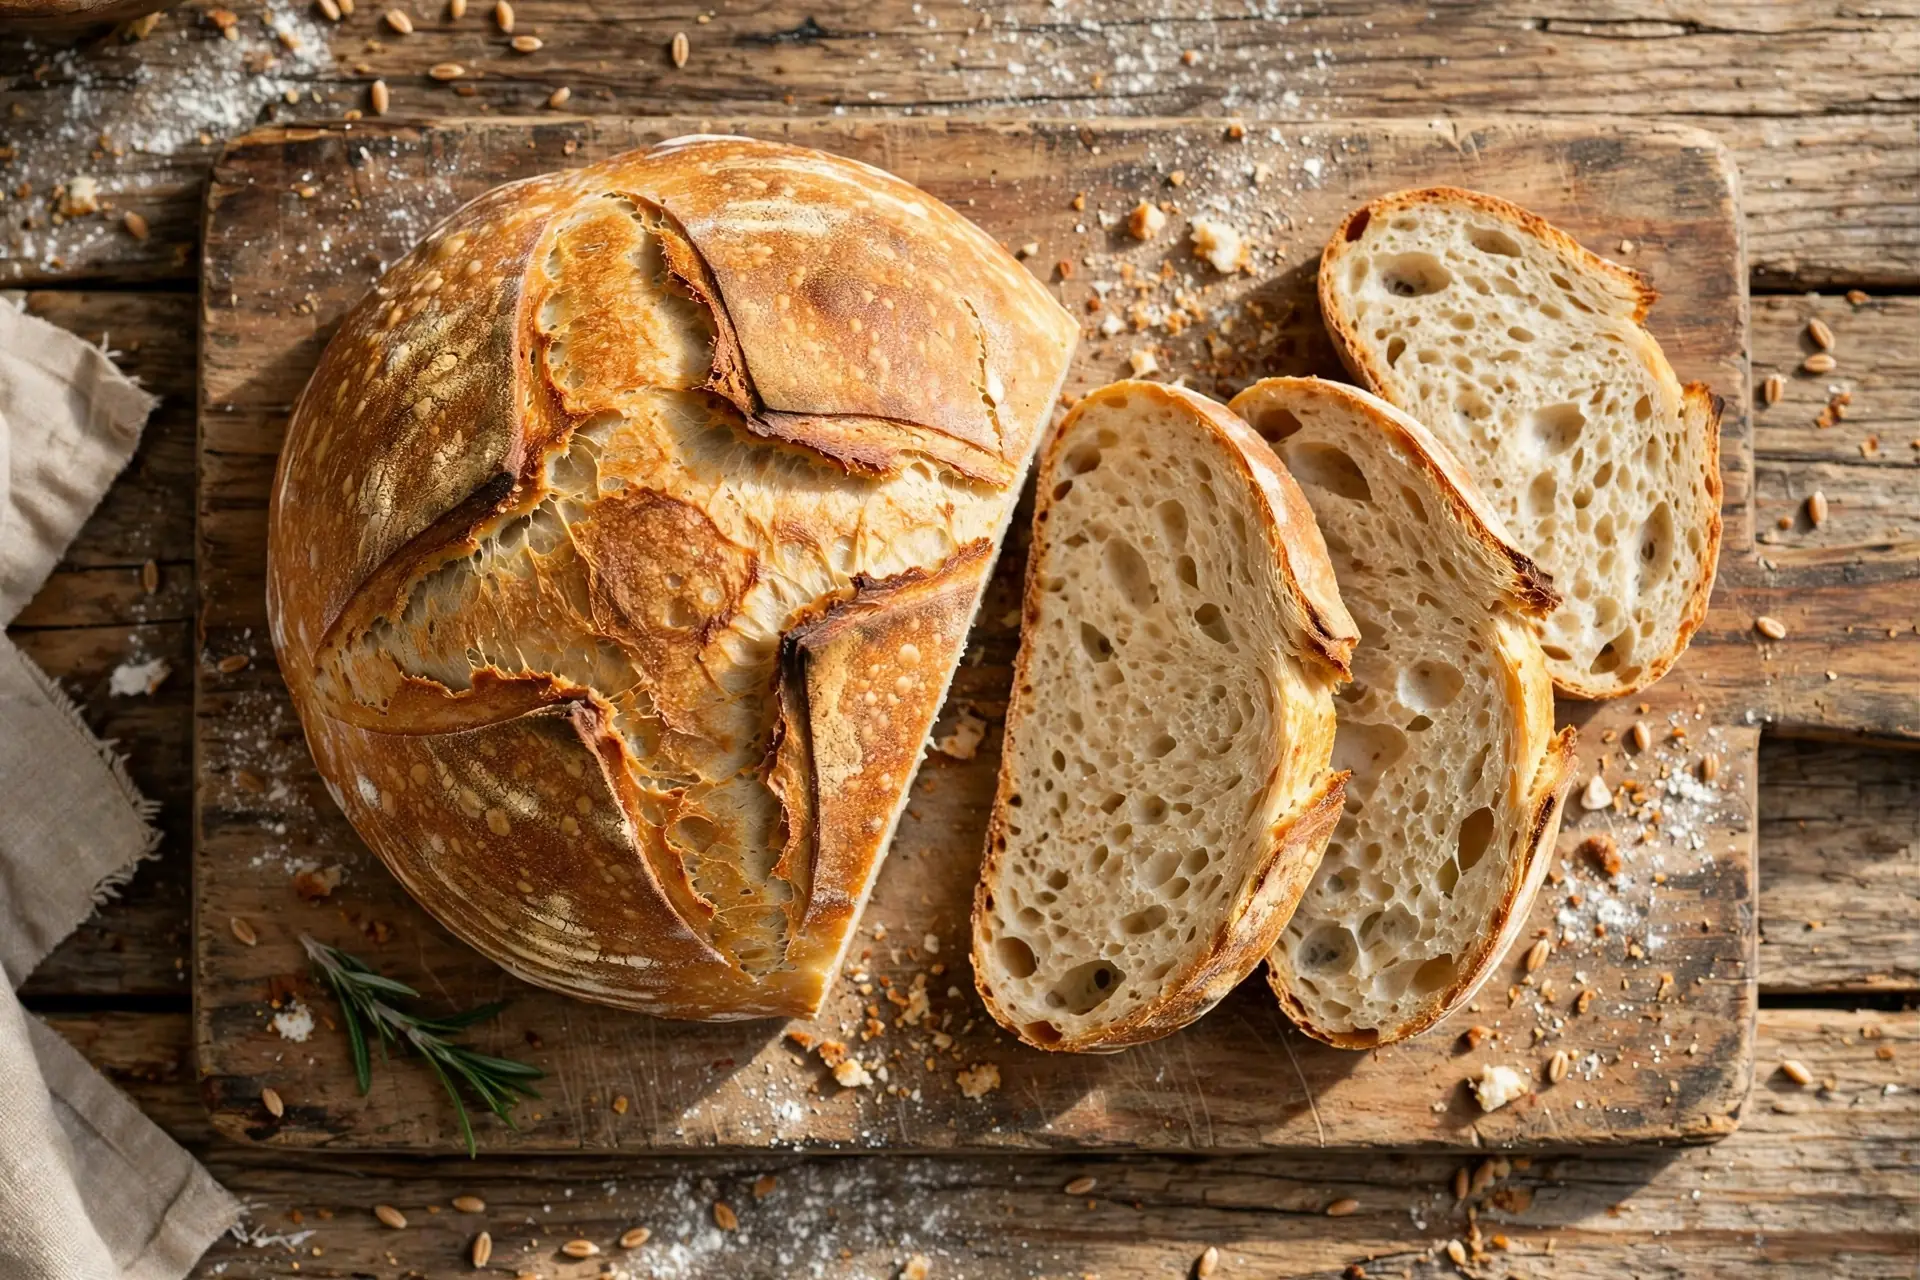
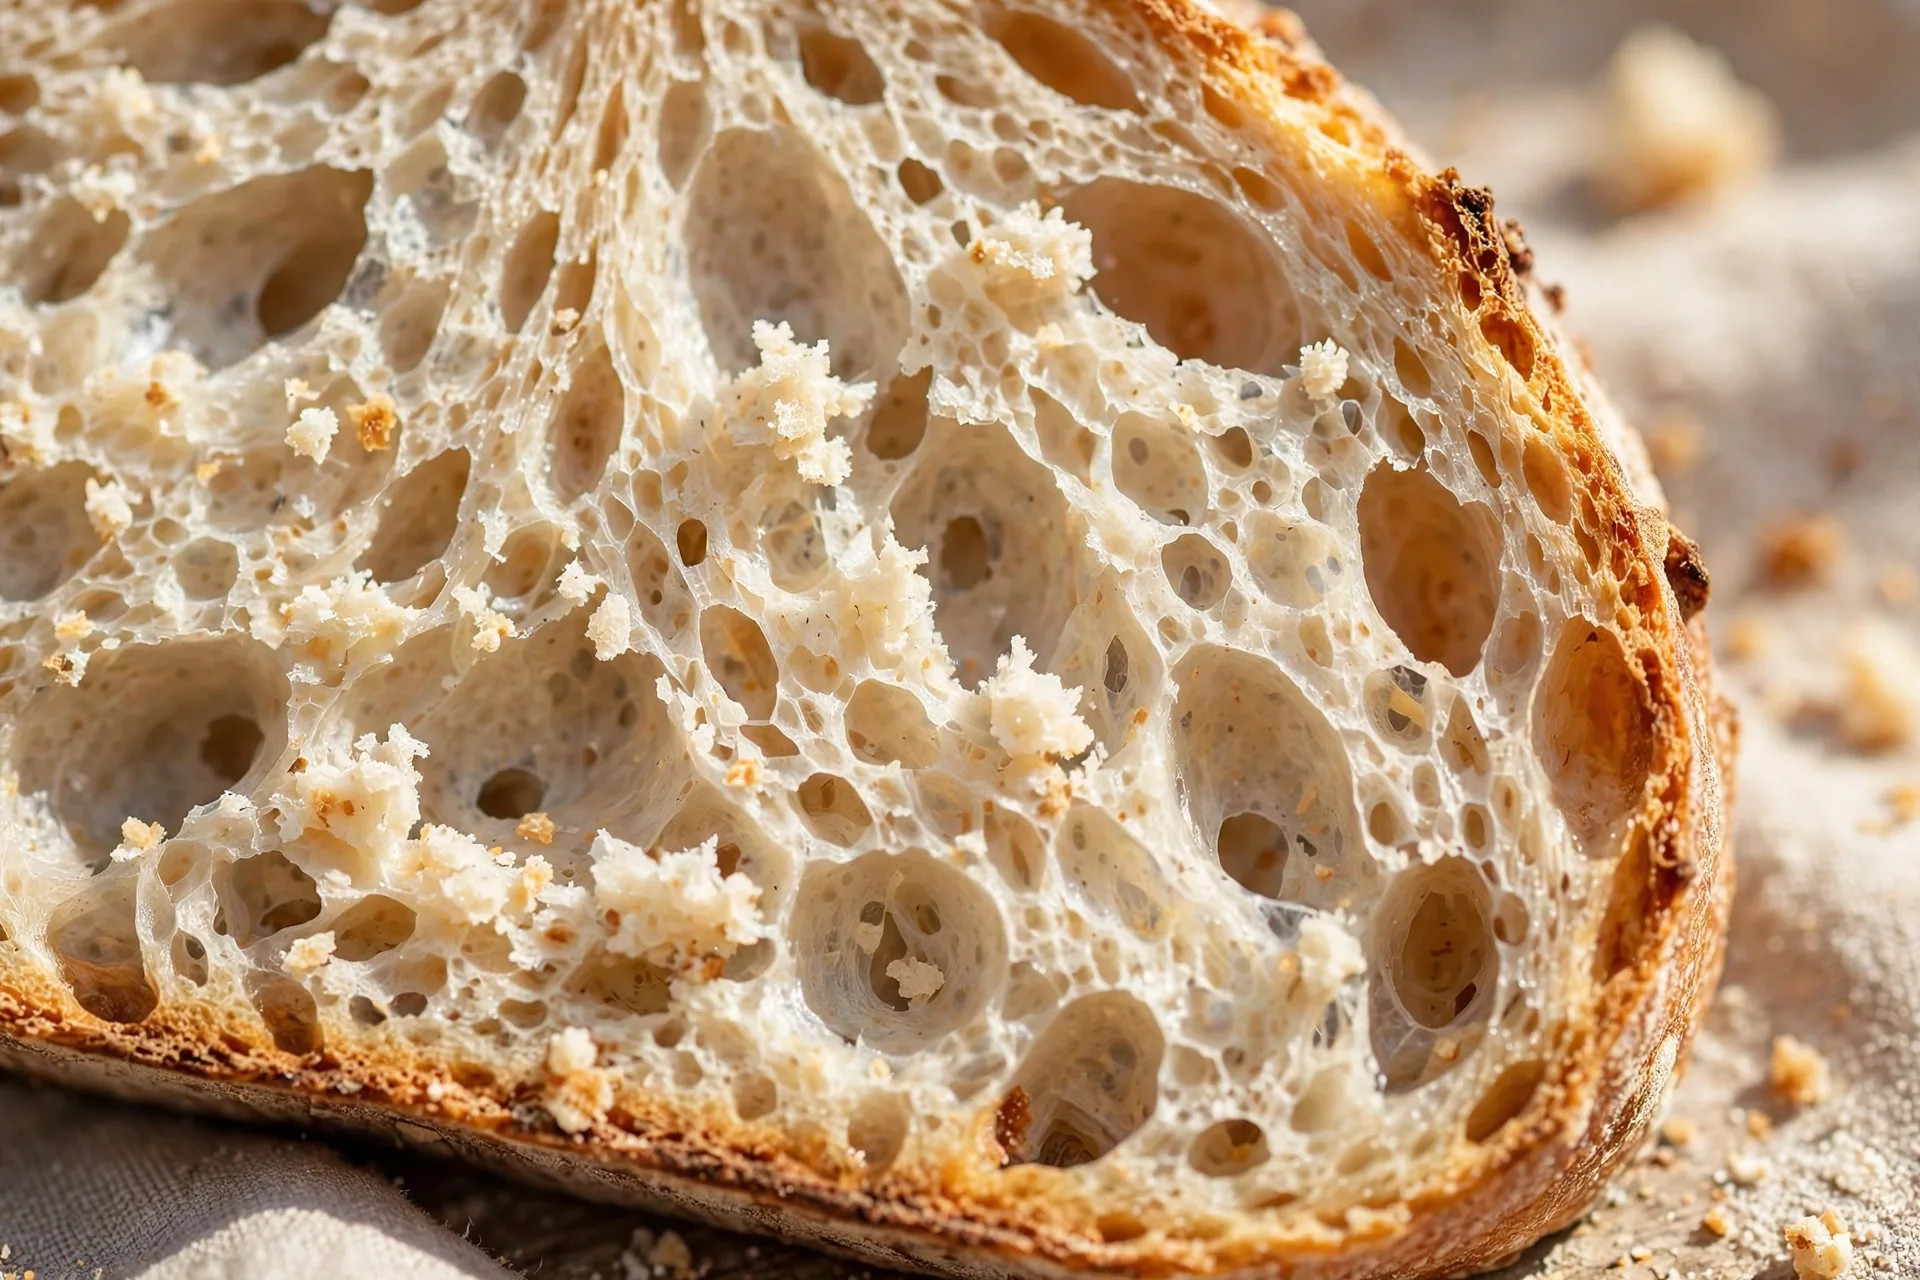
- The soft, chewy interior. Think pillowy soft. The crumb is open and airy, with just enough chew — exactly the way proper bread should feel.
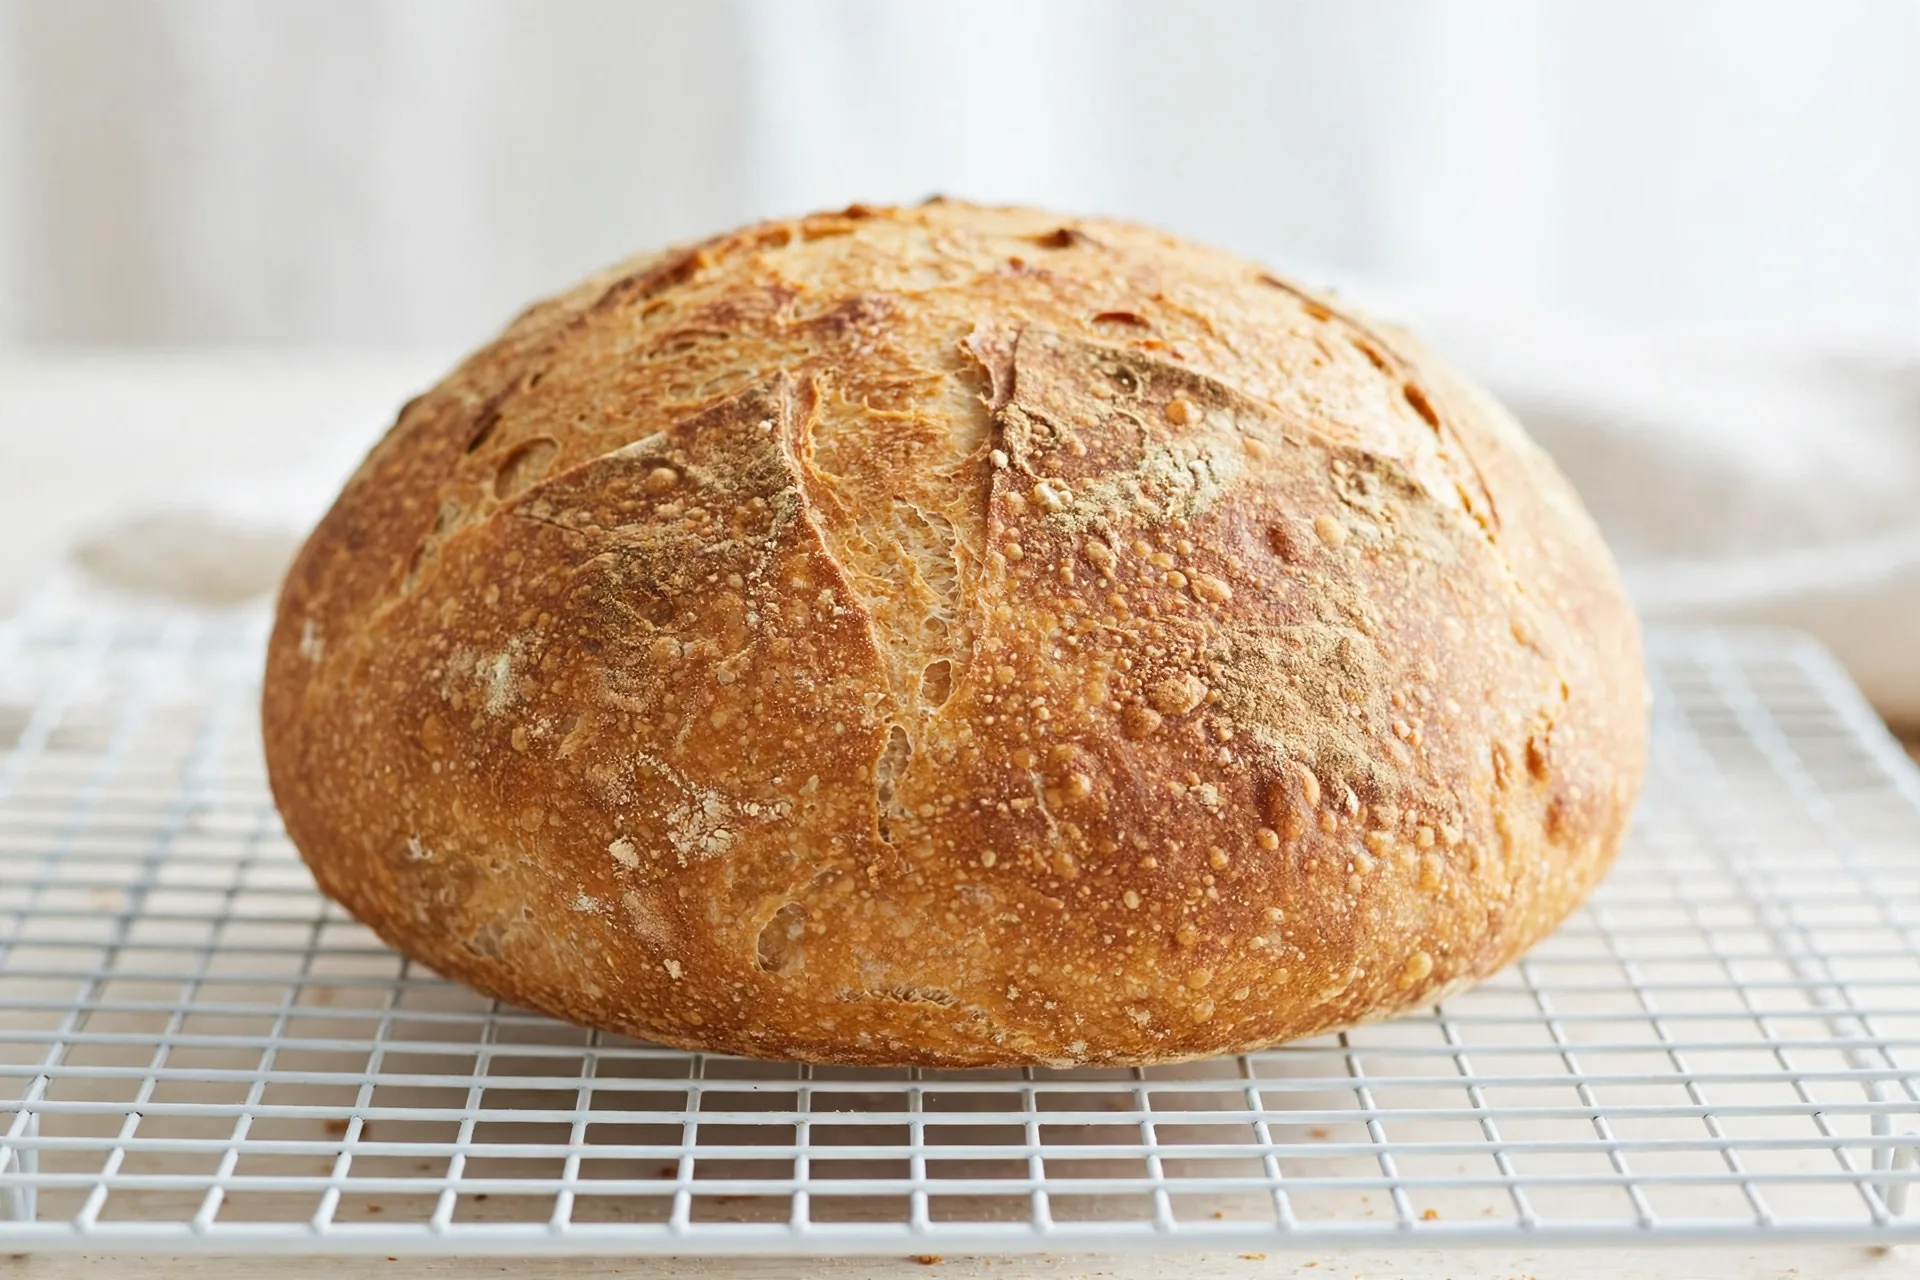
- The crisp, caramelised crust. It crackles as you slice through it, and it carries all of those deep, toasty flavours that caramelisation creates.
- The flavour. Compared with regular bread, this loaf sits on the whole wheat side of the spectrum: wholesome and more complex than a plain white loaf, thanks to the buckwheat flour — but without the strong, slightly acidic tang of rye. It is a lovely everyday loaf: wonderful with butter and jam, spread with hummus, or turned into a toasted cheese sandwich.
- It is vegan as well as gluten free. No eggs, no dairy — nothing you need to work around.
- It adapts to what you have. Most of the ingredients have a tested substitution (listed in full further down), as long as swaps are made by weight.
- It is easy. Homemade gluten free bread can sound intimidating, but the process here is straightforward — and the result is absolutely worth it.
The Ingredients for Gluten Free Bread
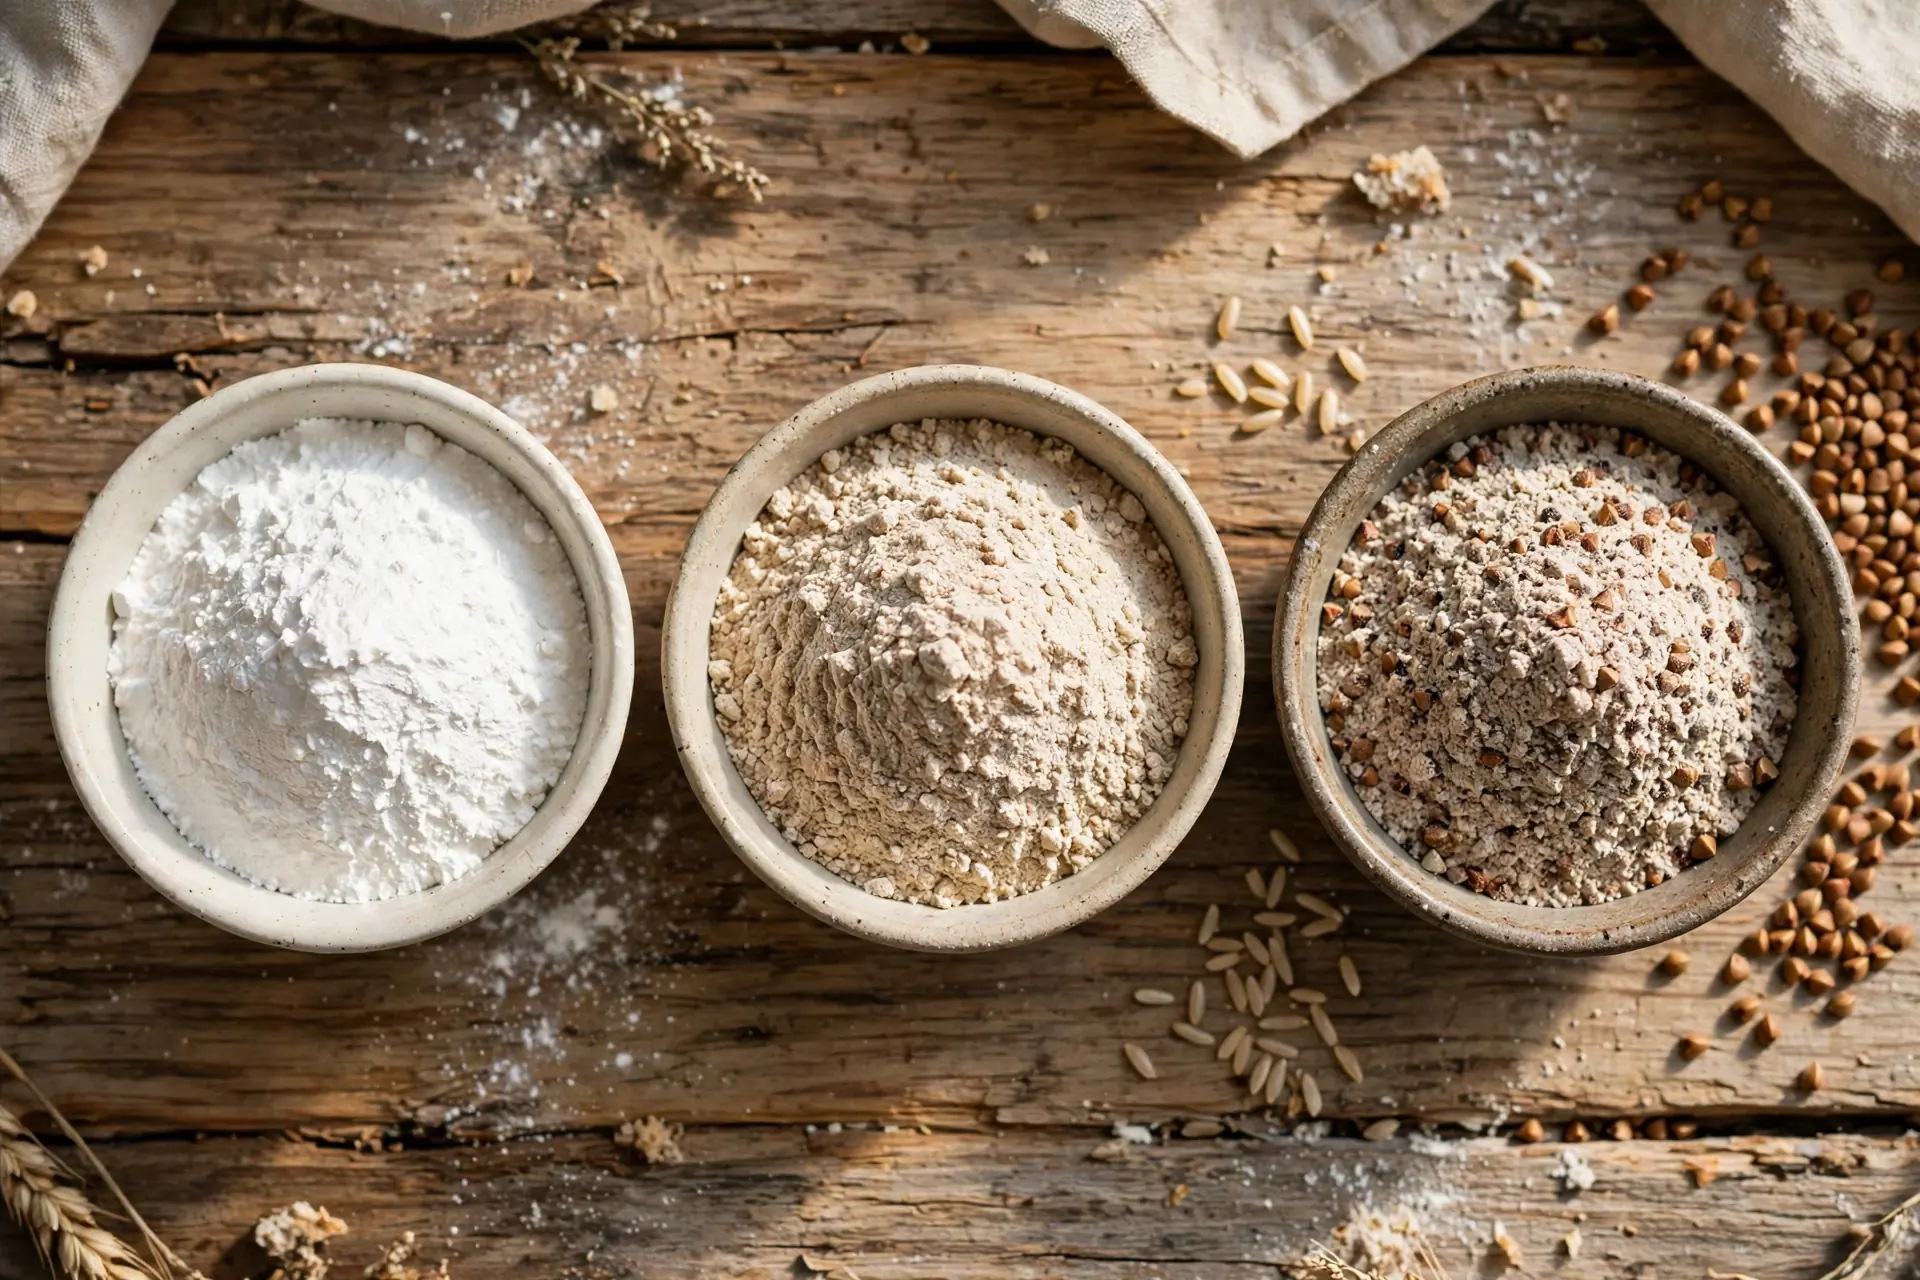
The ingredient list is surprisingly short. Full quantities are in the recipe card at the bottom of this post.
- Active dried yeast
- Sugar — it kick-starts the yeast
- Warm water
- Psyllium husk — this is the gluten substitute (more on it below)
- Potato starch — not the same thing as potato flour; they are two completely different products
- Brown rice flour — it needs to be very finely milled, the kind labelled “superfine”
- Buckwheat flour
- Salt — for flavour
- Apple cider vinegar — it gives the yeast an extra lift by creating a slightly acidic environment
What Is Psyllium Husk, and What Does It Do?
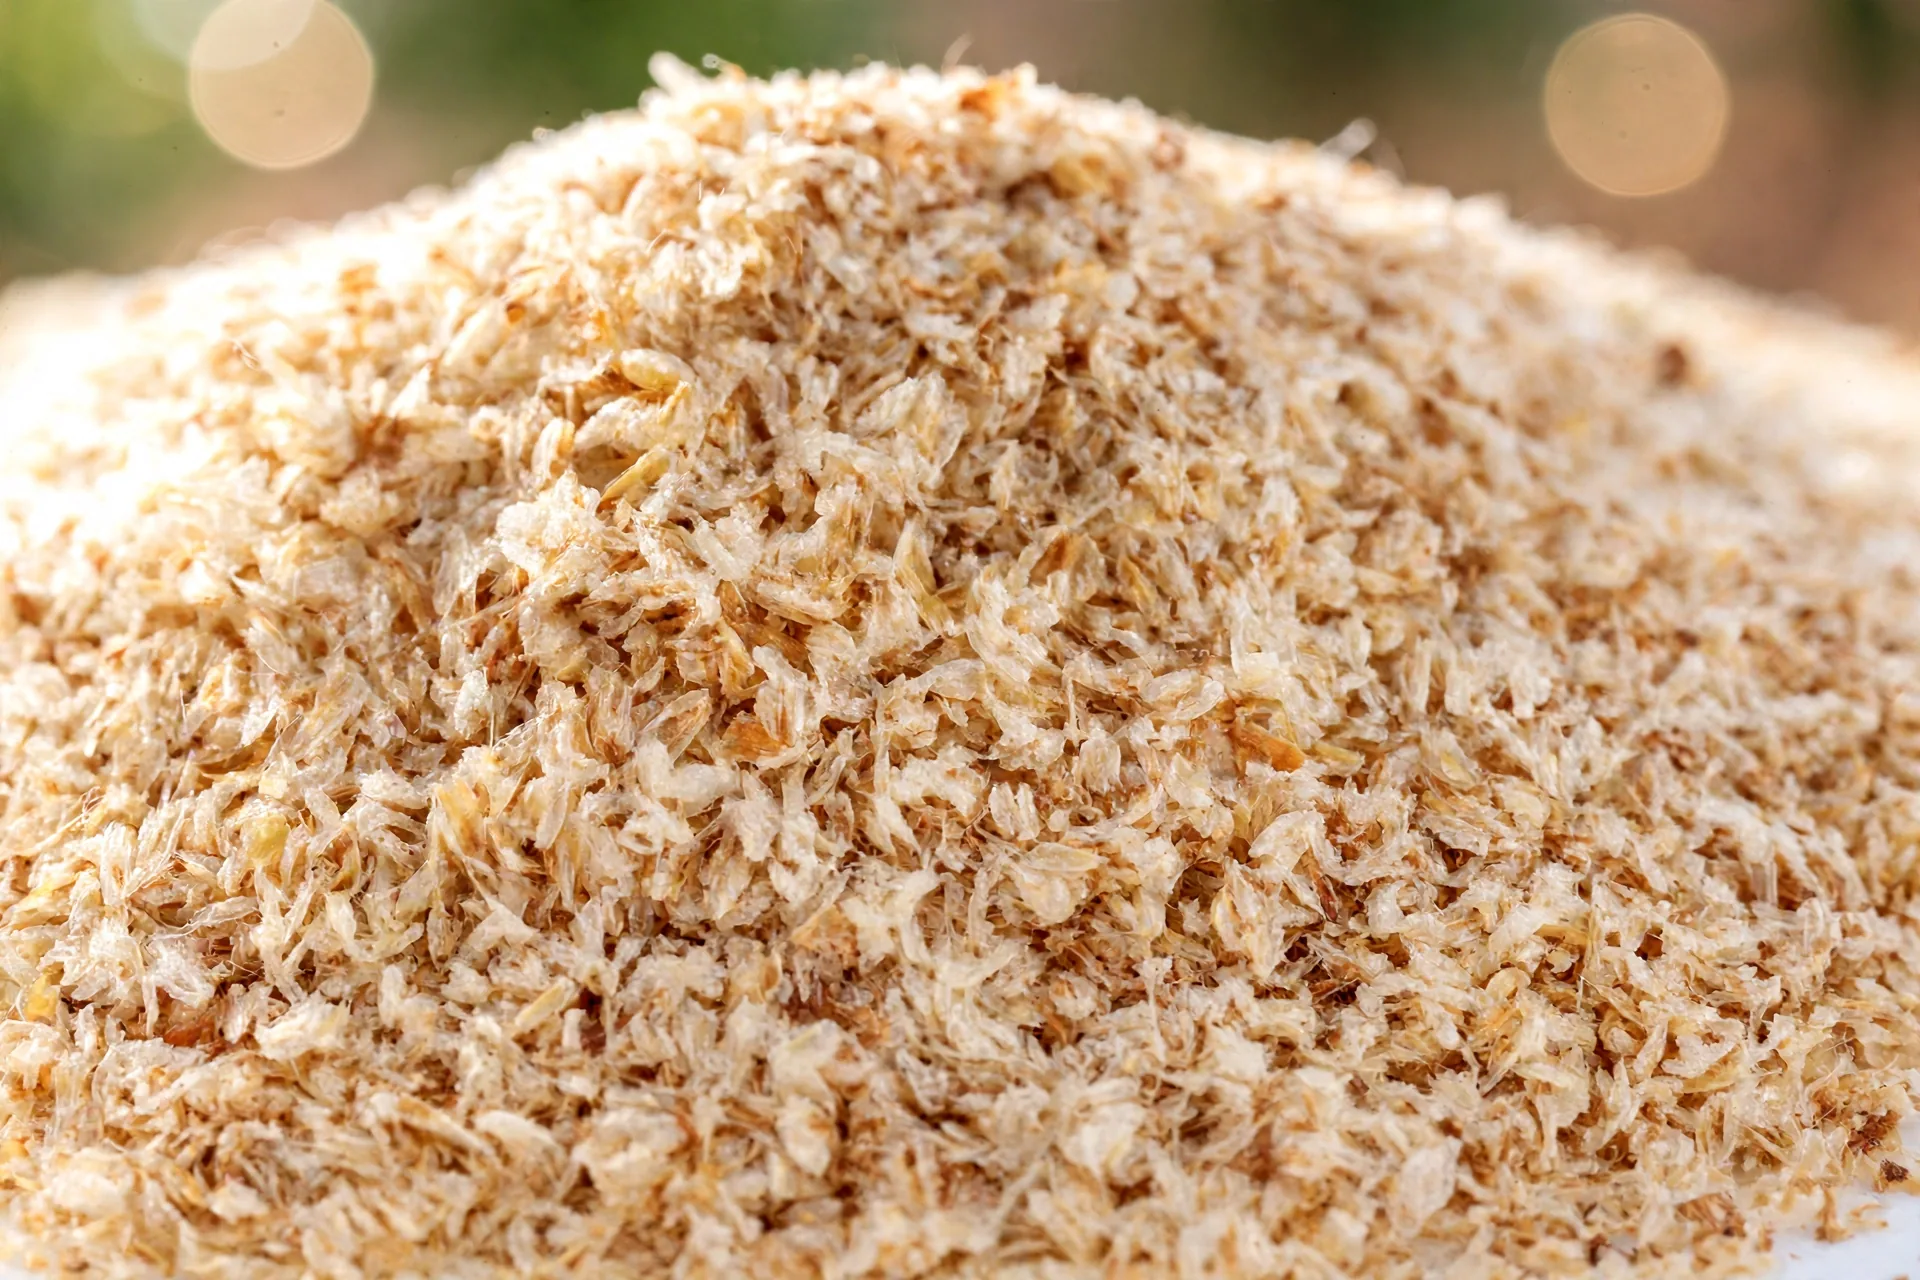
This is probably the only unfamiliar ingredient on the list — and it is absolutely crucial if you want proper gluten free bread. One thing needs saying clearly before anything else: there is no substitute for psyllium husk in this recipe.
Psyllium husk comes in two forms: the rough husk and a fine powder. This recipe uses the rough husk.
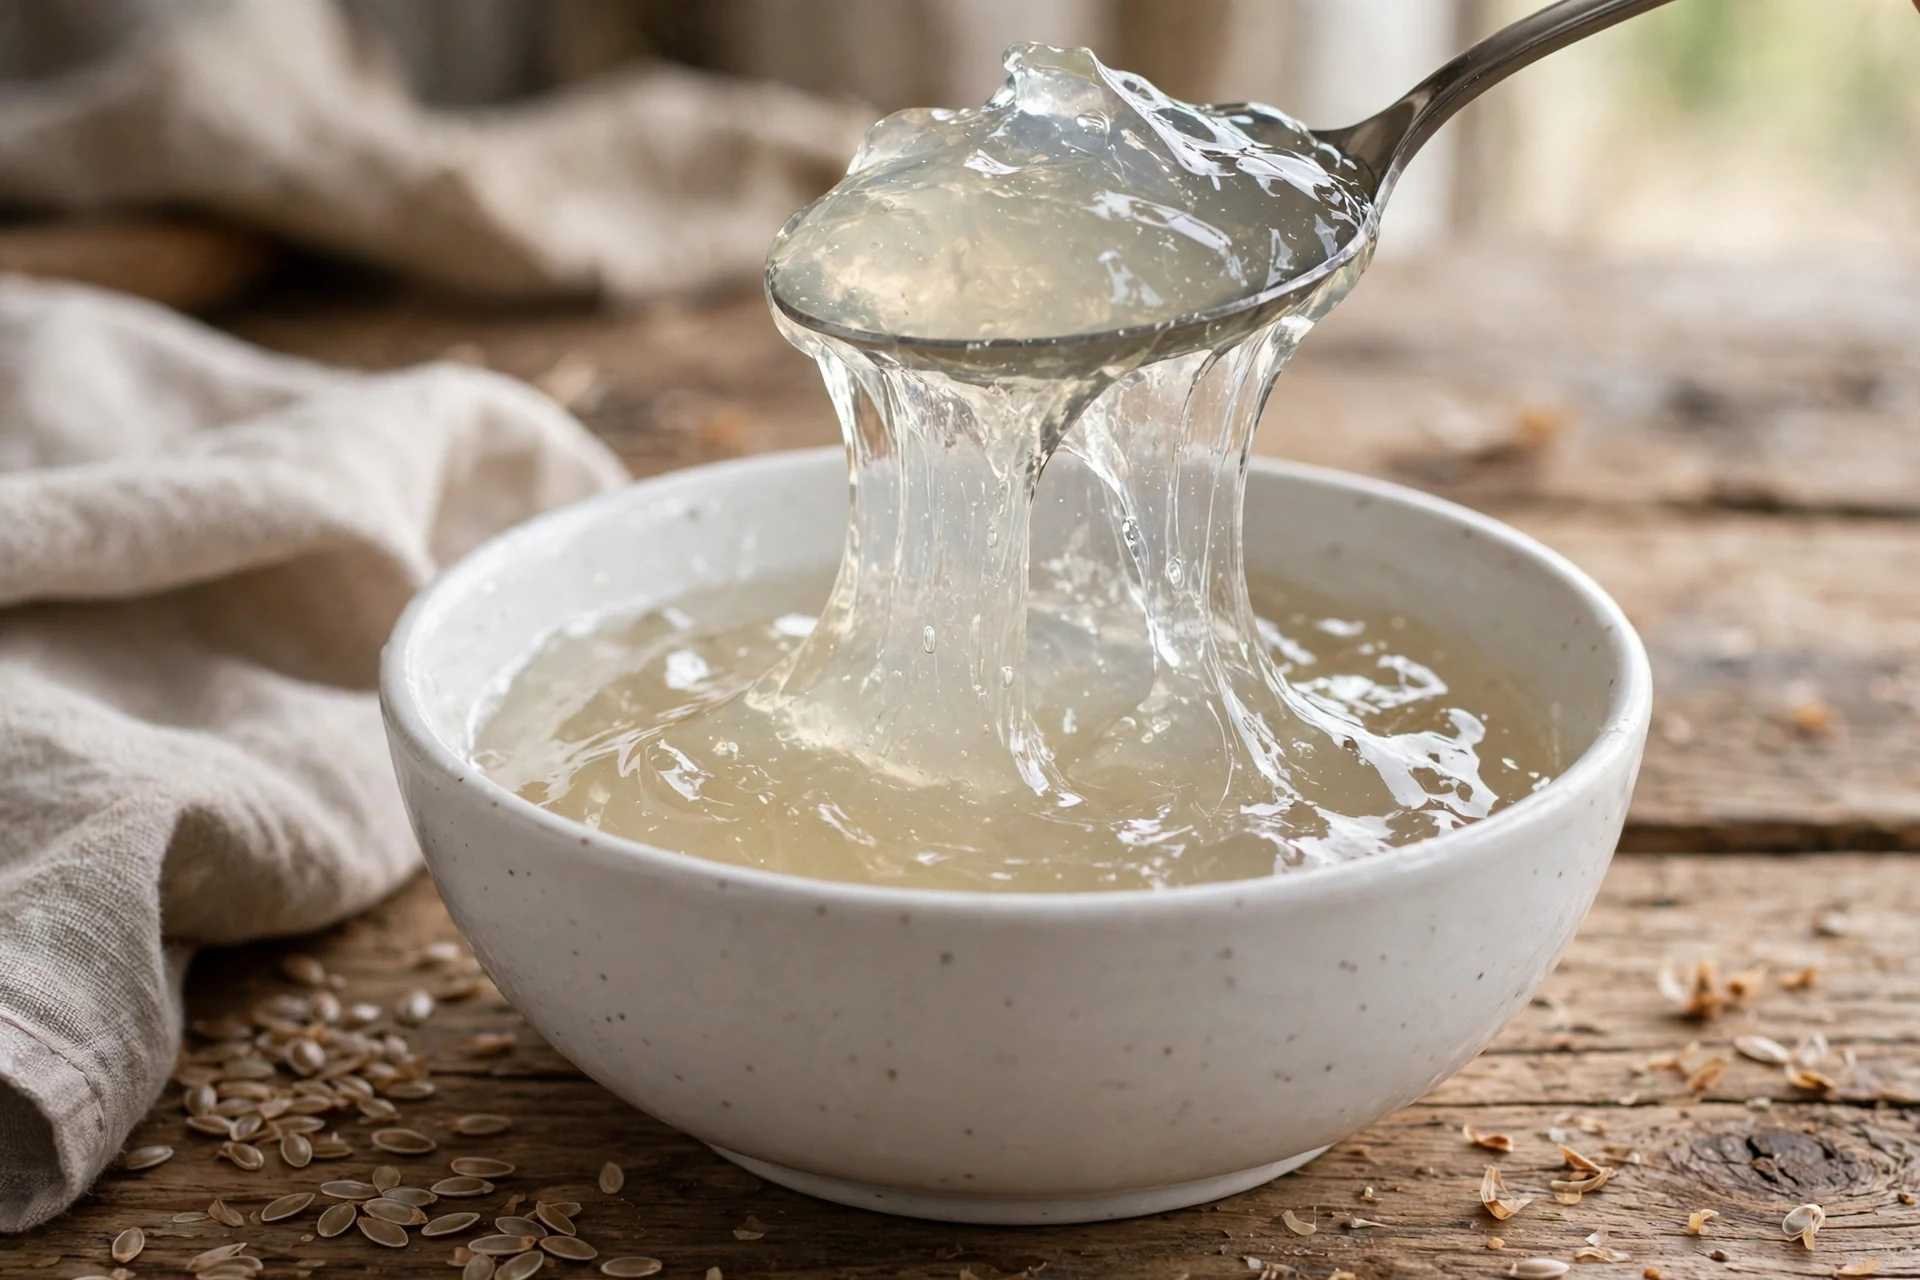
When psyllium husk is mixed with water, it forms a gel — and that gel is what does the job of gluten, both in the dough and in the finished loaf.
Before baking, the psyllium gel turns the mixture into a real dough that can be kneaded and shaped, instead of a batter that has to be scooped or poured into a tin. It also gives the dough enough elasticity to trap the gas the yeast produces, so the loaf can expand during both rises.
In the baked loaf, the psyllium is responsible for the elasticity and flexibility of the crumb, and for that chewy texture with an open structure that makes this bread feel like bread.
Mixing the Ingredients and Kneading the Dough
Start by mixing the yeast and sugar with some of the warm water to wake the yeast up. After 5 to 10 minutes it should look bubbly and frothy, which means the yeast is alive and active. If there are no bubbles and no foam, the yeast is inactive — possibly past its best — and you should open a fresh packet.

Next, make the psyllium gel: stir the psyllium husk into the rest of the water and watch — the gel starts forming within seconds.
Then, in a large bowl:
- Add the buckwheat flour, potato starch, brown rice flour and salt, and mix them thoroughly.
- Make a well in the middle and add the yeast mixture.
- Add the psyllium gel.
- Add the apple cider vinegar.
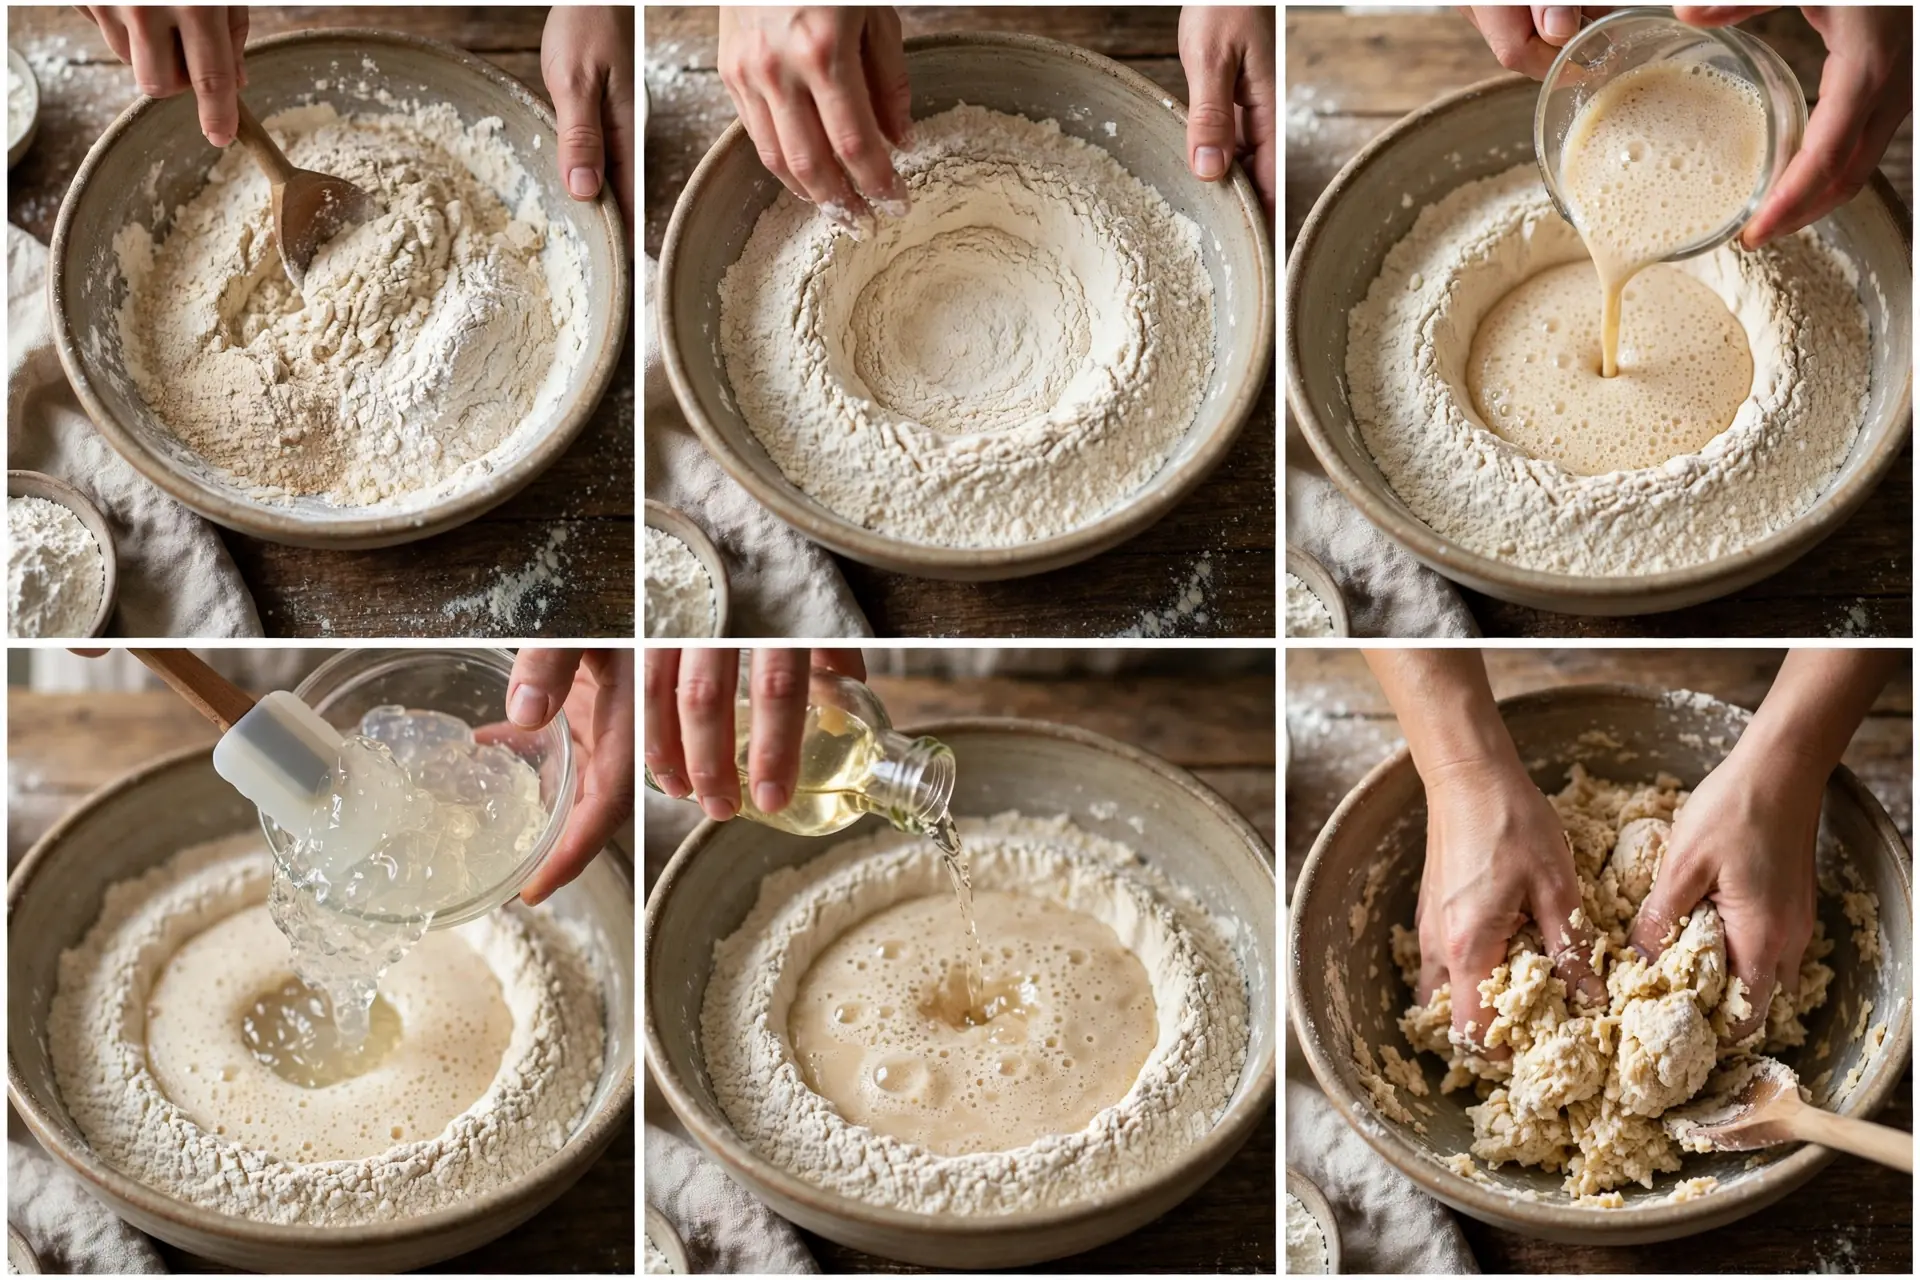
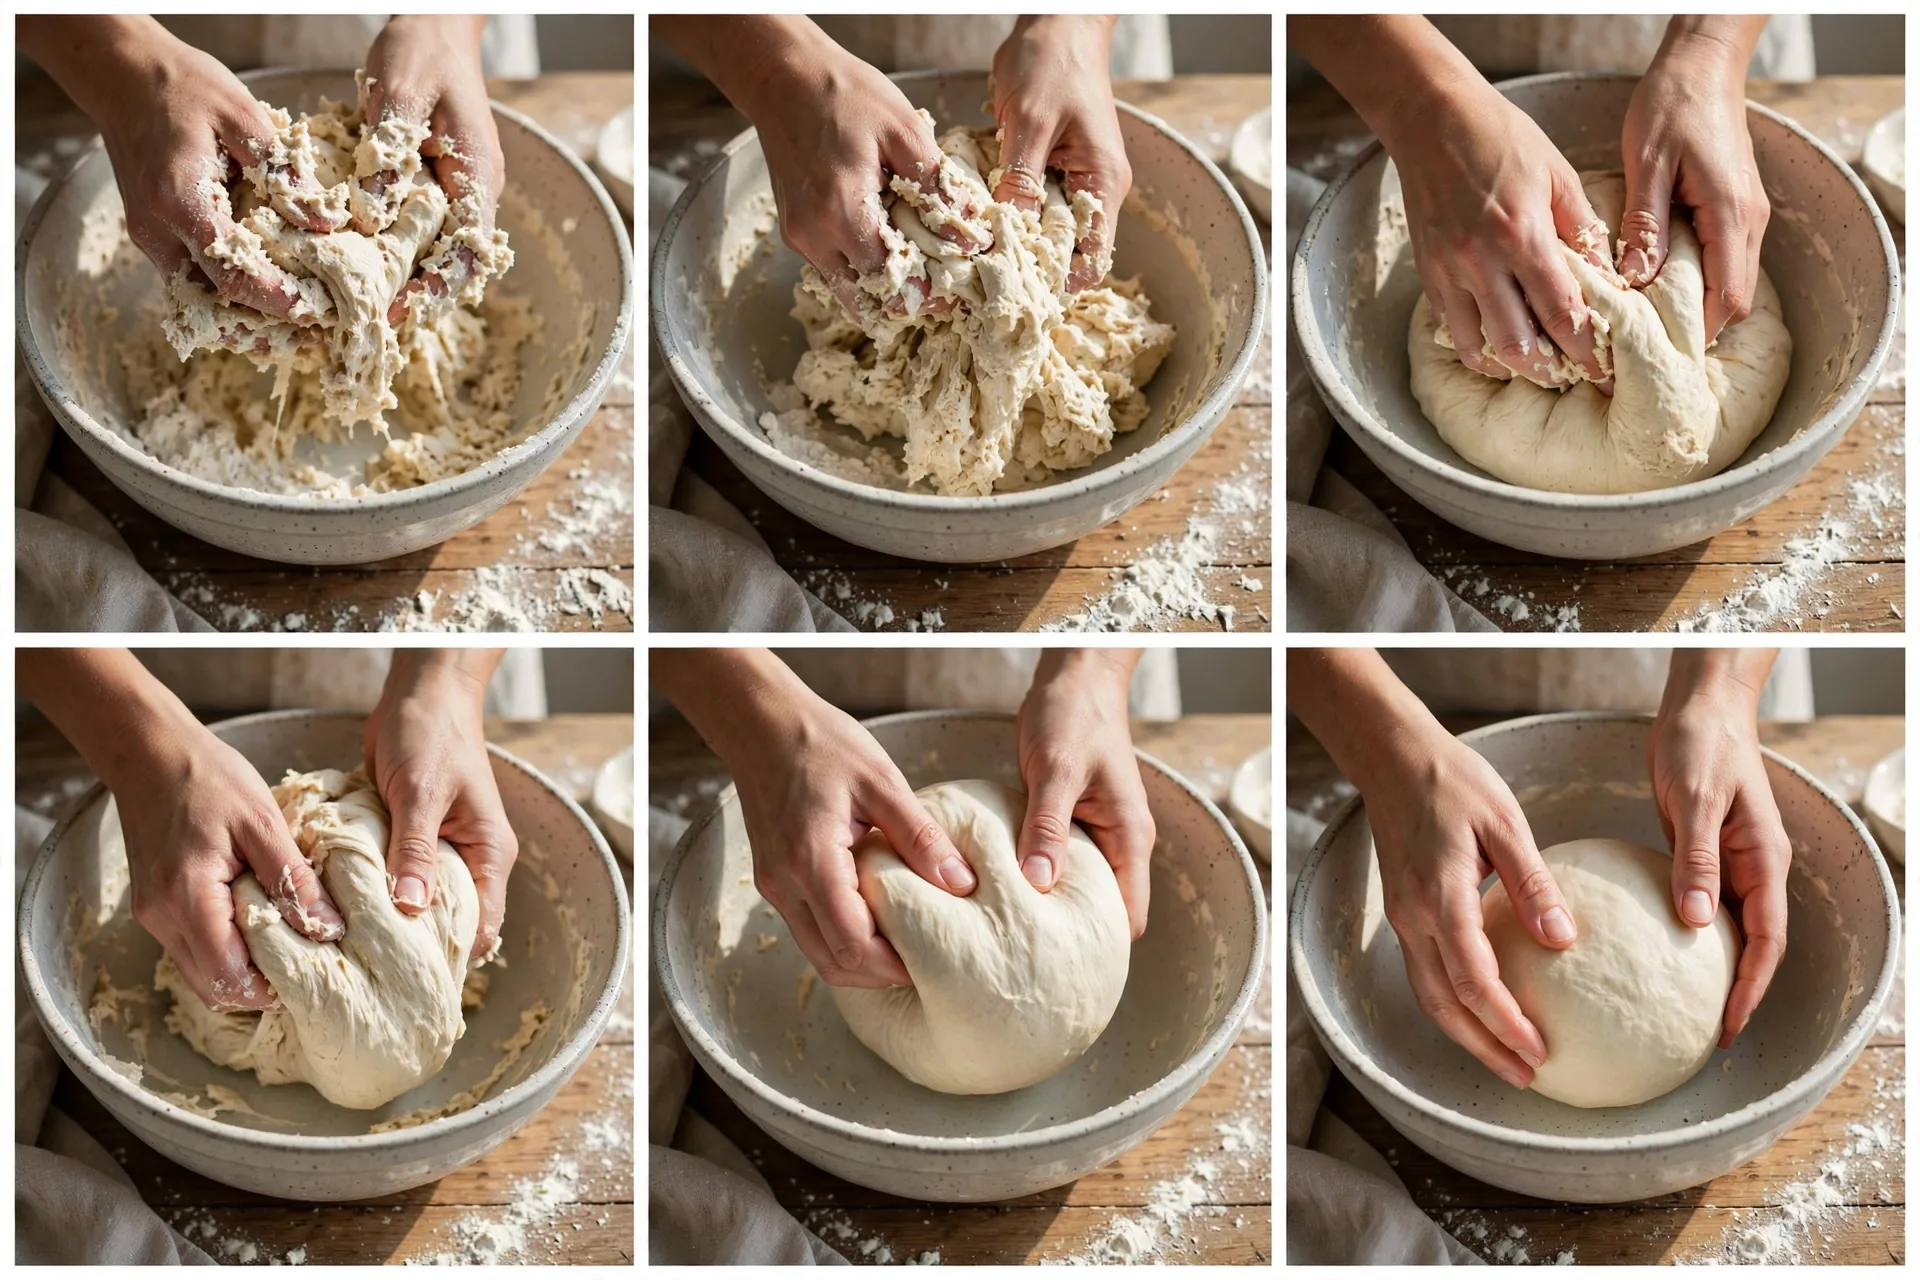
Now for the mixing and kneading. There is genuinely no right or wrong way to knead gluten free dough, because you are not building gluten — there are no stretching motions needed to develop elasticity the way wheat bread demands.
Once the wet and dry ingredients meet, squeeze the dough through your fingers until it becomes smooth and even. After a few minutes you will notice it coming away from the sides of the bowl, and it will be easy to bring it together into a rough ball. In total, about 5 to 10 minutes of kneading — by hand, or with a stand mixer fitted with a dough hook — gets it smooth.
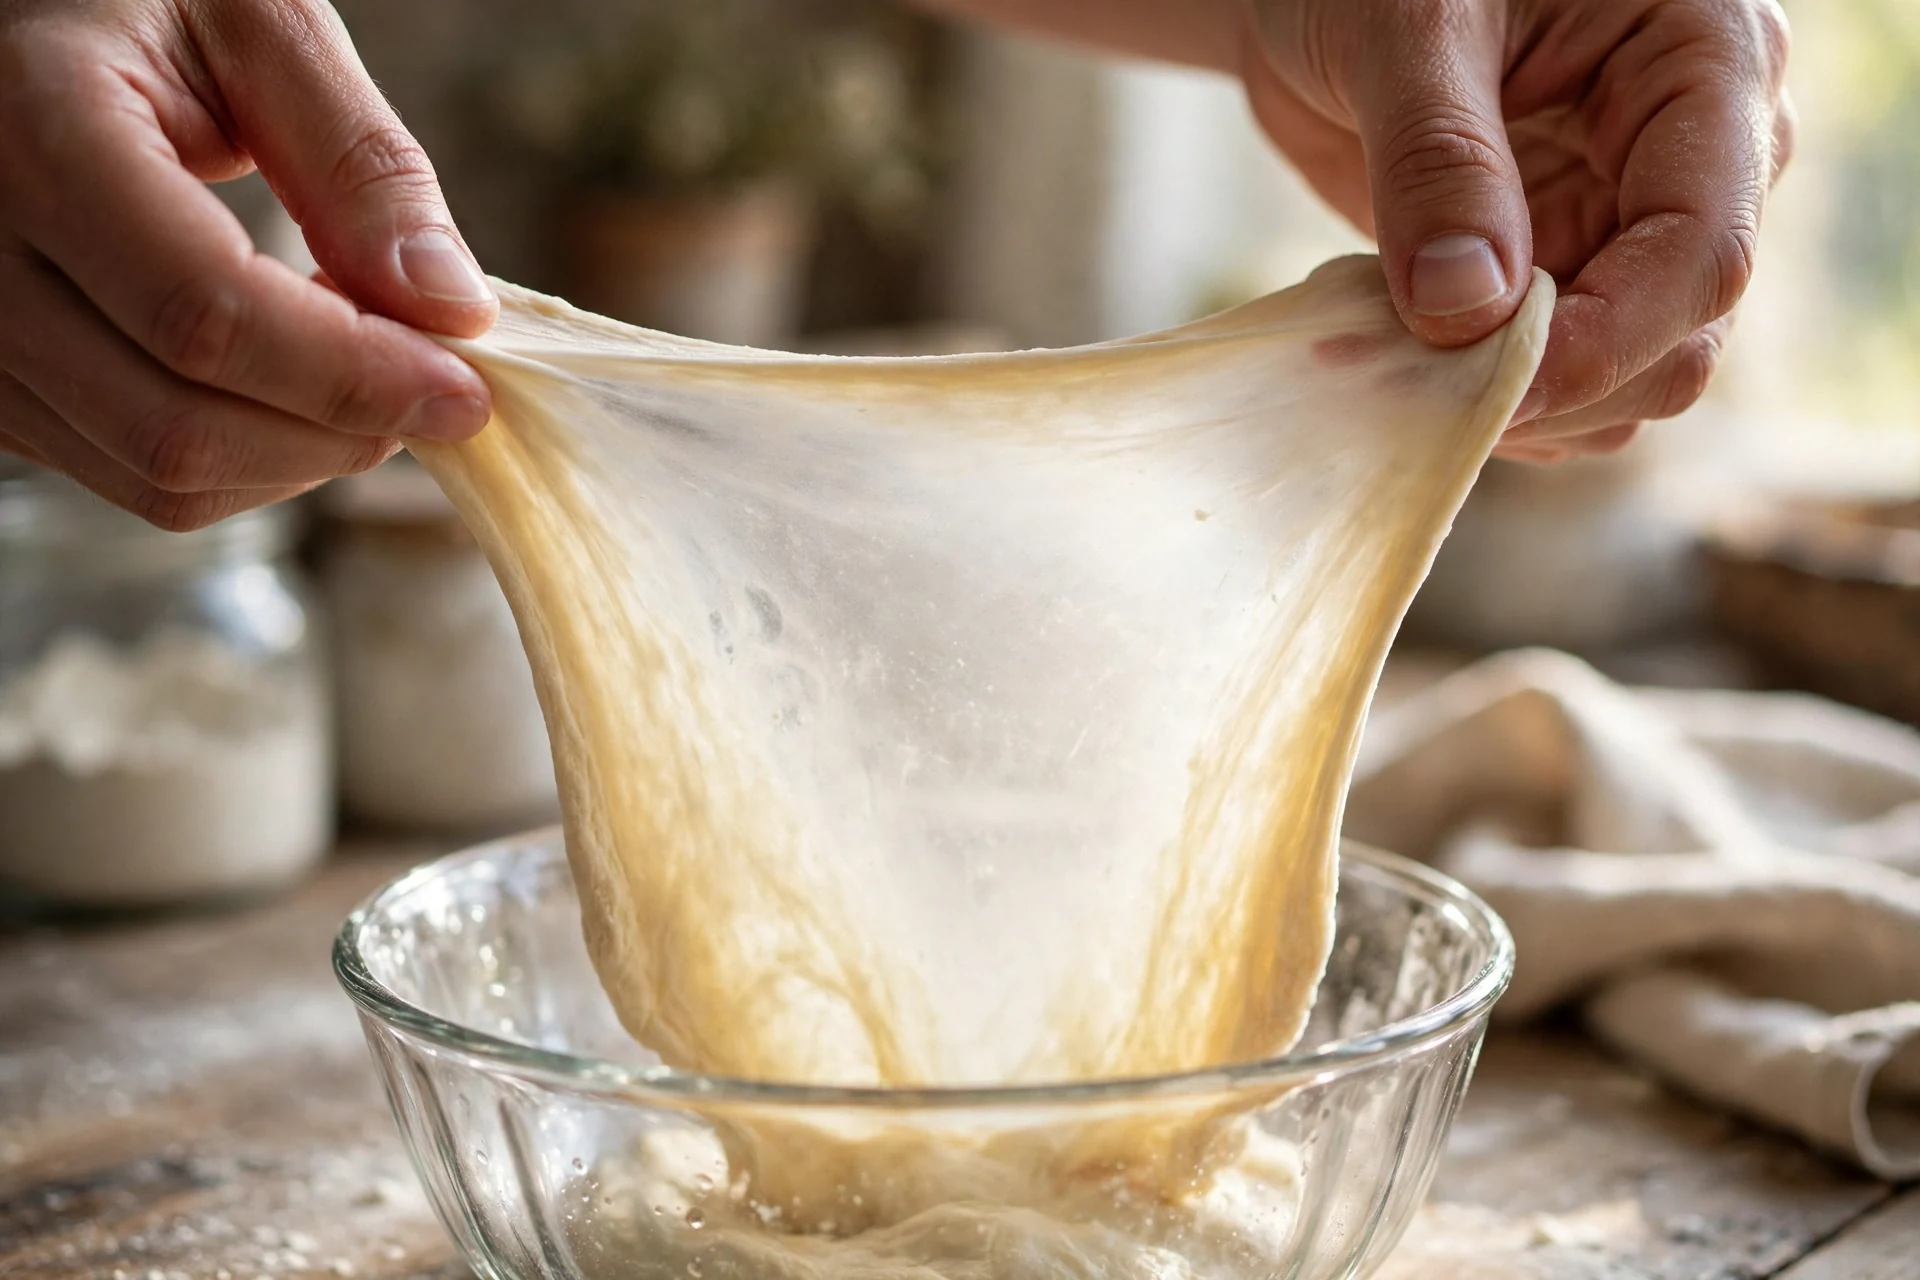
It will never have the super-stretchy pull of a wheat dough, but there is enough elasticity that you can stretch a portion of it without it breaking off. That is the psyllium husk doing its work.
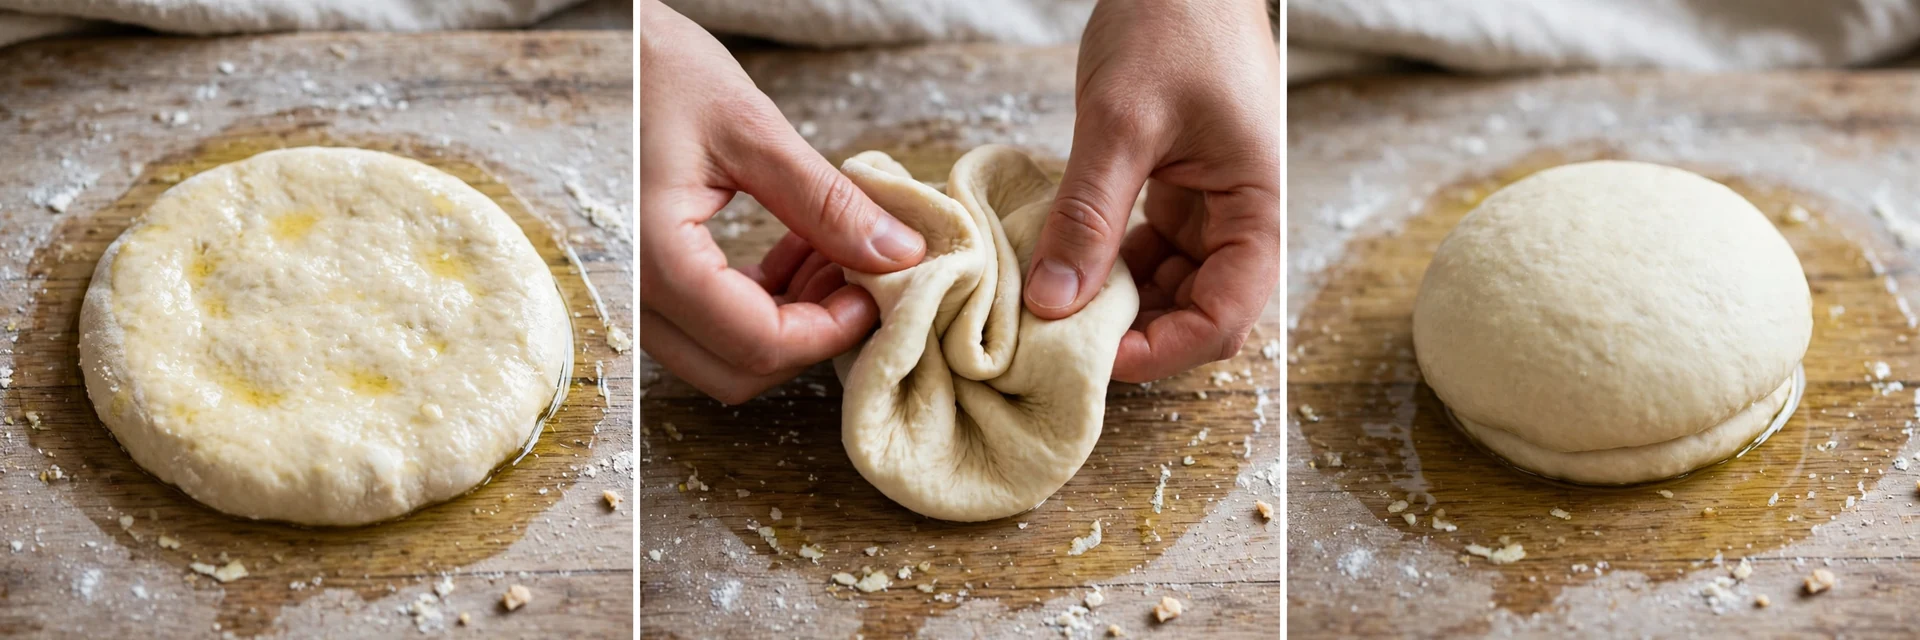
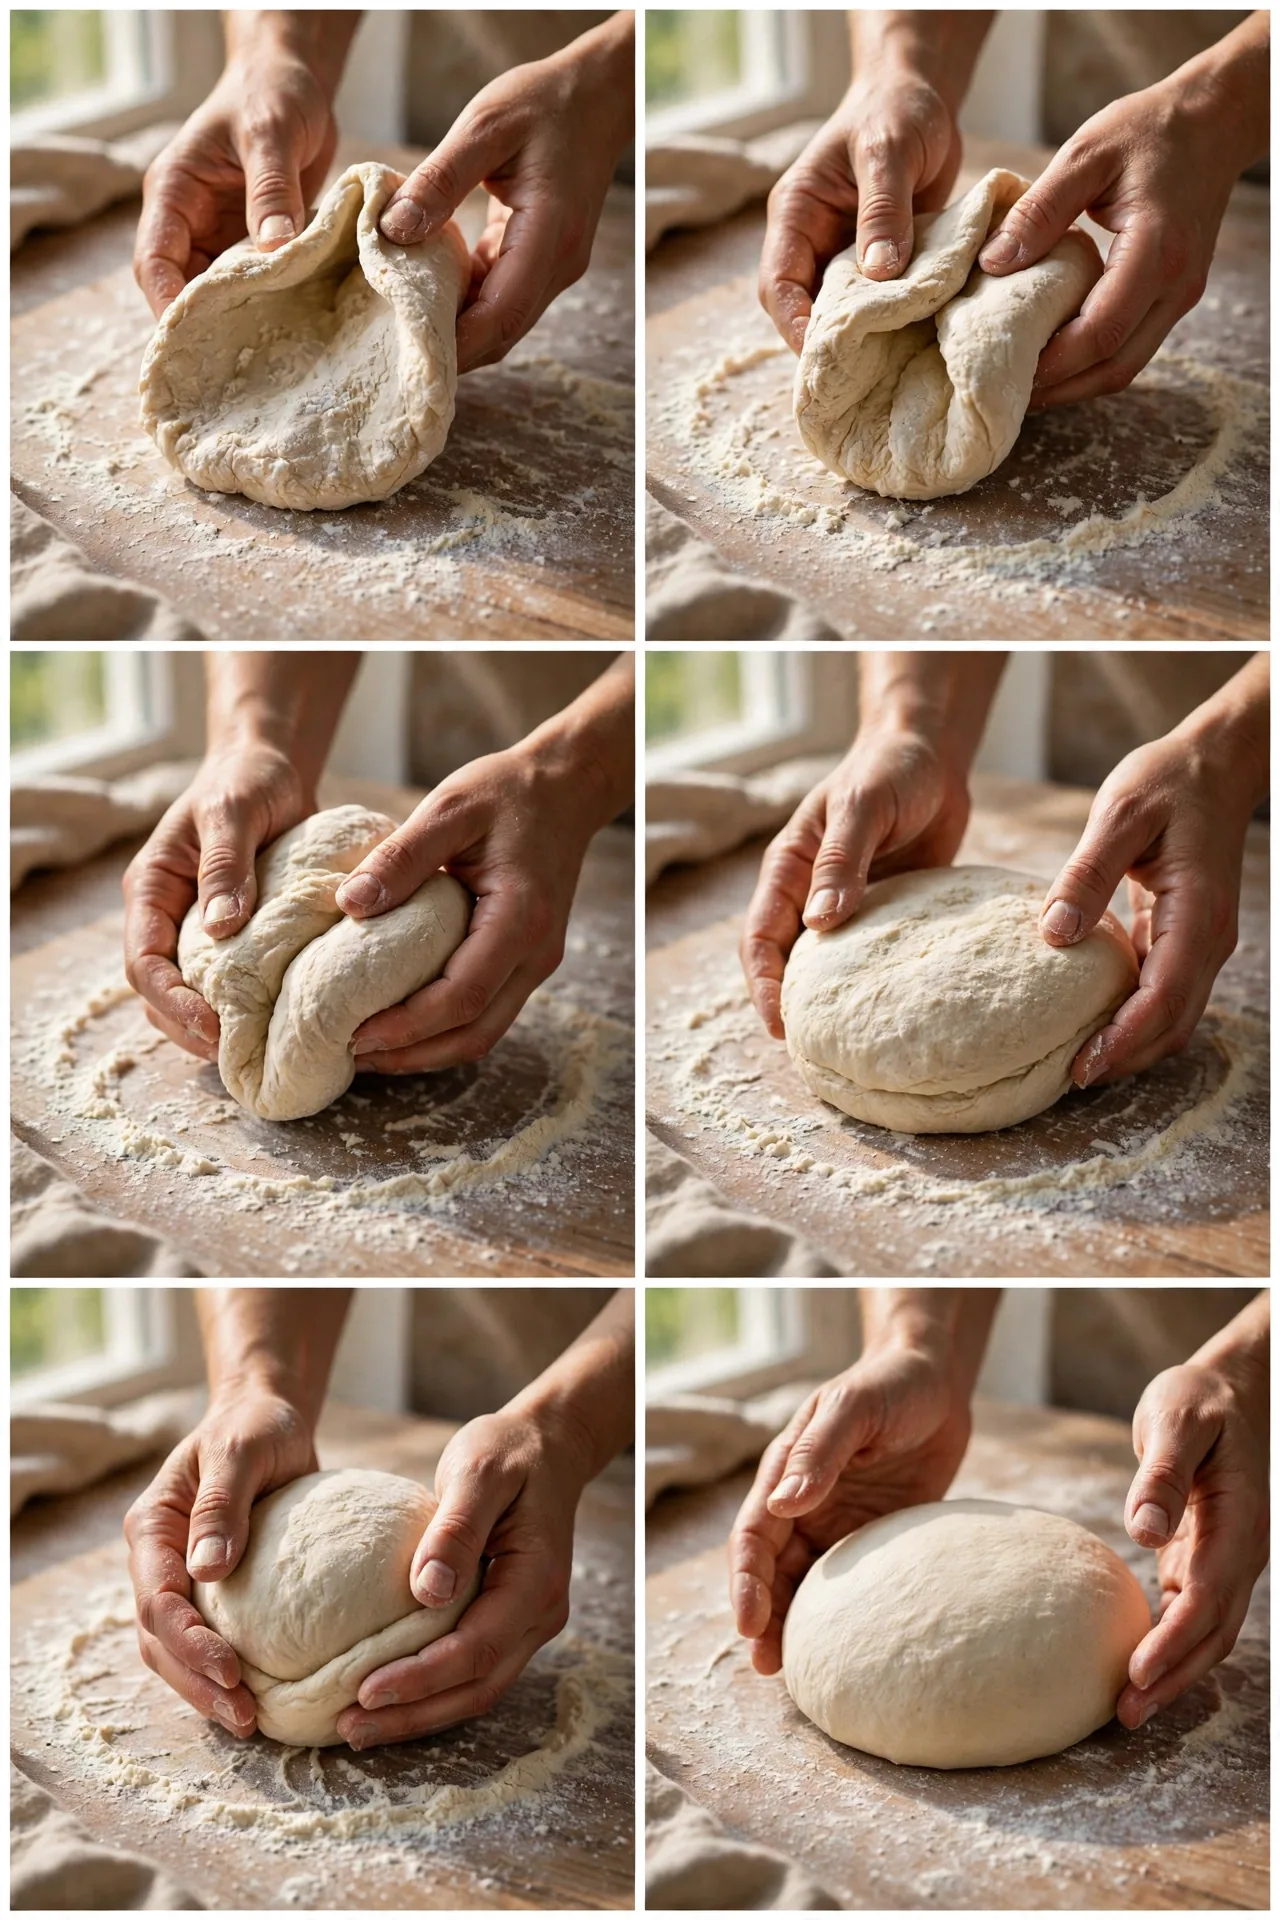
Before the first rise, shape the dough into a ball. Do this on a lightly oiled surface with lightly oiled hands: flatten the dough gently into a disc, then fold individual portions from the edge into the centre, rotating the dough as you go. After one full rotation you will have a ball; flip it seam side down and rotate it in place to seal the seams.
First Rise: Bulk Fermentation
Place the dough into a lightly oiled bowl, cover it with a damp tea towel, and let it rise in a warm place for about 1 hour, until it has roughly doubled in volume.
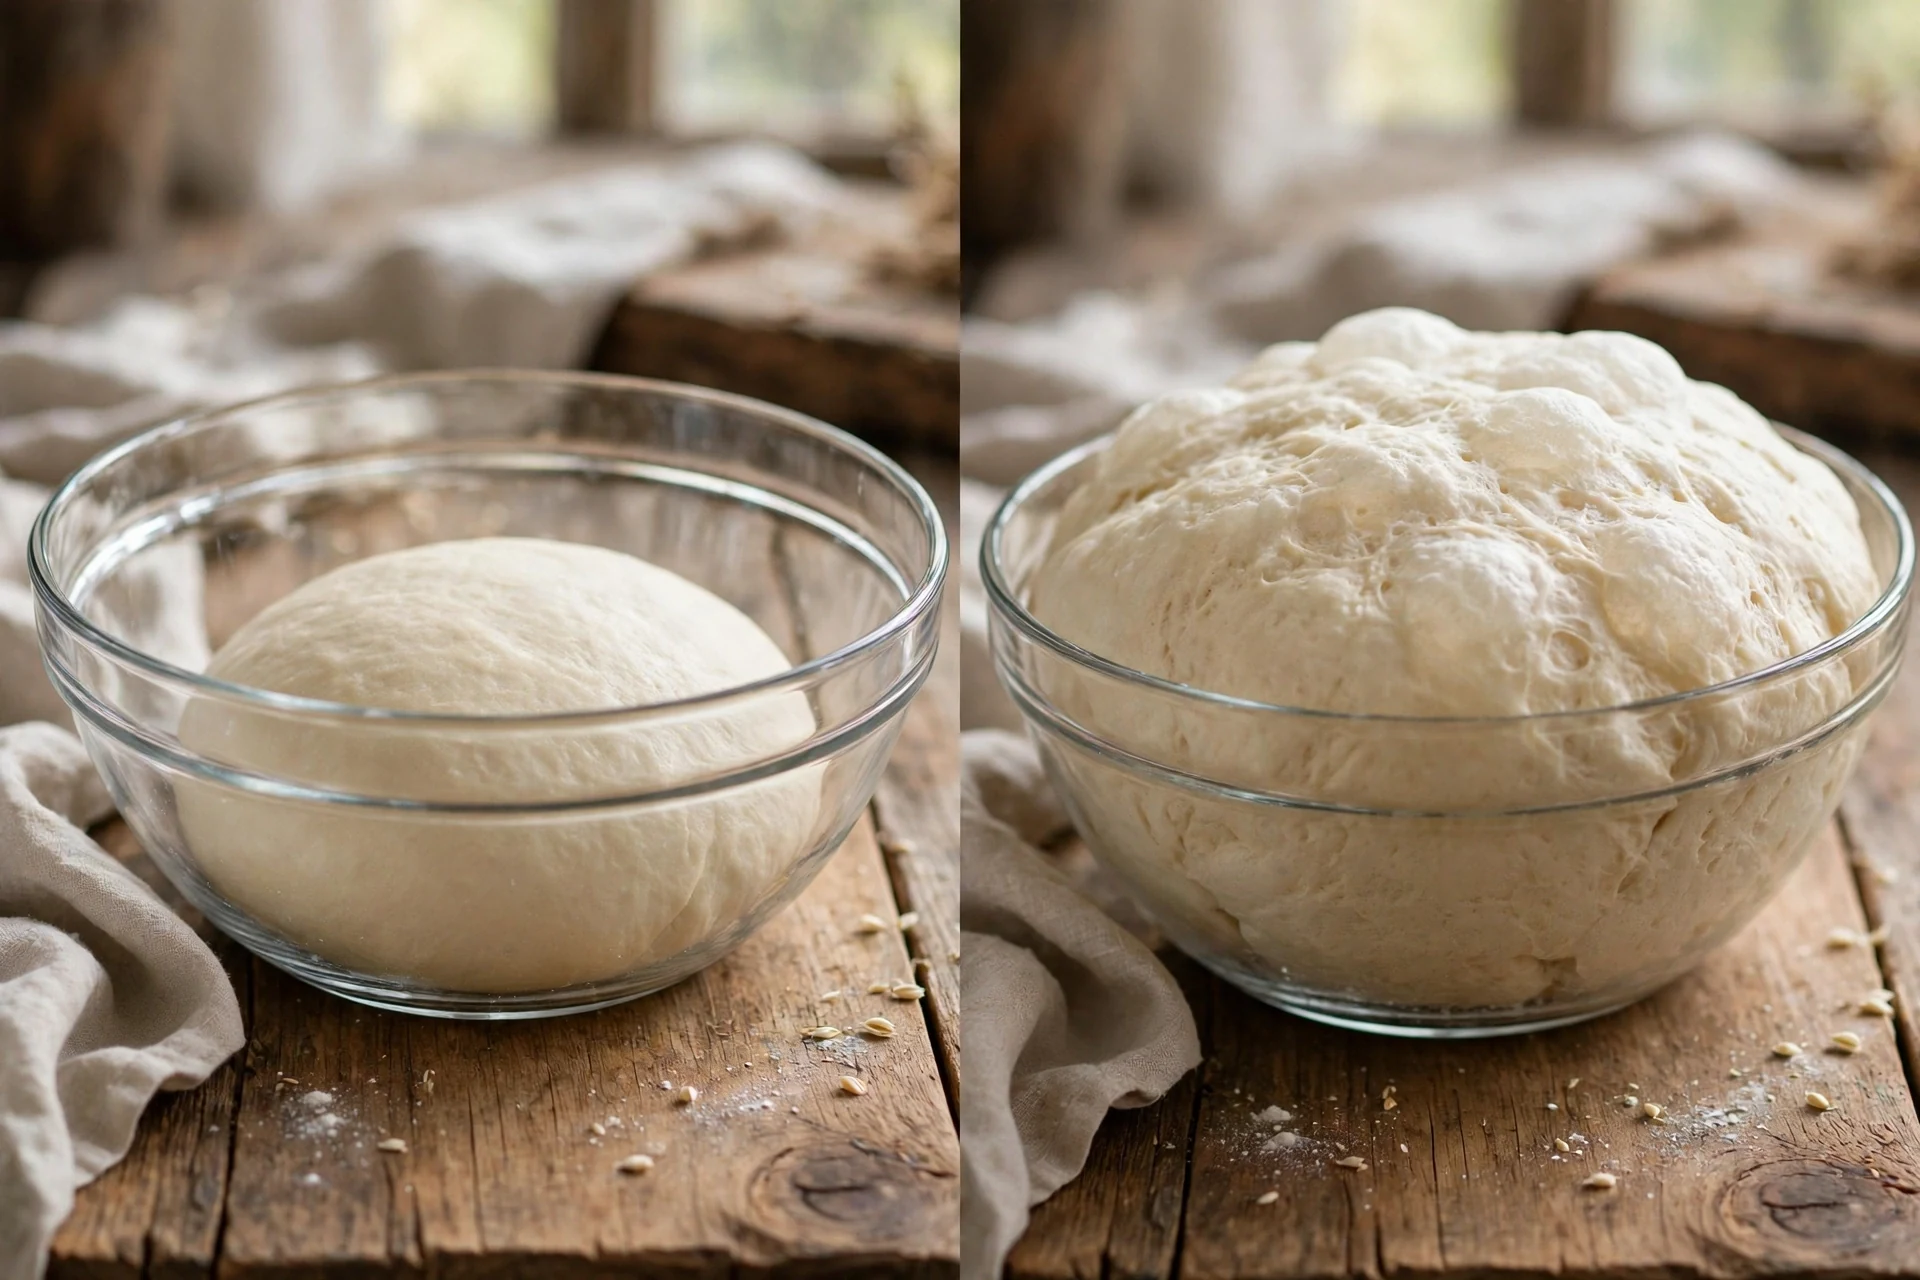
The main job of this bulk fermentation is flavour development — this slow rise is what gives the finished loaf its complex, properly-bread flavour.
Shaping the Loaf
Once the dough has doubled, turn it out onto a lightly floured surface — brown rice flour works well for dusting. The shaping itself mirrors the earlier pre-shape: use the heel of your hand to gently knead the dough into shape, folding sections back onto themselves and rotating as you go. If the dough is not perfectly smooth after the first full rotation, simply keep going until you are happy with it.
Then flip it seam side down onto a clean, unfloured part of the surface and rotate it in place to seal the seams and build a tight, smooth surface.
Second Rise: The Final Proof
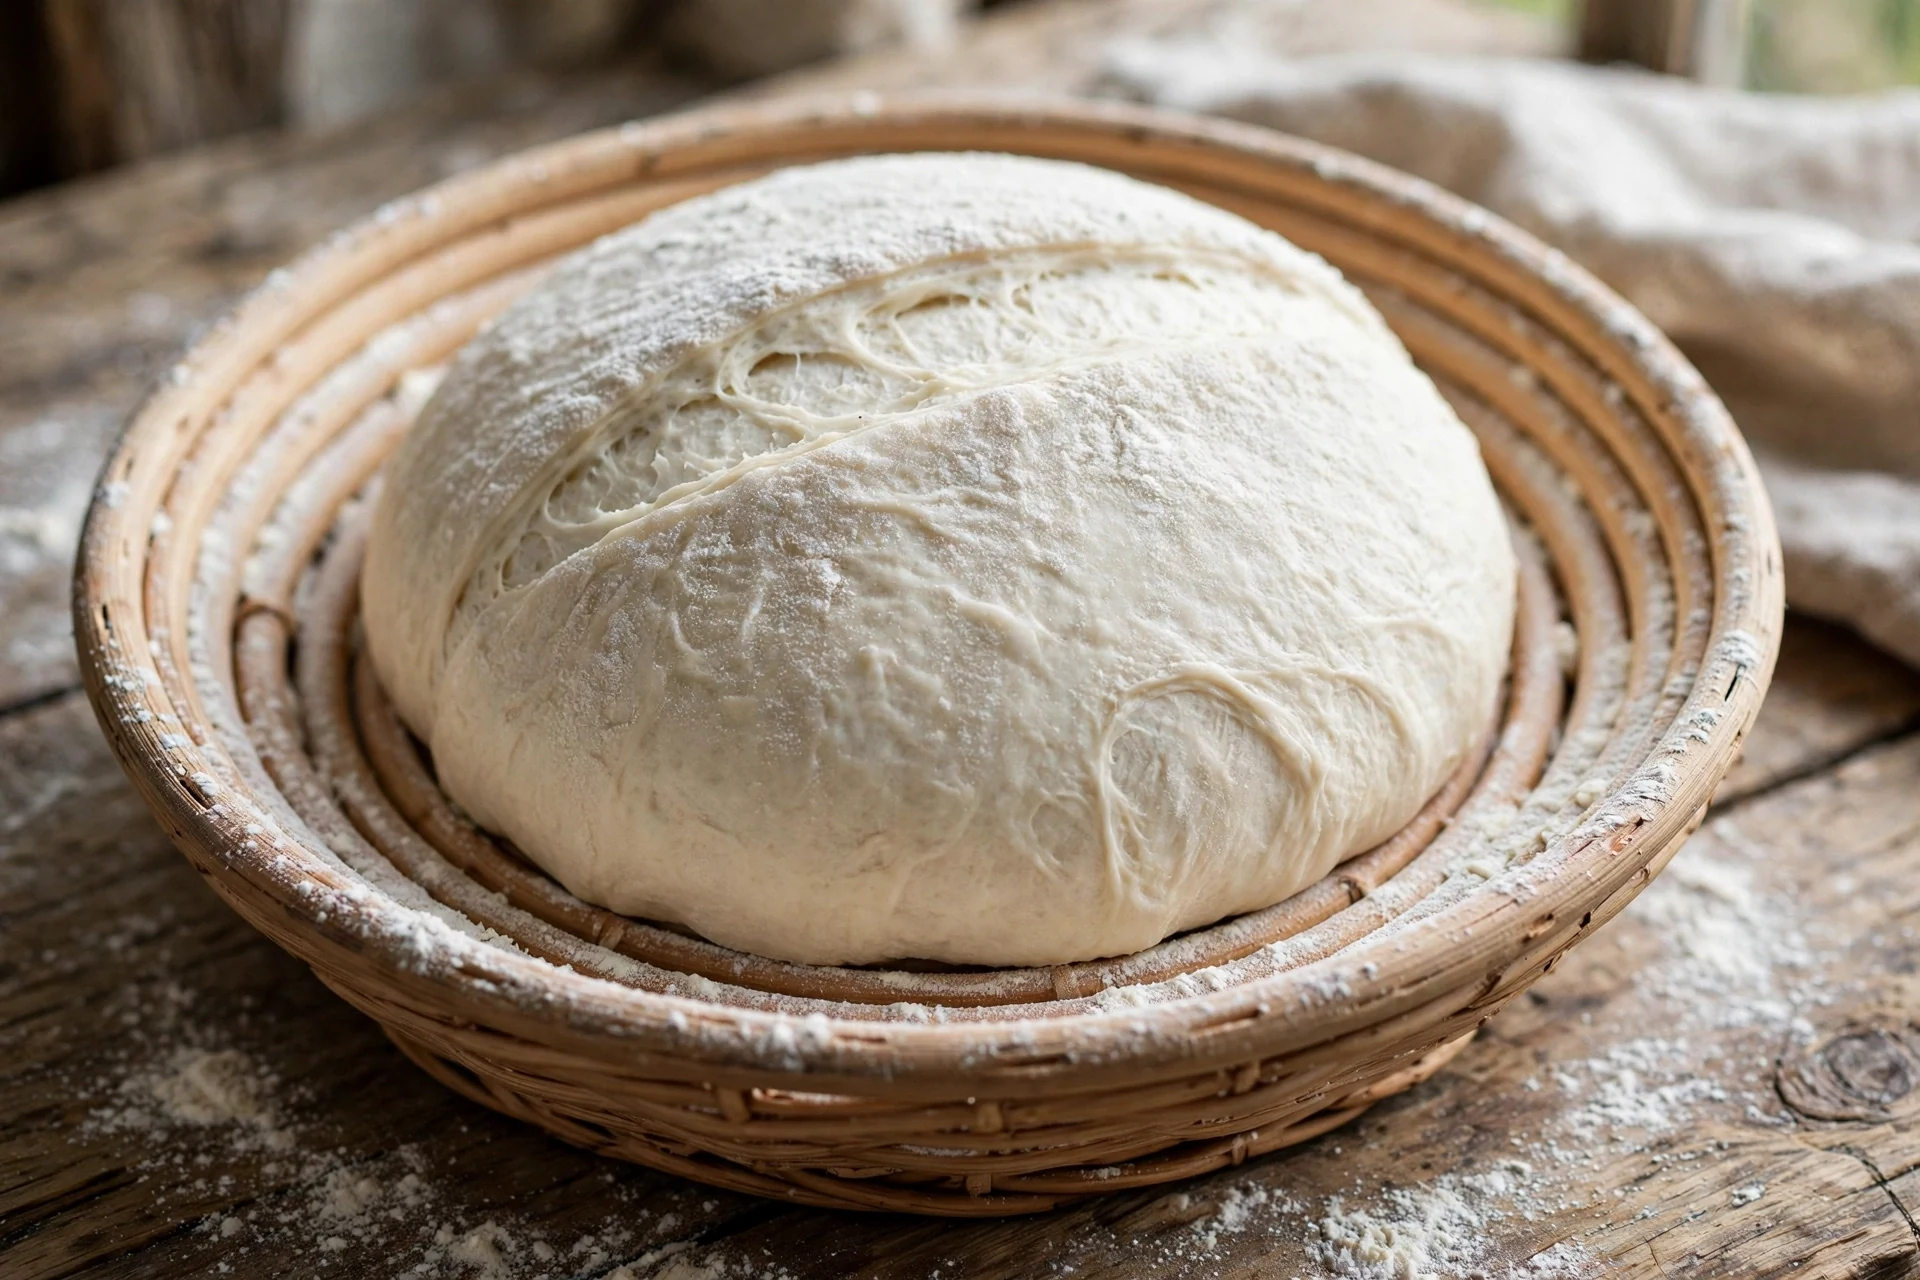
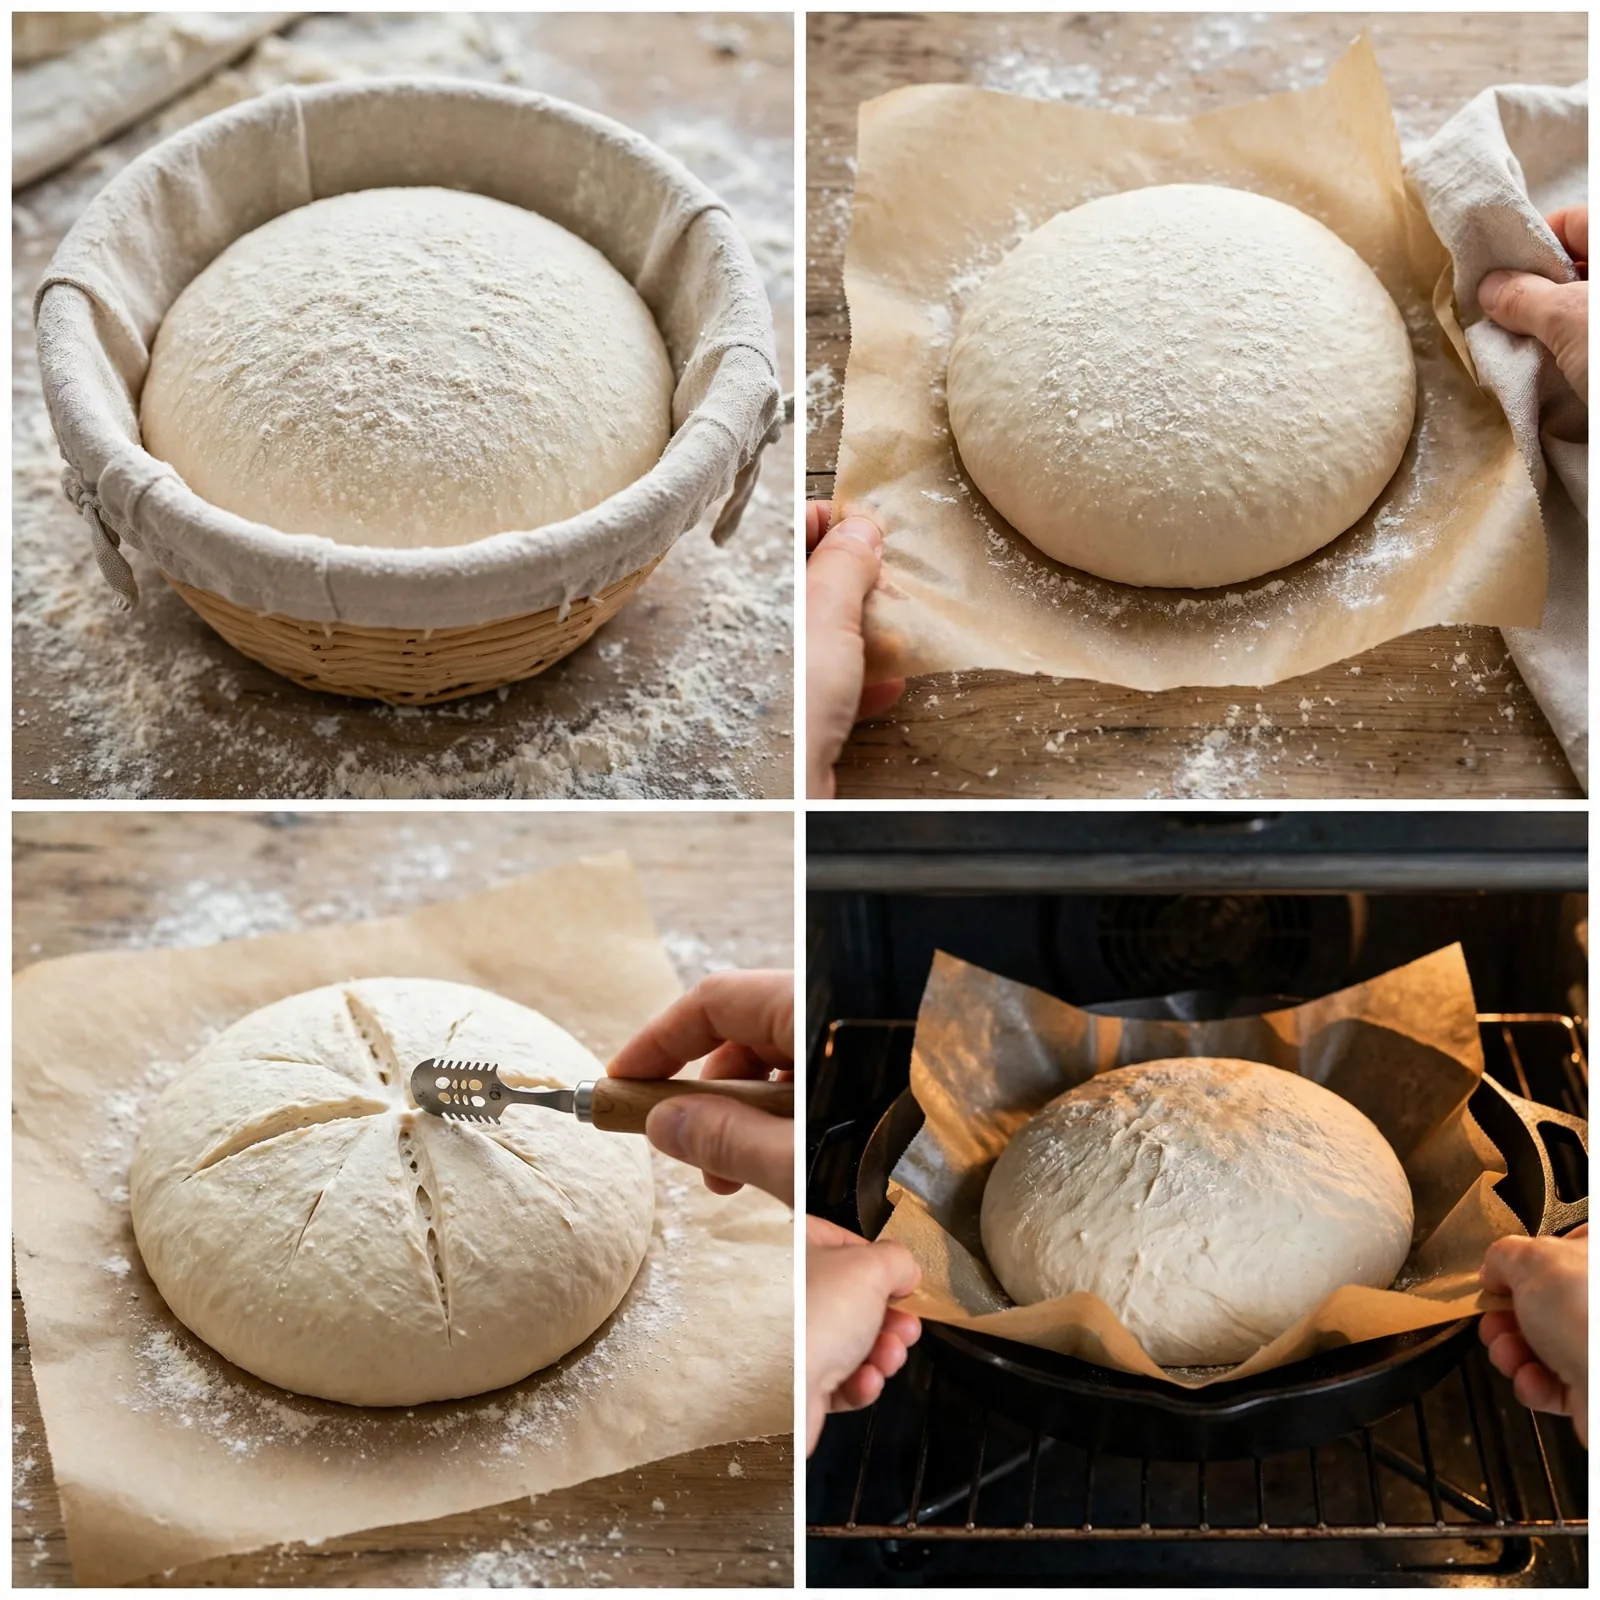
Transfer the shaped dough into a lightly floured 7 inch round proofing basket, seam side up, and pinch the seams closed if they need sealing. Cover with a damp tea towel and proof in a warm place for about 1 hour, or until approximately doubled in volume.
Oven Set-Up
Start preheating the oven to 480 ºF (250 ºC) about 30 to 45 minutes before you plan to bake — everything needs to be properly, scorchingly hot.
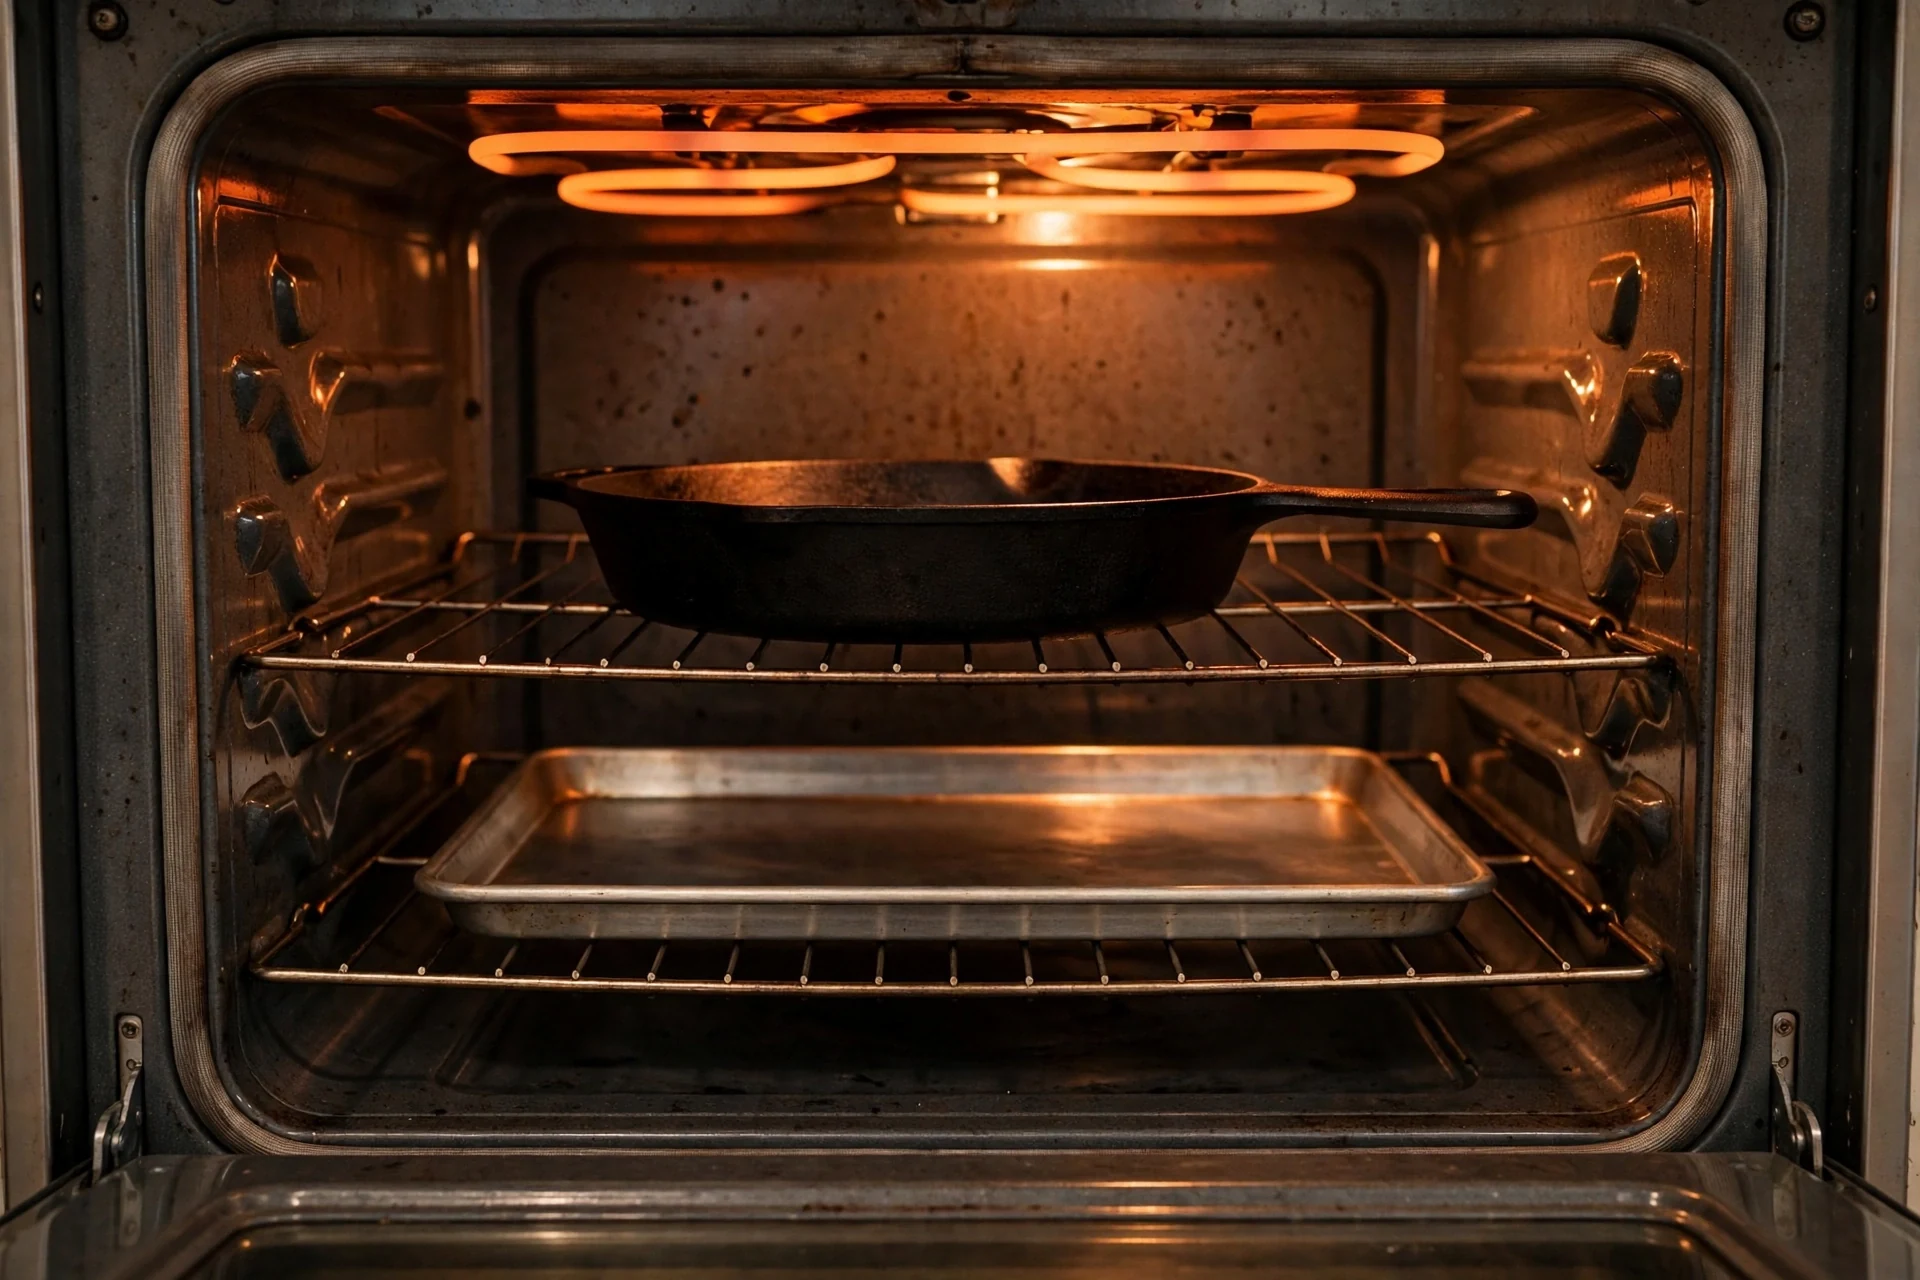
The set-up used for this loaf is a cast iron skillet on the middle rack, with a baking tray on the rack below it. In Kat’s testing, a skillet gave her gluten free loaves slightly better oven spring — taller loaves — than a Dutch oven, though a Dutch oven or combo cooker works beautifully too, so use whichever you have.
The tray underneath holds hot water during the first part of the bake. That steam keeps the crust soft and stretchy long enough for the loaf to complete its final expansion (the oven spring) before the crust sets. If you bake in a closed Dutch oven or combo cooker, the tray is not needed — the lid traps the steam the bread itself releases. Either way, preheat the skillet or Dutch oven and the tray along with the oven.
Baking the Bread
When the loaf has proofed and doubled:
- Turn the dough out of the basket onto a sheet of baking or greaseproof paper — sliding a baking sheet underneath helps.
- Score the top with a sharp knife or a bread lame (a simple cross, about ¼ to ½ inch deep, is the easiest pattern).
- Transfer the dough, paper and all, into the hot skillet or Dutch oven.
- If you are using a skillet: put it back in the oven, pour hot water into the bottom tray, and tuck 3 to 4 ice cubes around the bread, between the paper and the skillet. If you are using a Dutch oven or combo cooker: add the ice cubes around the bread and put the lid on.
- Close the oven door and leave it closed — opening it lets the steam escape.
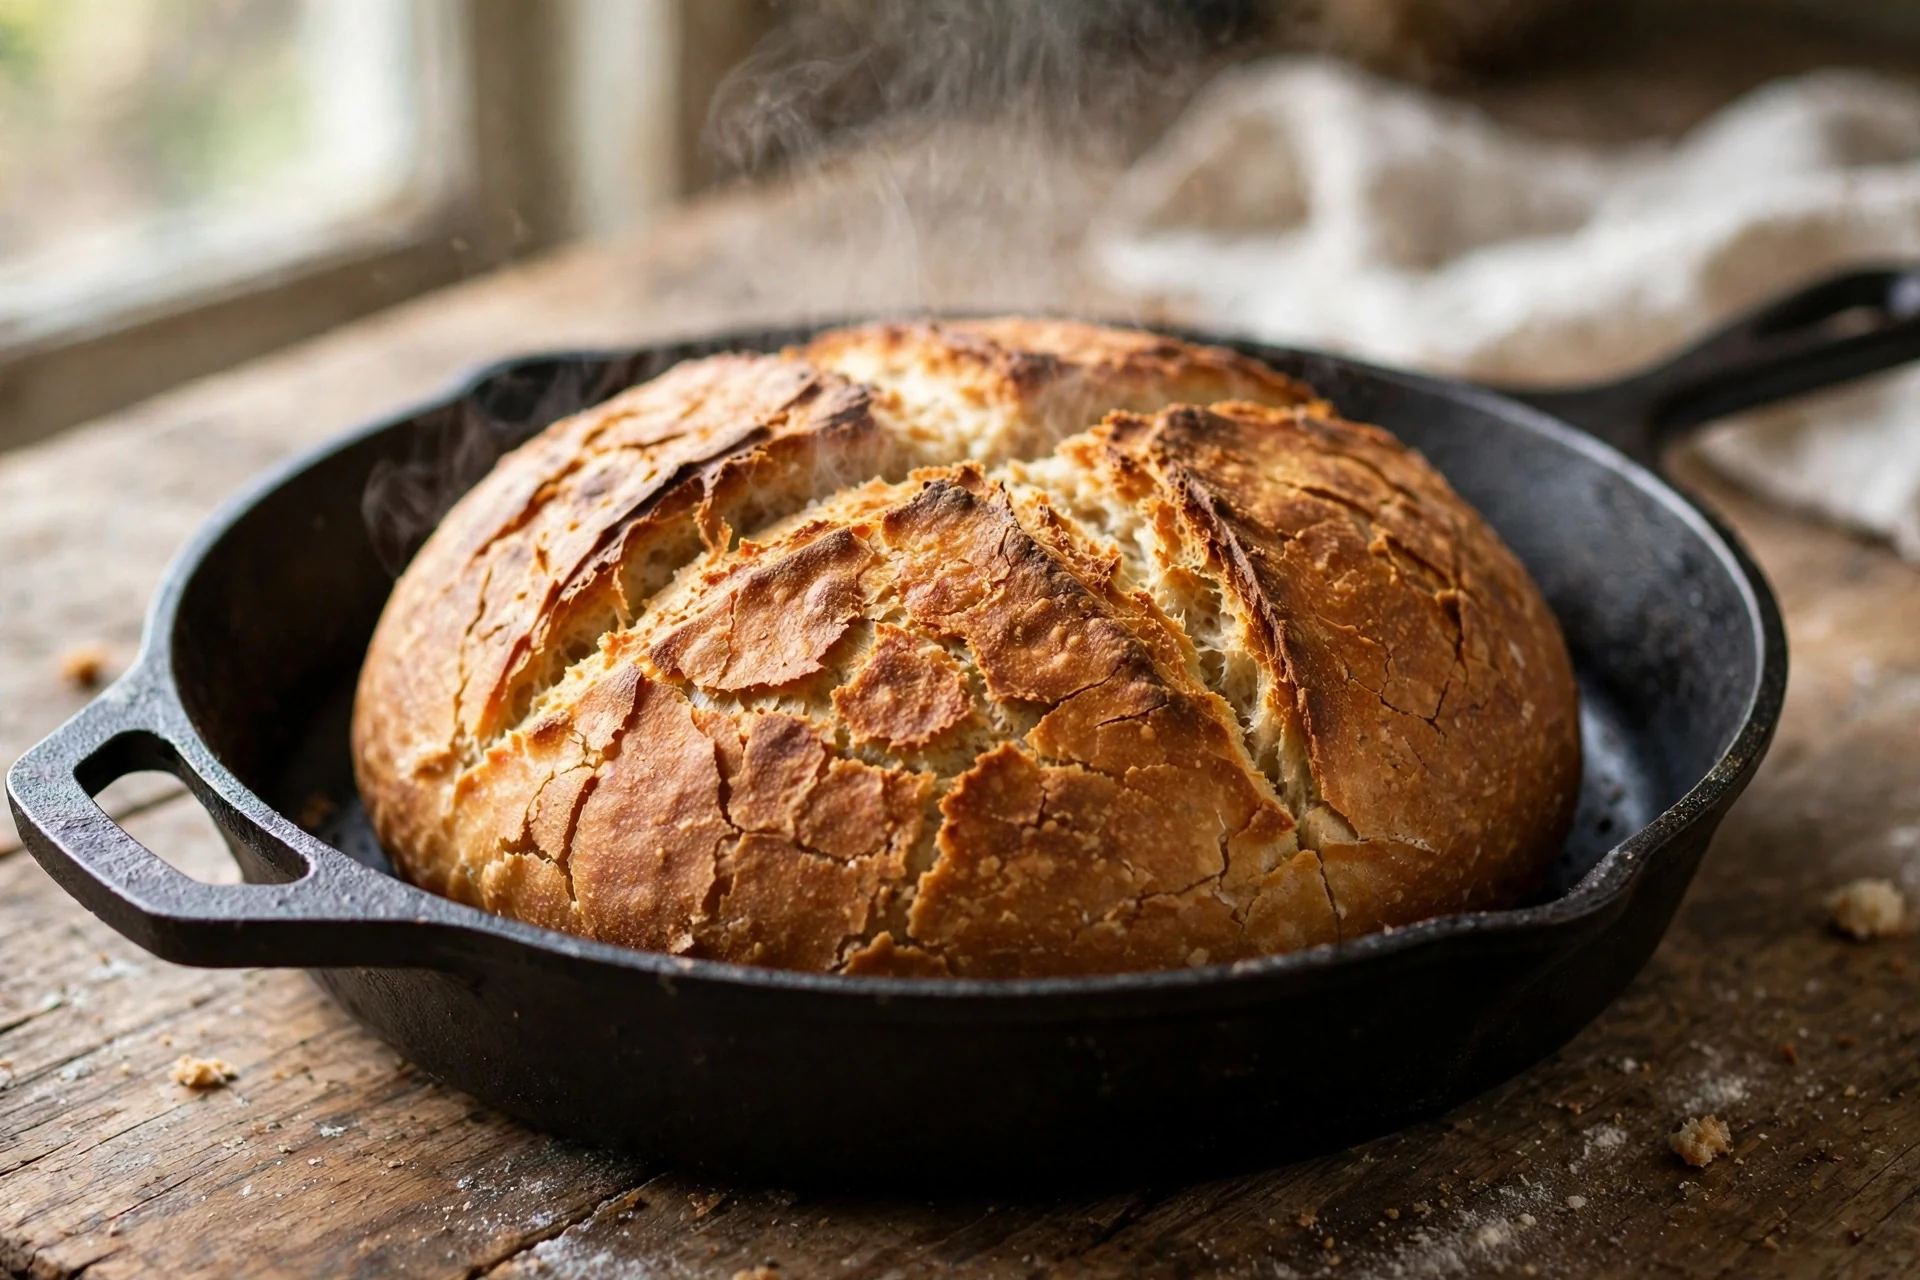
Bake with steam at 480 ºF (250 ºC) for 20 minutes. Then remove the water tray (or take the lid off the Dutch oven), reduce the temperature to 450 ºF (230 ºC) and bake for a further 40 to 50 minutes, until the loaf is a deep, dark brown. If the top starts browning too quickly, cover it loosely with a sheet of aluminium foil, shiny side up, and carry on baking.
Cooling the Loaf
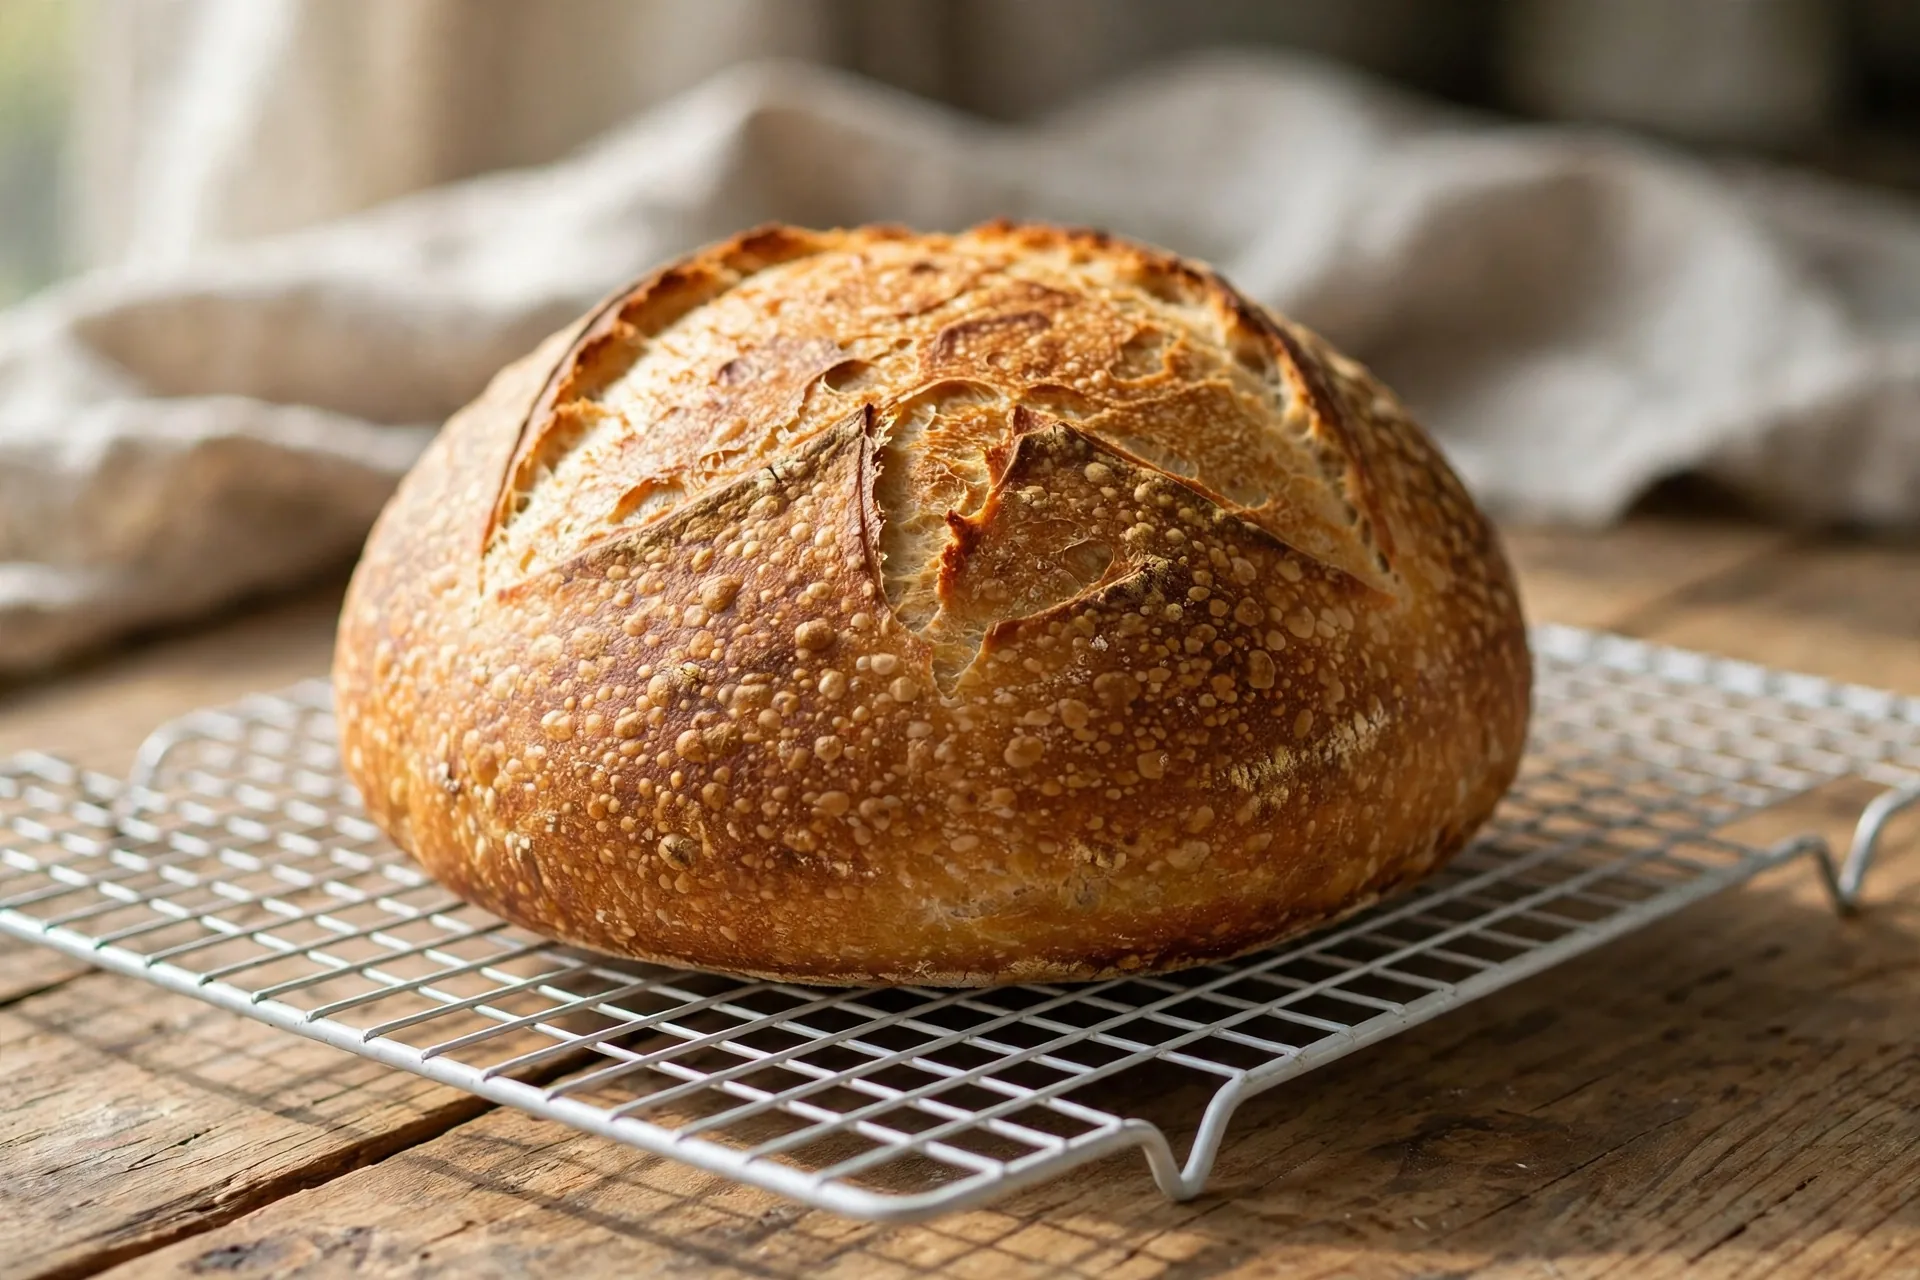
Move the loaf to a wire rack and let it cool completely before slicing. This step matters: cooling sets the crumb, and cutting too early can leave the inside sticky and gummy. In the interest of honesty, Kat admits she often runs out of patience somewhere around the lukewarm stage — so the rule is really this: never slice it hot, but if it is only just lukewarm and you truly cannot wait, you have her blessing.
Possible Substitutions
Every ingredient here should be easy to find in a larger grocery store or online, but if you need to swap something, these are the substitutions that work. One rule applies to all of them: substitute by weight, never by volume.
- Active dried yeast: You can use instant yeast instead. Skip the activation step — add it straight to the dry ingredients with the sugar, and add the activation water along with the psyllium gel and vinegar.
- Apple cider vinegar: Other vinegars work, although apple cider vinegar is the recommended choice if you have it.
- Psyllium husk: It cannot be swapped for a different ingredient — full stop. But if you use psyllium husk powder instead of the rough husk, use only 75% of the weight given in the recipe.
- Potato starch: Corn starch, tapioca starch or arrowroot starch can replace it.
- Brown rice flour: Millet flour works in its place.
- Buckwheat flour: White teff flour, sorghum flour or oat flour can be used instead.
A Note on Measurements: Use a Scale
Volume measurements (cups and spoons) are included in the recipe card, but if you take one piece of advice from this post, let it be this: use the metric gram weights and a kitchen scale. Gram measurements are far more precise, and they give reliably delicious results — in this recipe and in baking generally, a scale will beat cups and tablespoons every time.
Recommended Tools for Gluten Free Bread Baking
These are the tools that give the best results, because they were designed for exactly this job — cast iron in particular holds heat superbly, which is what builds that crunchy crust. None of them is strictly essential, as the alternatives below show:
- 7 inch round proofing basket — or a bowl lined with a clean tea towel
- Bread lame — or a sharp knife for scoring
- 10 inch cast iron skillet — or a sturdy baking tray that holds heat well
- 5 quart cast iron Dutch oven
- 5 quart cast iron combo cooker
Tips for the Best Loaf
- Check your yeast. No froth after 10 to 15 minutes means the yeast is inactive — start again with a fresh packet rather than wasting the flours.
- Weigh everything. Especially the flours and the psyllium; small errors change the hydration of this dough quickly.
- Protect the steam. Keep the oven door shut for the first 20 minutes — that trapped steam is what allows the loaf to finish expanding before the crust sets.
- Watch the colour, not just the clock. The finished loaf should be a deep, dark brown. If it races ahead, tent it with foil, shiny side up.
- Cool it fully. Slicing into a hot loaf is the fastest route to a gummy crumb — the interior is still setting as it cools.
The Recipe
Makes: 1 artisan loaf | Rising time: about 2 hours (two 1-hour rises) | Baking time: 60–70 minutes
Ingredients
- 8 g (2½ tsp) active dried yeast
- 20 g (2 tbsp) superfine (caster) sugar
- 390 g (1½ cups + 2 tbsp) warm water, divided
- 20 g (¼ cup) psyllium husk, rough husk form
- 130 g (¾ cup + 3 tbsp) buckwheat flour
- 100 g (½ cup + 3 tbsp) potato starch (note: this is different from potato flour)
- 90 g (½ cup + 2 tbsp) brown rice flour, very finely ground (“superfine”)
- 10 g (2 tsp) table or sea salt
- 12 g (2 tsp) apple cider vinegar
Method
- In a small bowl, mix the yeast, sugar and 150 g (½ cup + 2 tbsp) of the warm water. Set aside for 10 to 15 minutes, until the mixture starts frothing.
- In a separate bowl, mix the psyllium husk with 240 g (1 cup) of water. A gel will form after about 15 to 30 seconds.
- In a large bowl, whisk together the buckwheat flour, potato starch, brown rice flour and salt until evenly combined.
- Add the yeast mixture, the psyllium gel and the apple cider vinegar to the dry ingredients. Knead until the dough is smooth and starts coming away from the bowl, about 5 to 10 minutes — by hand, or in a stand mixer with a dough hook.
- Tip the dough onto a lightly oiled surface, knead it gently into a smooth ball, then place it in a lightly oiled bowl, seam side down. Cover with a damp tea towel and leave to rise in a warm place for about 1 hour, until doubled in size.
- Turn the risen dough out onto a lightly floured surface and knead it gently into a tight ball (see the shaping notes above). Flip it seam side down onto an unfloured patch of surface and rotate it in place to seal the seams.
- Place the dough, seams facing up, into a 7 inch round proofing basket dusted with brown rice flour. Cover with a damp tea towel and proof in a warm place for about 1 hour, until doubled in size.
- While the loaf proofs, preheat the oven to 480 ºF (250 ºC), with a cast iron skillet on the middle rack (and a baking tray on the bottom rack), or a Dutch oven/combo cooker on the lower middle rack.
- Turn the proofed dough out of the basket onto a piece of baking paper and score the top in a pattern of your choice (a cross, ¼ to ½ inch deep, is easiest) with a bread lame or sharp knife. Transfer the bread, on its paper, into the hot skillet or Dutch oven — slide a pizza peel or baking sheet under the paper to move it into a skillet, or use the paper’s edges as handles for a Dutch oven.
- Skillet: return the skillet to the oven, pour hot water into the bottom tray, add 3 to 4 ice cubes around the bread (between the paper and the skillet) and close the door. Dutch oven/combo cooker: add 3 to 4 ice cubes around the bread, put the lid on, and place it in the oven.
- Bake at 480 ºF (250 ºC) with steam for 20 minutes — do not open the oven or lift the lid during this time, or the steam will escape.
- Remove the water tray (or uncover the Dutch oven), reduce the temperature to 450 ºF (230 ºC) and bake for a further 40 to 50 minutes in the now steam-free oven. The finished loaf should be a deep, dark brown; if it browns too fast, cover it with aluminium foil, shiny side up, and continue.
- Transfer the loaf to a wire cooling rack and allow it to cool completely before slicing.
Storage: The bread keeps well for 3 to 4 days in a closed container or wrapped in a tea towel, stored in a cool, dry place.
Substitutions: See the full substitutions section above — and remember, all substitutions are by weight, not by volume.
That is the start of your gluten free bread baking journey — and it is a very good place to start. If you enjoy baking loaves at home, our Easy Banana Bread Recipe is another reader favourite to try next. Wonderful, delicious things lie ahead. Enjoy!