The easiest college meal prep for a tiny fridge is a couple of breakfasts, one compact filling, and a dinner you finish when you are hungry. Start with peanut butter overnight oats, chickpea pickle wraps, or black bean rice bowls. You can make all three with a microwave, a few containers, and a small patch of clean counter space.
These 17 college meal prep ideas use small batches and overlapping ingredients. Some are fully prepared meals; others are kits that keep the wet filling refrigerated and the bread, chips, or dry grains separate. Pick two or three ideas for your next grocery run rather than buying ingredients for the whole list.
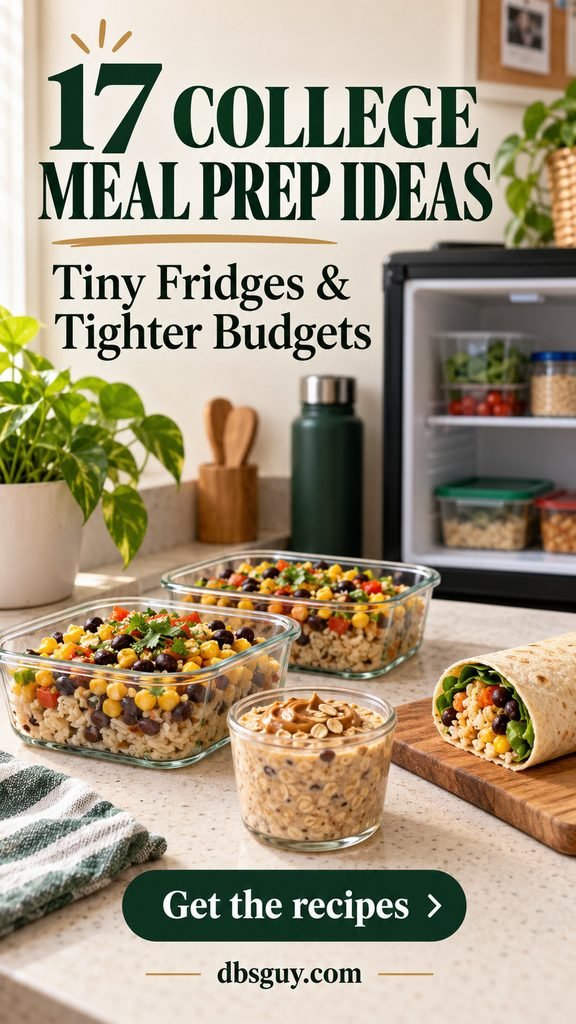
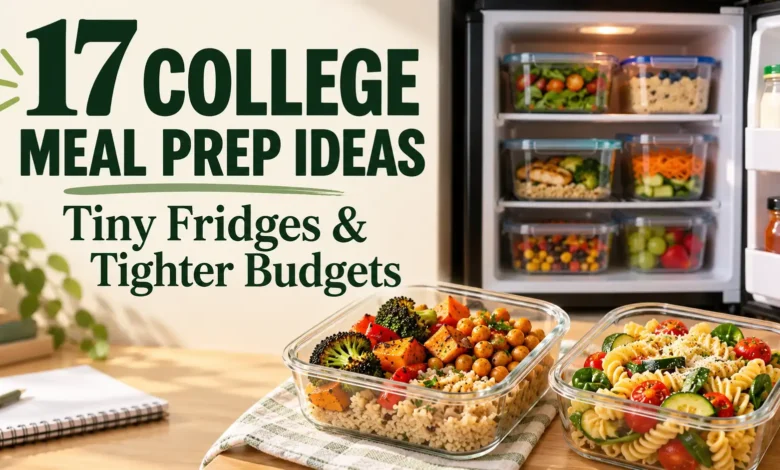
Recipe note: These research-informed recipes have not been kitchen-tested. Prep and heating times are estimates. The images are AI-generated serving concepts, not photographs of tested batches.
Make Room for Two or Three Days, Not Seven
Before shopping, put your empty containers on your assigned fridge shelf. If they do not fit with space around them, reduce the batch. A pair of shallow 2- to 3-cup containers is usually a more useful starting point than a stack of oversized meal boxes; measure your shelf before buying anything.
- Keep the cold space for opened food. Unopened shelf-stable rice, cans, and dry oats can stay in a cupboard according to their labels. Once opened or prepared, follow refrigeration instructions.
- Check the temperature. Use an appliance thermometer to confirm that the fridge stays at 40°F or below. Leave space for air to circulate. A little icebox is not a dependable freezer unless it maintains 0°F.
- Chill promptly. Put perishable food into the fridge within two hours, or one hour when the surrounding temperature is above 90°F. Divide hot food into shallow portions; do not leave it on the desk to cool completely.
- Date the first opening or cooking. Plan to eat these small batches within two or three days, or sooner if a label requires it. Most cooked leftovers have a three- to four-day refrigerator limit; mixing an older ingredient into a new meal does not restart its clock.
See the FDA’s refrigerator safety guidance for temperature, cooling, and storage basics. If your fridge cannot hold a safe temperature, choose shelf-stable ingredients that you open and finish at one sitting.
The Small Setup You Actually Need
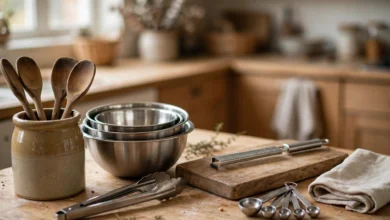
Use a roomy microwave-safe bowl, a plate, a vented cover, measuring cups and spoons, a fork, a can opener, a small cutting board, and a knife. Add a food thermometer for reheating. Wash hands, produce, and prep surfaces, and use a proper sink for cleanup. Check your residence hall’s appliance rules before cooking.
Microwave times below assume roughly 1,000 watts and are starting points. Package directions take priority. Cover loosely, stir from the edges into the center, and use a mitt for hot bowls. Reheat stored meals to 165°F in several spots, then allow at least three minutes of standing time, or longer if the package says so. Bring reheated soup to a boil. Heat only the portion you plan to eat.
If you need more help with the appliance itself, keep 23 Easy Microwave Recipes for Dorm Rooms: No Kitchen Needed nearby.
1. Peanut Butter Banana Overnight Oats
This breakfast uses fridge space only for the oat mixture. Keep the banana whole until morning so the slices do not turn brown in the container.
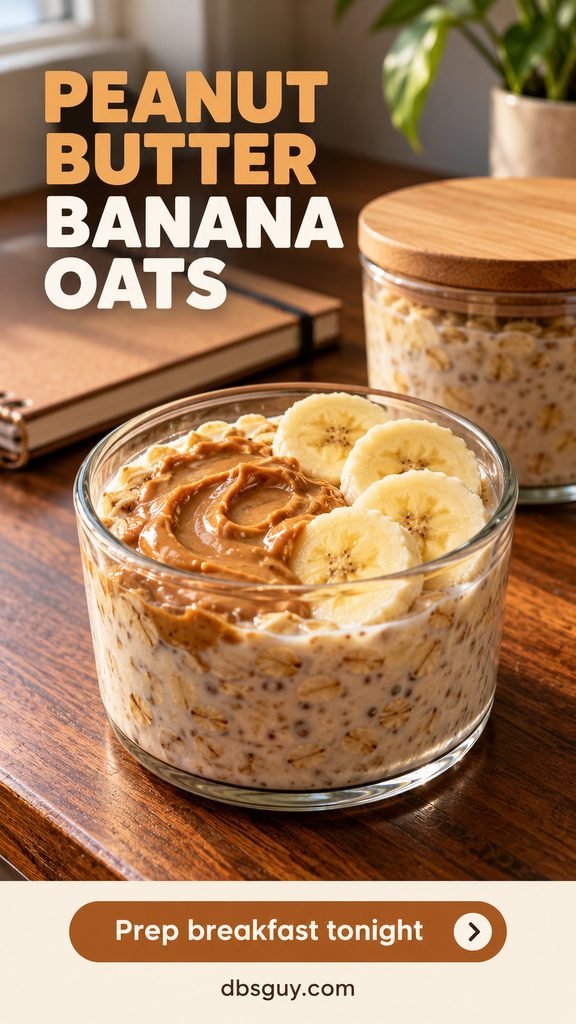
Makes: 2 breakfasts. Prep: about 5 minutes, plus overnight chilling. Equipment: no cooking; two covered 12- to 16-ounce containers.
Ingredients
- 1 cup old-fashioned rolled oats
- 1 cup milk or a suitable milk alternative, plus a splash for serving
- 2 tablespoons peanut butter
- ¼ teaspoon cinnamon
- 1 banana, sliced just before serving
- Divide the oats, milk, peanut butter, and cinnamon between the containers. Stir thoroughly, scraping the bottom corners.
- Cover and refrigerate overnight. In the morning, loosen one portion with a splash of milk if needed and add half the banana.
Make two portions at a time and eat them over the next two mornings. Sunflower-seed butter is an option when peanuts do not work for you; check the labels and your shared-space allergy rules.
2. Apple Yogurt Crunch Bowls
Keep one small tub of plain yogurt for both breakfast and savory sauces. Granola belongs in a dry bag or separate cup until you eat; mixing it in during prep turns the crunch into a soft topping.
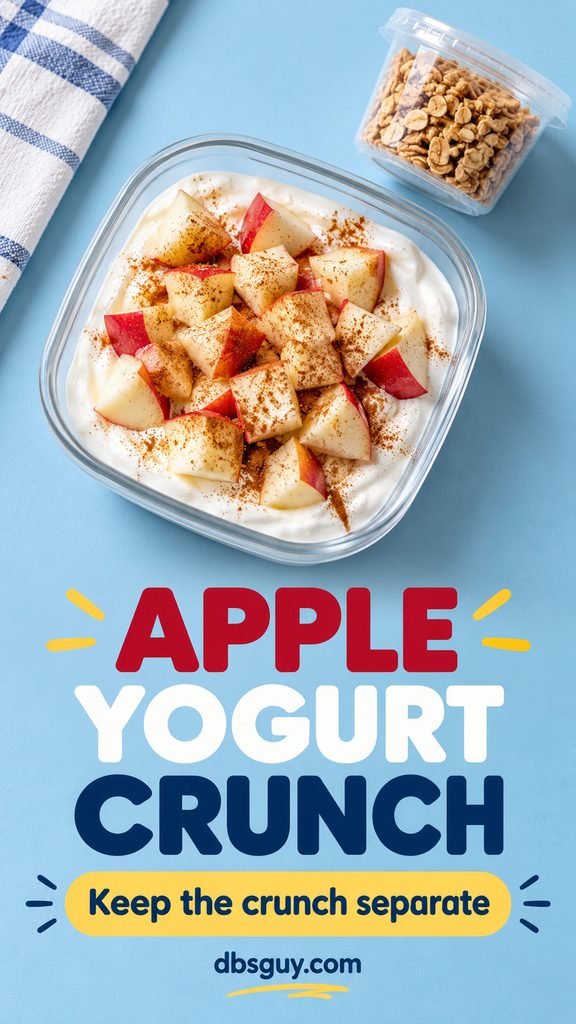
Makes: 2 breakfasts. Prep: about 5 minutes. Equipment: no cooking.
Ingredients
- 1½ cups plain Greek yogurt
- 1 medium apple
- ½ cup granola or ready-to-eat oat cereal
- ¼ teaspoon cinnamon
- Portion ¾ cup yogurt into each of two covered containers. Sprinkle each with half the cinnamon.
- Pack the granola separately. Dice half the apple into the yogurt just before each meal, or dice it during prep if you do not mind some browning.
Use within two days for this prep plan, respecting the yogurt’s label. A whole apple can travel separately; the yogurt still needs to stay cold.
3. Cottage Cheese Bagel Lunch Kits
A bagel kit makes sense when you want something you can eat between classes without finding a microwave. The cottage cheese is a spread or dip; keep it off the bagel until lunch.
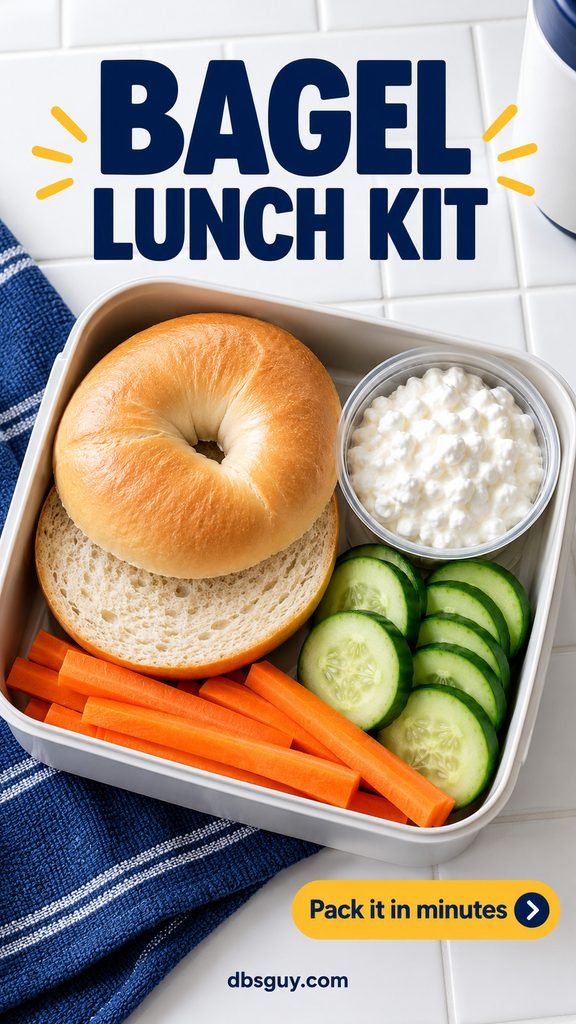
Makes: 1 lunch. Prep: about 5 minutes. Equipment: no cooking or toaster needed.
Ingredients
- 1 plain bagel, split
- ¾ cup cottage cheese
- ½ cup cucumber rounds
- ½ cup carrot sticks
- Pinch of black pepper
- Put the cottage cheese and pepper into a small covered cup. Pack the cucumber and carrots beside it in a lunch container.
- Keep the bagel in its own dry bag. Spread it with cottage cheese as you eat, with vegetables on the side.
Prep the chilled components for the next day. If the smallest cottage cheese tub still gives you leftovers, repeat the kit the following day instead of opening another spread.
4. Black Bean and Corn Rice Bowls
These are useful dinners to portion completely ahead. Canned corn avoids needing freezer space, and an unopened rice pouch can wait in the cupboard until prep time.
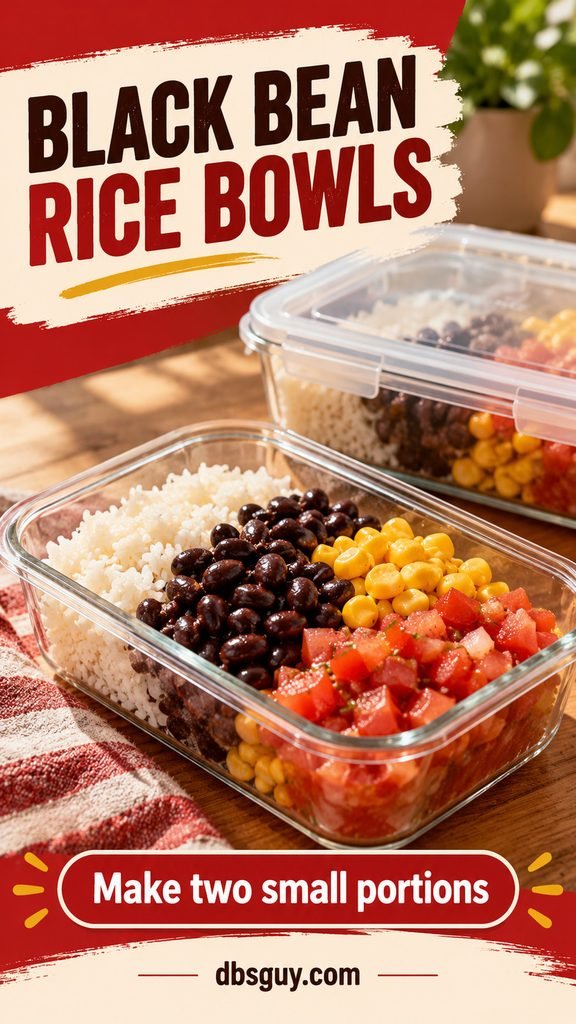
Makes: 2 meals. Prep and heat: about 10–15 minutes.
Ingredients
- 2 cups fully cooked, microwave-ready rice
- 1½ cups canned black beans, drained and rinsed
- ½ cup canned corn, drained
- ½ cup prepared salsa
- 2 tablespoons water
- ¼ teaspoon ground cumin, optional
- Heat the rice according to its package. In a separate roomy bowl, combine the beans, corn, salsa, water, and optional cumin. Cover loosely, heat for 90 seconds, stir, then continue in 30-second bursts until hot throughout.
- Divide the rice and bean mixture between two shallow containers. Eat one now if you like; refrigerate the other promptly.
- For a refrigerated bowl, add a tablespoon of water, cover loosely, and reheat using the temperature and standing-time guidance above.
A typical 15-ounce bean can yields around 1½ cups drained, but measure yours. Buy a small corn can or reserve the extra corn for idea 17 within the same prep window.
5. Chickpea Pickle Wraps
Mashed chickpeas hold together better than whole beans in a wrap. Pickles add tang without requiring a second sauce bottle, while shredded cabbage gives the filling some crunch.
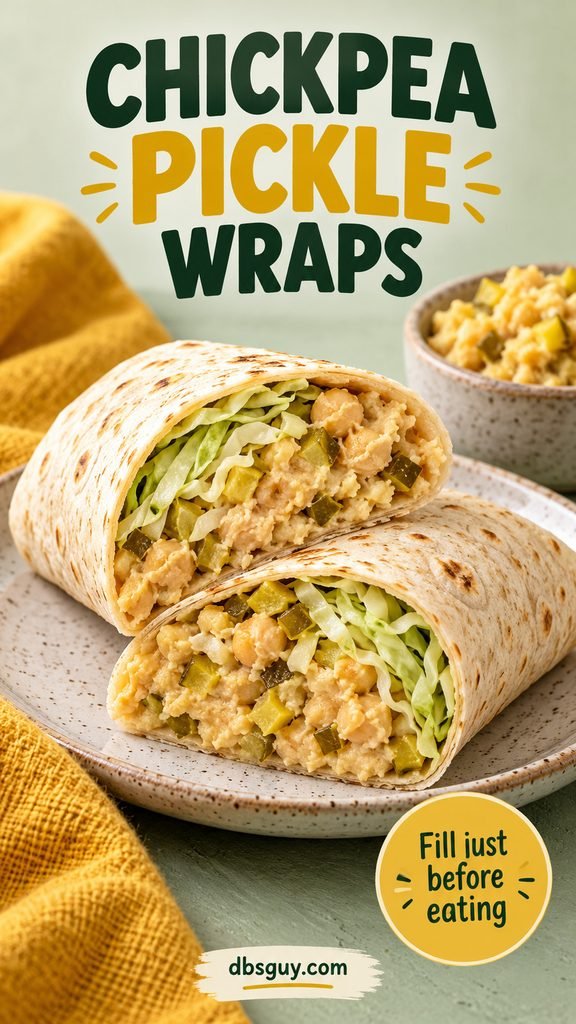
Makes: 2 wraps. Prep: about 10 minutes. Equipment: no cooking.
Ingredients
- 1½ cups canned chickpeas, drained and rinsed
- 3 tablespoons plain Greek yogurt
- 2 tablespoons finely chopped pickles
- 1 teaspoon mustard
- 2 medium flour tortillas
- 1 cup finely shredded cabbage
- Mash the chickpeas with a fork, leaving a few small pieces. Stir in the yogurt, pickles, and mustard.
- Refrigerate the filling in one compact covered container and keep the cabbage separately. Divide between the tortillas and add cabbage just before rolling.
Use the filling within two days for the best texture. Drain watery pickles well; extra pickle liquid makes the wrap harder to carry. For a dairy-free version, use a suitable mayonnaise and follow its label.
6. Lemon Tuna and White Bean Boxes
White beans stretch one can of tuna into two lunches. This version uses a light lemon dressing, so you can skip buying mayonnaise if it is not already in your fridge.
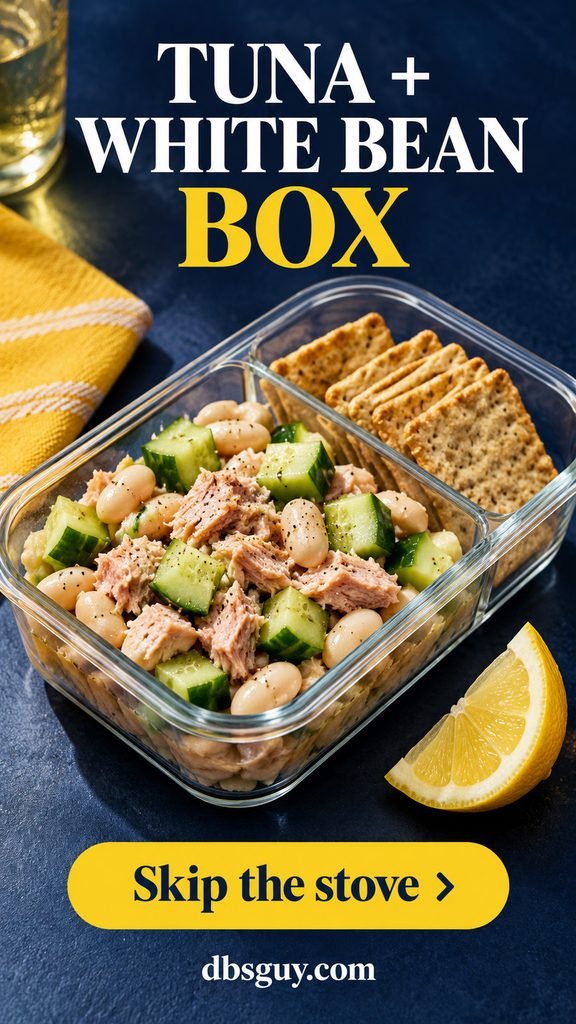
Makes: 2 lunches. Prep: about 10 minutes. Equipment: no cooking.
Ingredients
- 1 can fully cooked light tuna, about 5 ounces, drained
- 1½ cups canned white beans, drained and rinsed
- 1 cup diced cucumber
- 1 tablespoon lemon juice
- 2 teaspoons olive oil; pinch of black pepper
- About 1 ounce crackers per serving, kept dry
- Flake the tuna. Fold in the beans and cucumber without crushing all the beans.
- Stir together the lemon juice, oil, and pepper, then toss through the salad. Divide into two covered boxes and refrigerate.
Plan to eat both lunches within two days and keep the crackers separate. Use a fresh can or count from when the tuna was first opened, not from when you mixed the salad.
7. Hummus, Chickpea, and Pita Lunch Boxes
This is an assembly lunch for days when a full recipe feels like too much. A scoop of whole chickpeas makes it more substantial without another refrigerated protein package.
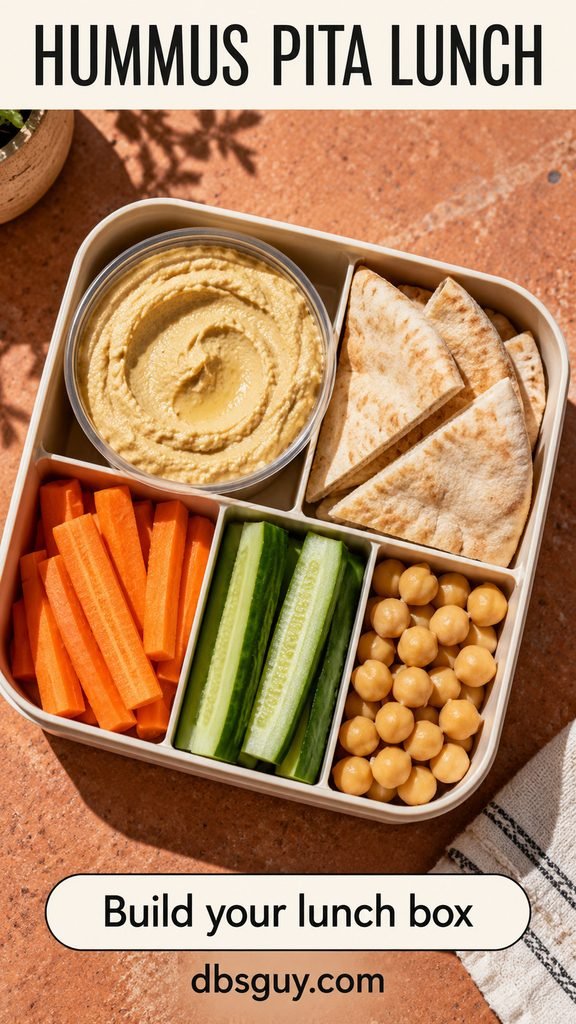
Makes: 1 lunch. Prep: about 5 minutes. Equipment: no cooking.
Ingredients
- ¼ cup prepared hummus
- ½ cup canned chickpeas, drained and rinsed
- 1 medium pita, cut into wedges
- ½ cup carrot sticks and ½ cup cucumber spears
- Place the hummus in a covered cup. Pack the chickpeas and vegetables in separate sections or small containers.
- Bag the pita separately so it stays dry. Refrigerate the hummus, beans, and vegetables for the next day’s lunch.
If you opened a chickpea can for this box, use the remaining measured portion in a smaller batch of idea 5. Do not open a whole can just to scatter a few beans over the hummus.
8. Chili-Stuffed Microwave Potatoes
Prep the chili filling and leave the uncooked potatoes outside the fridge in a suitable cool, dark, ventilated spot. At dinner, cook one potato and warm only the filling you need.
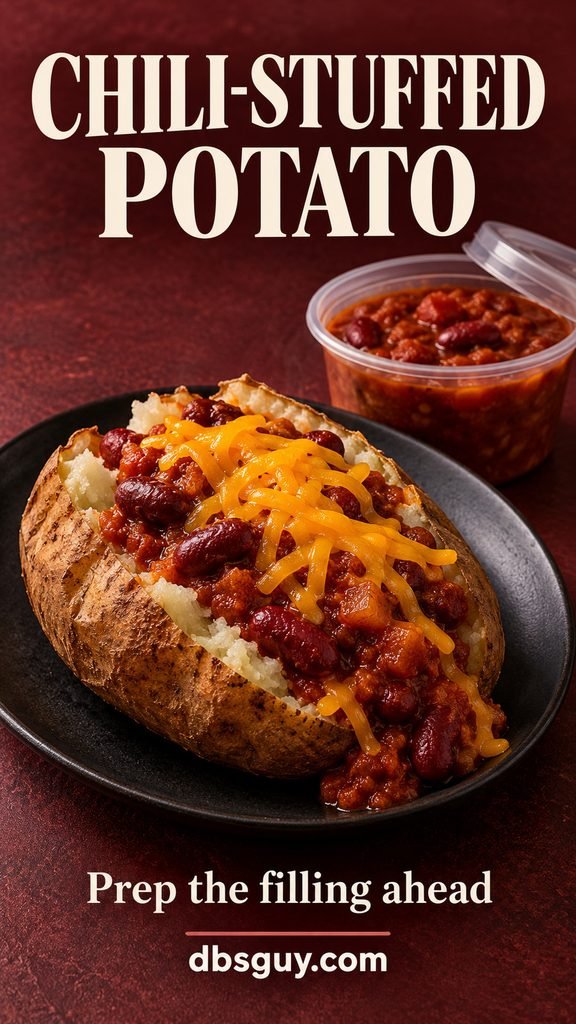
Makes: 2 potato meals. Filling prep: about 8 minutes. Finish: roughly 10–15 minutes per potato.
Ingredients
- 2 medium russet potatoes, about 8 ounces each
- 1½ cups canned kidney beans, drained and rinsed
- 1 cup canned diced tomatoes with their juice
- ½ teaspoon mild chili powder and ¼ teaspoon ground cumin
- ¼ cup shredded cheddar
- Mix the beans, tomatoes, chili powder, and cumin in a roomy microwave-safe bowl. Mash a few beans to thicken it. Cover loosely; heat for 2 minutes, stir, and continue in 30-second bursts until hot throughout. Divide the filling into two shallow containers and refrigerate promptly.
- At dinner, scrub one potato and pierce it several times. Microwave on a plate for 3 minutes, turn carefully, and cook another 2–3 minutes. Add 1-minute bursts until a fork slides easily into the center.
- Reheat one portion of chili to 165°F. Split the potato, add the chili and 2 tablespoons cheddar, and briefly heat to melt the cheese. Allow the hot meal to stand before eating.
The skin will be soft, not oven-crisp. Use the second portion of chili within three days, counted from preparation or an earlier ingredient opening.
9. Tomato and White Bean Soup
A small can of tomatoes and a can of beans can become two modest soup portions without opening a large broth carton. Mash some beans for body instead of adding cream.

Makes: 2 light meals with bread. Prep and heat: about 12–15 minutes.
Ingredients
- 1½ cups canned white beans, drained and rinsed
- 1 can diced tomatoes, about 14½ ounces, including juice
- ¾ cup water
- 1 cup baby spinach, chopped
- ½ teaspoon dried Italian seasoning and ¼ teaspoon garlic powder
- 2 slices bread, for serving
- In a microwave-safe bowl of at least 2-quart capacity, mash ½ cup of the beans. Stir in the remaining beans, tomatoes, water, spinach, and seasonings.
- Cover with a vented lid. Heat for 3 minutes, stir thoroughly, and continue in 1-minute bursts until simmering and hot throughout. Watch for bubbling near the rim.
- Divide into two shallow covered portions and refrigerate promptly. When reheating, bring the soup to a boil, stir carefully, check the temperature, and let it stand. Serve with bread.
Plan to finish within three days. Divide the soup into shallow containers for cooling. Once chilled, stack them securely if there is still space around them for cold air to circulate.
10. Peanut Cabbage Noodle Kits
Make the sauce ahead and keep it off the noodles until lunch. Cabbage stands up to this kind of prep better than a handful of delicate salad leaves.
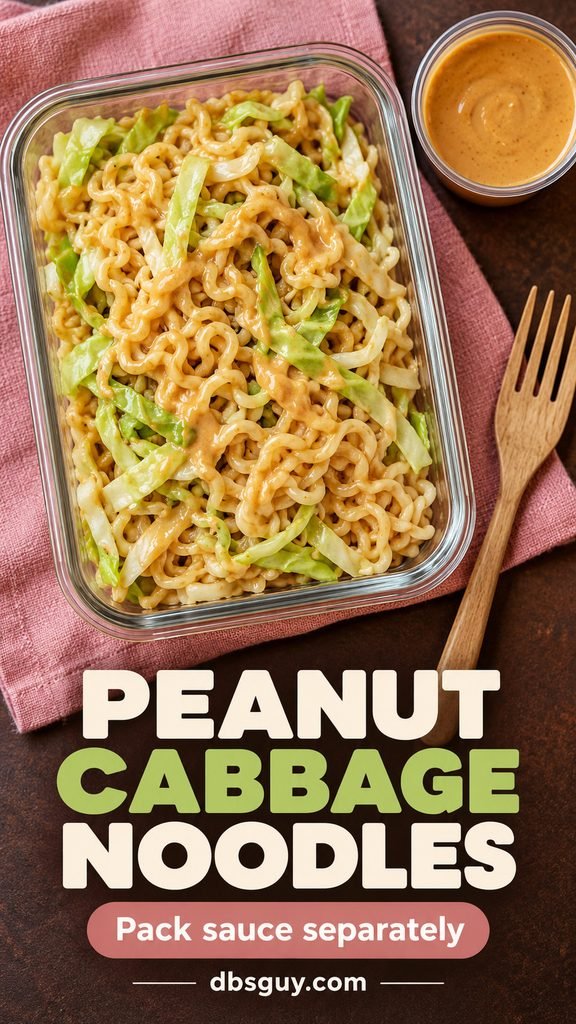
Makes: 2 noodle bowls. Prep and cooking: about 12–15 minutes.
Ingredients
- 2 plain instant ramen cakes, about 3 ounces each, with separate seasoning packets omitted
- 2 cups finely shredded cabbage
- ¼ cup peanut butter
- 2 teaspoons reduced-sodium soy sauce
- 1 tablespoon rice vinegar or lemon juice
- 3–5 tablespoons warm water for the sauce, plus cooking water as the noodle package directs
- Use noodles with microwave directions and cook according to the package in a large microwave-safe bowl. Drain carefully. For a cold lunch, rinse briefly under cold running water and drain well.
- Whisk the peanut butter, soy sauce, vinegar, and 3 tablespoons warm water. Add water a little at a time until pourable. Divide into two small covered cups.
- Portion the noodles and cabbage into two shallow containers, refrigerating promptly. Toss one portion with its sauce at mealtime.
Eat within two days for texture. If your noodles have no microwave method, choose a microwave-compatible product or cook them in a shared kitchen. For stove-based flavor ideas, see 13 Instant Ramen Upgrades: Ditch the Flavor Packet.
11. Broccoli Cheddar Couscous
Small-grain instant couscous hydrates in hot liquid. It gives you a grain-based meal without cooking a big pot of rice, but pearl couscous is a different product and will not work with this method.
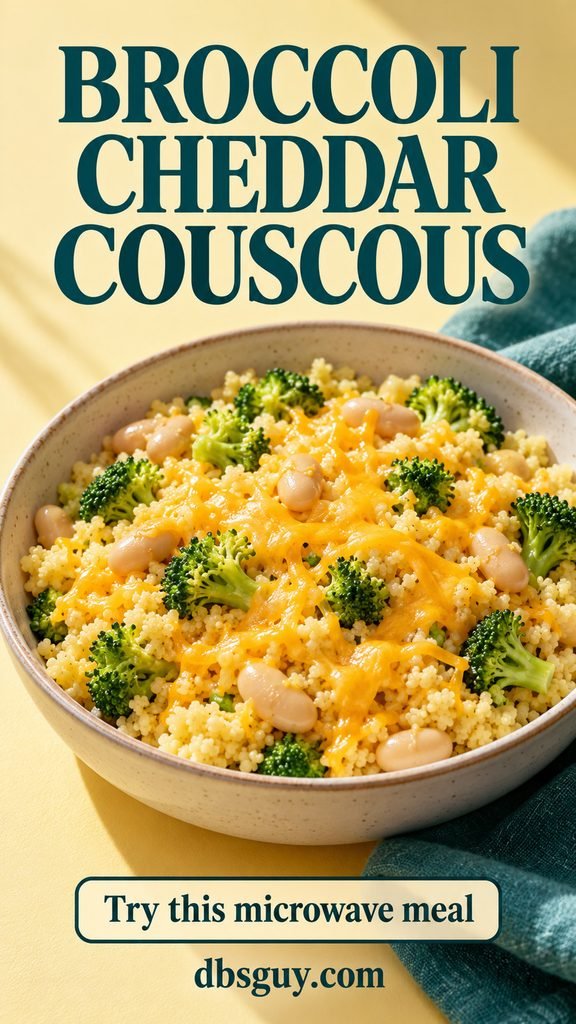
Makes: 2 meals. Prep and heat: about 15 minutes.
Ingredients
- ⅔ cup dry small-grain instant couscous
- ⅔ cup water, adjusted if your package specifies a different ratio
- 1 cup fresh broccoli florets, chopped small
- 1 cup canned white beans, drained and rinsed
- ½ cup shredded cheddar
- 2 tablespoons water for steaming; pinch of black pepper
- Place the broccoli and 2 tablespoons water in a 2-quart microwave-safe bowl. Cover loosely and heat for 2 minutes. Stir, then use 30-second bursts until tender. Carefully pour off excess water.
- Add the beans and the ⅔ cup water. Cover loosely and heat until the liquid is simmering, stirring once. Stir in the couscous, cover, and leave for the package’s absorption time, usually about 5 minutes.
- Fluff with a fork, stir in the cheddar and pepper, and divide into two shallow portions. Refrigerate promptly. Add a splash of water when reheating a stored portion.
Use within three days. Fresh broccoli avoids freezer storage; buy a small crown and use the remaining florets in another batch rather than a large bag you cannot keep cold.
12. Salsa Chicken Wrap Kits
Use canned chicken labeled fully cooked or ready to eat. It keeps the prep to mixing and portioning, with no raw poultry to handle in a dorm.
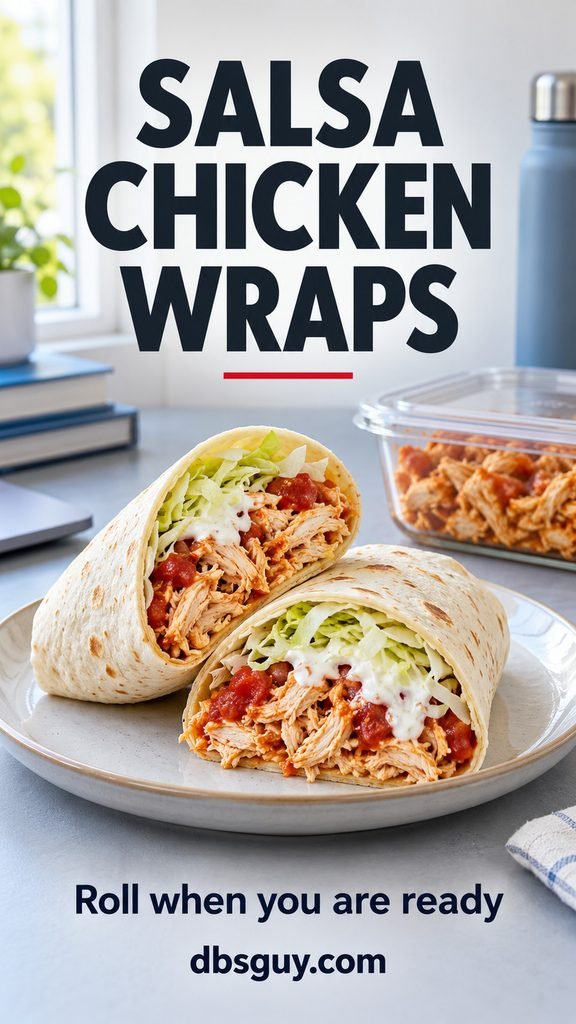
Makes: 2 wraps. Prep: about 7 minutes. Equipment: no cooking.
Ingredients
- 1 cup drained, flaked fully cooked canned chicken; check the drained yield when shopping
- ¼ cup salsa, drained slightly if watery
- 3 tablespoons plain Greek yogurt
- 1 cup finely shredded cabbage
- 2 medium flour tortillas
- Mix the chicken, salsa, and yogurt. Put into a covered container and refrigerate immediately.
- Keep cabbage and tortillas separate. Divide the filling and cabbage between the tortillas when ready to eat, then roll snugly.
Plan to use within two days. If one small chicken can gives less than 1 cup drained, make one fuller wrap or add drained white beans to reach the measured amount. This keeps the plan flexible without requiring a second large can.
13. Pesto White Bean Pasta Boxes
Ready-to-heat pasta trades some convenience cost for less cooking and washing up. If you already have shared-kitchen access, use the same measured amount of cooked short pasta instead.
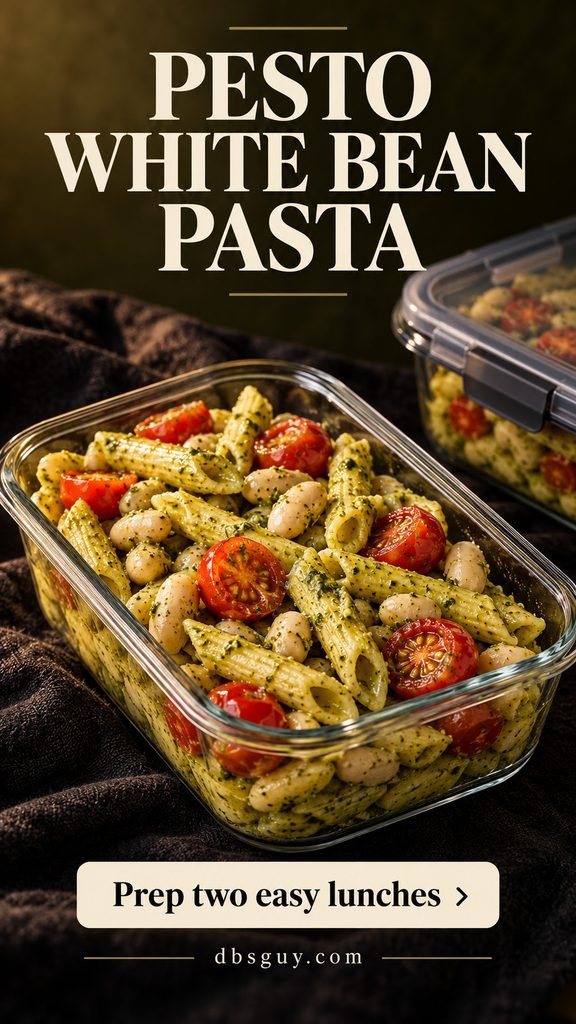
Makes: 2 lunches. Prep and heat: about 10–12 minutes.
Ingredients
- 2 cups fully cooked, ready-to-heat short pasta
- 1½ cups canned white beans, drained and rinsed
- 1 cup halved cherry tomatoes
- 2 tablespoons prepared pesto
- 1–2 tablespoons water, as needed
- Prepare the pasta according to its package directions. Gently stir in the beans, tomatoes, pesto, and enough water to loosen the coating.
- Divide into two shallow containers and refrigerate promptly. Serve cold if the pasta label permits, or reheat one portion using the guidance above.
Use within three days. Check pesto labels for nuts and dairy. Choose a small jar, and plan another use for it before its after-opening deadline rather than buying a family-size jar for two spoonfuls.
14. BBQ Black Bean Quesadilla Kits
The filling takes one small container; the tortillas stay dry until dinner. Expect a soft, melty microwave quesadilla. A browned, crisp tortilla requires a different cooking method.
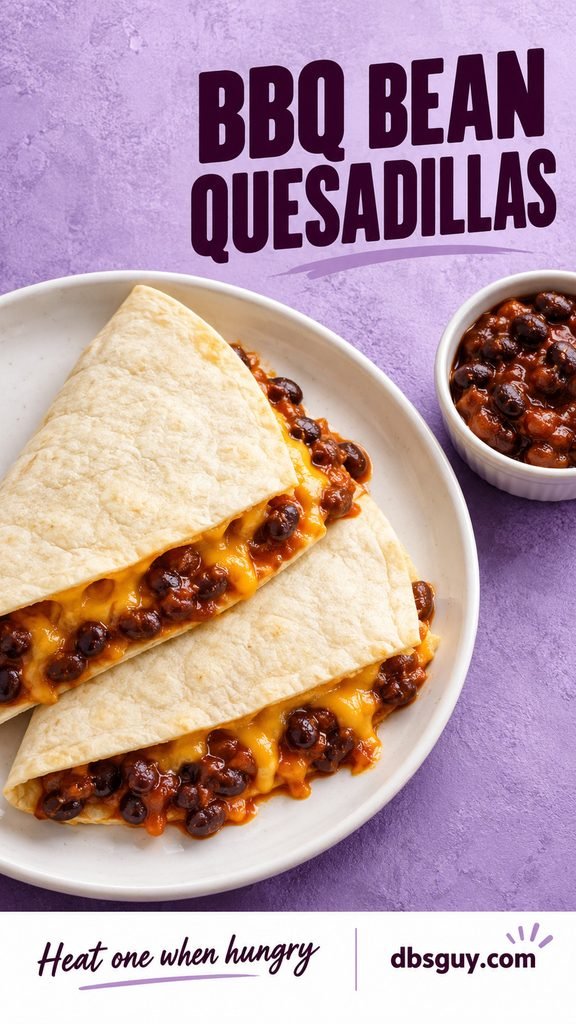
Makes: 2 quesadillas. Prep: about 5 minutes. Finish: roughly 5 minutes per portion.
Ingredients
- 1 cup canned black beans, drained and rinsed
- 2 tablespoons barbecue sauce
- ½ cup shredded cheddar
- 2 medium flour tortillas
- Mash the beans lightly and mix with the barbecue sauce. Refrigerate in a covered container; keep the cheese separate.
- When hungry, heat half the bean mixture in a small vented microwave-safe bowl, stirring in short bursts until it reaches 165°F throughout.
- Spread onto half a tortilla, add ¼ cup cheddar, and fold. Microwave on a plate for 20–30 seconds, then use short bursts until the cheese melts. Let stand before cutting.
Use the filling within three days. For a smaller appetite, halve one finished quesadilla and serve with carrots; do not repeatedly warm and cool the entire batch.
15. Tomato Lentil Curry and Rice
Canned cooked lentils turn this into a small-batch dinner instead of a pot that needs simmering. Curry powder adds flavor without another opened sauce jar taking up fridge space.
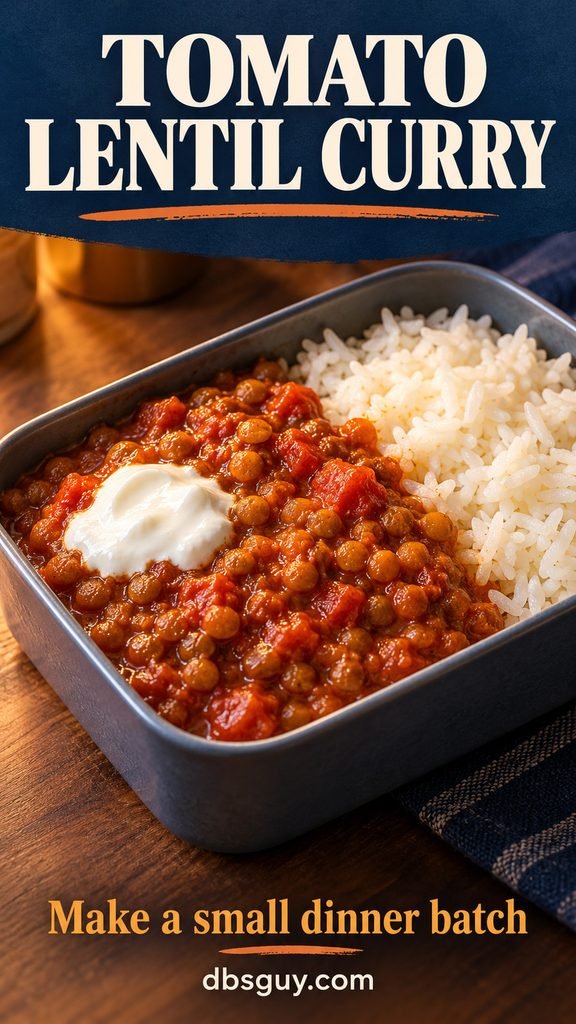
Makes: 2 meals. Prep and heat: about 12–15 minutes.
Ingredients
- 1½ cups canned cooked lentils, drained and rinsed
- 1 cup canned diced tomatoes with their juice
- ½ teaspoon curry powder and ¼ teaspoon garlic powder
- 2 tablespoons water
- 2 cups fully cooked, microwave-ready rice
- 2 tablespoons plain yogurt, for serving
- Combine the lentils, tomatoes, seasonings, and water in a roomy microwave-safe bowl. Cover loosely, heat for 2 minutes, stir, then continue in 30-second bursts until hot throughout.
- Prepare the rice according to its label. Divide rice and lentils between two shallow containers and refrigerate promptly.
- Reheat one portion at a time to 165°F, allow the standing time, and add 1 tablespoon yogurt after heating.
Use within three days. This method needs cooked lentils, not dry lentils. If the curry powder is new to you, start with ¼ teaspoon and add more after tasting.
16. Savory Salsa Oat Bowls
Oats can be a dinner base, too. For the smallest fridge footprint, premeasure the dry oats and keep only the bean topping cold until you cook a bowl.

Makes: 2 bowl kits. Prep: about 5 minutes. Finish: roughly 8–10 minutes per bowl.
Ingredients
- 1 cup old-fashioned rolled oats
- 2 cups water, divided between meals, or the amount your oat package requires
- 1 cup canned black beans, drained and rinsed
- ¼ cup salsa
- ¼ cup shredded cheddar
- Make two dry portions of ½ cup oats. Mix the beans and salsa in a covered container and refrigerate. Keep the cheese chilled separately.
- For one meal, combine one oat portion and 1 cup water in a 4-cup microwave-safe bowl. Cook according to the oat package, stirring and watching for foaming.
- Heat half the bean topping separately to 165°F. Spoon over the oats, add 2 tablespoons cheese, and let the hot foods stand before eating.
Use the topping within three days. Keep this thick and spoonable; a large extra splash of salsa can make it soupy. The same oats work for idea 1 without buying another grain.
17. Taco Cabbage Crunch Bowls
This cold lunch uses the last measured bits of cabbage, beans, and corn. Chips stay outside the fridge and go in at lunchtime, so the meal still has crunch.
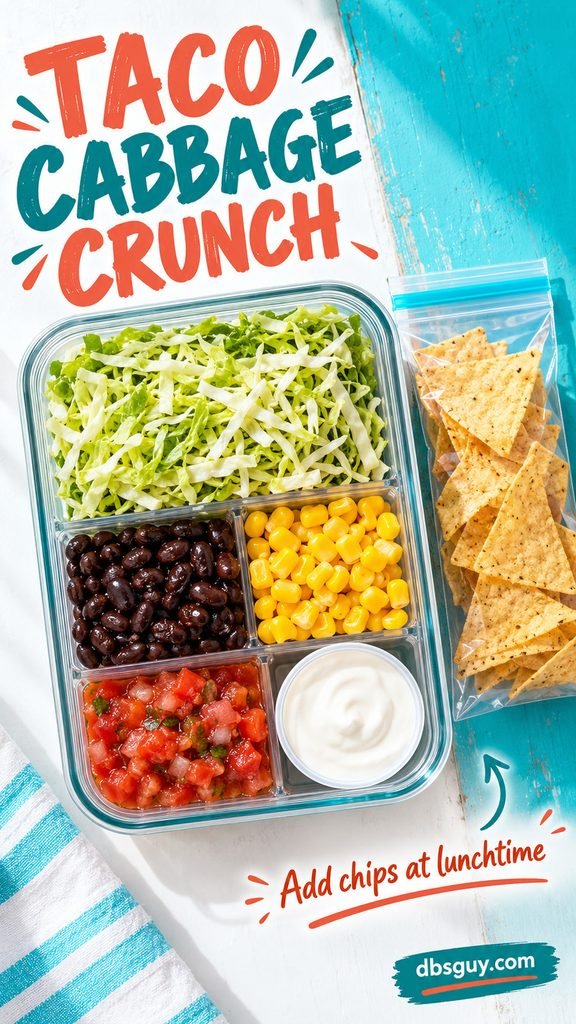
Makes: 2 lunches. Prep: about 8 minutes. Equipment: no cooking.
Ingredients
- 2 cups finely shredded cabbage
- 1 cup canned black beans, drained and rinsed
- ½ cup canned corn, drained
- ¼ cup salsa
- ¼ cup plain Greek yogurt
- 2 ounces tortilla chips, divided into two dry bags
- Divide the cabbage, beans, and corn between two lunch containers. Pack the salsa and yogurt in small separate covered cups.
- Refrigerate the chilled ingredients. At lunch, add the dressing, crush one bag of chips lightly, and toss everything together.
Eat within two days. Drain the beans and corn thoroughly so liquid does not collect underneath the cabbage. If you are using ingredients opened earlier, follow their original dates.
A Two-Day Starter Plan That Does Not Fill the Fridge
For your first attempt, combine idea 1, idea 5, and idea 4. That gives you two breakfasts, two wraps, and two dinners. It is a starting plan, not a calorie prescription; adjust portions or add fruit, vegetables, and other food to match your appetite.
- Breakfasts: Make two oat portions. Add banana when you eat.
- Lunches: Make the chickpea filling and portion cabbage, leaving the tortillas dry.
- Dinners: Make two black bean rice bowls, or leave the rice unopened and prepare it separately on each evening if that saves cold space.
Shop for Those Six Meals
You will use 1 cup oats, 1 cup milk, 2 tablespoons peanut butter, 1 banana, 1½ cups drained chickpeas, 3 tablespoons plain yogurt, 2 tablespoons chopped pickles, 1 teaspoon mustard, 2 tortillas, 1 cup shredded cabbage, 2 cups cooked rice, 1½ cups drained black beans, ½ cup drained corn, and ½ cup salsa. Cinnamon and cumin are optional extras if you already own them.
Check package yields before buying. Choose the smallest practical milk, yogurt, cabbage, and corn packages, or share larger ones with a roommate by agreement. Remaining yogurt can become idea 2; extra cabbage works in idea 17. Refrigerate opened corn promptly and plan its next use within your short prep window.
Keep the Grocery Bill Honest
Compare the checkout total as well as the unit price. A large package may cost less per ounce but cost you more today and leave food you cannot store. Start with store-brand options, then compare the actual labels and prices where you shop.
For recipe cost, multiply each package price by the fraction you use, add those ingredient costs, and divide by servings. For example, if a can costs $1.20 and you use half of it in a two-serving recipe, that ingredient contributes $0.30 per serving. This is arithmetic with an illustrative price, not a current grocery quote. The full can still costs $1.20 at checkout.
Skip a new sauce if it serves only one meal, use water instead of opening broth where the recipe allows it, and buy freezer food only when you have dependable freezer space. If groceries are stretching beyond your budget, check your campus pantry or basic-needs office rather than treating meal prep as another thing you must buy equipment for.
College Meal Prep Questions
Can I prep a whole week without a freezer?
Plan two short prep sessions instead. Most cooked leftovers belong within a three- to four-day refrigerator window, and a crowded mini fridge is hard to organize. Prepare two or three days of food, then use unopened pantry ingredients for the next round.
What if I have no microwave?
Choose ideas 1, 2, 3, 5, 6, 7, 12, and 17. They use ingredients that are ready to eat, plus proper refrigeration. Confirm that canned chicken or other packaged proteins are labeled fully cooked or ready to eat.
How do I carry a cold lunch across campus?
Use an insulated lunch bag with at least two cold sources, such as frozen gel packs, and refrigerate the meal when possible. An ordinary backpack does not replace a fridge. If you cannot freeze packs or keep perishable food at 40°F or below, keep its time out of refrigeration within the limits above; choose an unopened shelf-stable meal when you cannot do that.
Do I have to buy matching meal prep containers?
No. Clean, food-safe containers that close securely are enough for cold storage. Use only containers specifically labeled microwave-safe for heating; a takeout tub that works for storage may not work in the microwave. Shallow portions and a good fit on your shelf matter more than matching lids.
What is the smallest useful first batch?
Two breakfasts and one two-serving filling. Add a microwave meal when you need it. Once you know how much you actually eat and how much room you have, increase the batch by one portion at a time.