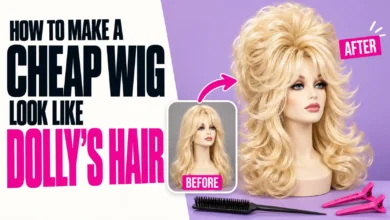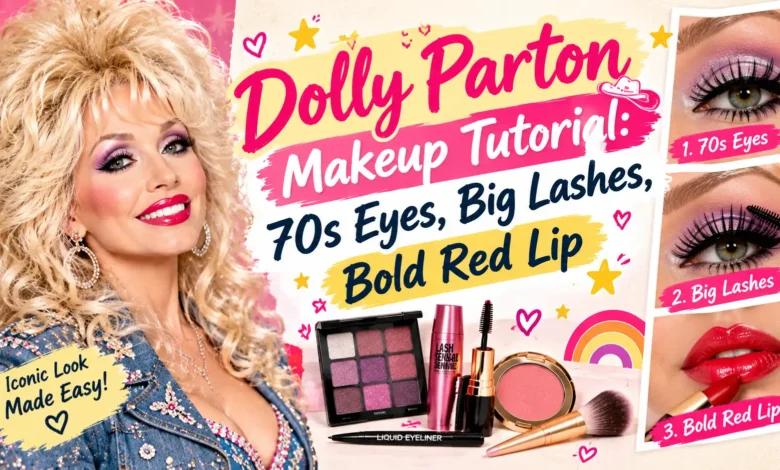
For this Dolly Parton makeup tutorial, pair a pearl-blue lid with a softly shaded crease, fluttery black lashes, rosy cheeks, and a sharply defined red lip. Keep the eyeliner narrow enough that you can still see the blue when your eyes are open. That balance gives you the big-eyed glamour without turning the whole eyelid black.
This is a wearable, ’70s-inspired interpretation for Halloween or a Dolly-themed party, rather than a reconstruction of one specific photograph. You can use makeup you already own; the placement matters more than the brand.
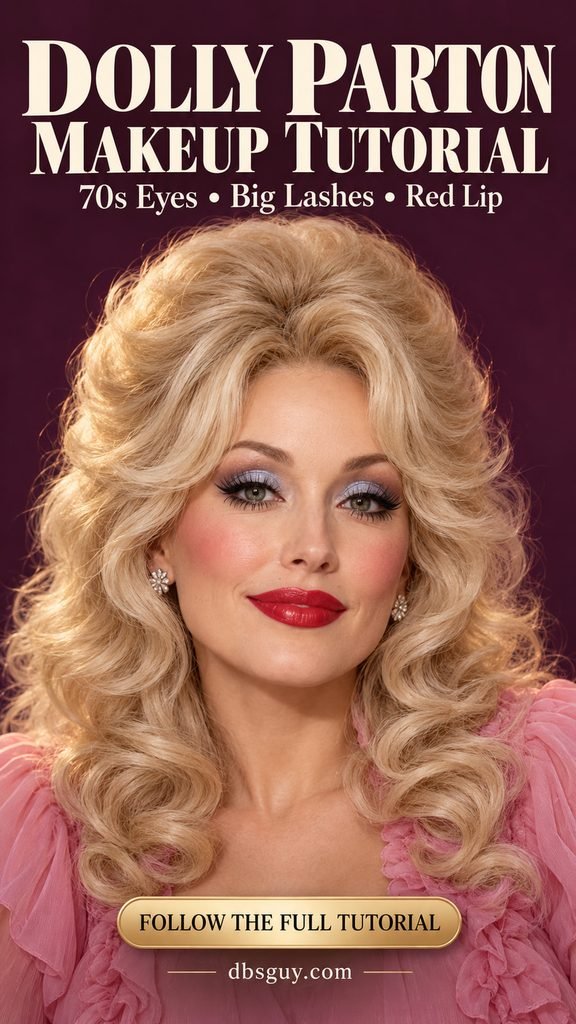
The visuals are AI-generated makeup concepts, not photographs of Dolly Parton or a documented makeup application. Different models illustrate individual techniques.
Gather Your Makeup Before You Start
Allow roughly 35–50 minutes as a planning estimate, with extra time if strip lashes are new to you. Do a practice lash fitting before the event so you are not measuring and trimming with wet glue on the band.
- Face: your usual moisturizer, foundation or skin tint, concealer, a little setting powder, rose or coral blush, and a brow pencil or powder.
- Eyes: eye primer, pearl-blue eyeshadow, a matte brown deeper than your skin, a small amount of pale shimmer, black eyeliner, and mascara.
- Lashes: optional wispy strip lashes, their compatible strip-lash adhesive, a lash applicator, and small scissors for trimming the band away from your face.
- Lips: balm, a red lip pencil, and satin red lipstick.
- Tools: a mirror, small flat shadow brush, fluffy blending brush, blush brush, clean cotton swabs, tissues, and suitable makeup remover.
You do not need a large palette. The eye look uses three jobs: blue for the lid, brown for depth, and a lighter shade for a small highlight. Choose products labeled for the eye area, rather than substituting lip pencils or craft glitter.
A quick eye-safety check: wash your hands, use clean tools, and do not share eye makeup. Check adhesive ingredients for known allergens and follow its label. Skip eye makeup over an infection or inflamed skin; stop using any product that irritates. The FDA’s eye cosmetic safety guidance explains these precautions.
1. Build a Soft Base, Rosy Cheeks, and Defined Brows
Start with your usual moisturizer and give it time to settle according to its directions. Apply a thin layer of foundation that matches your neck, then add concealer only where you want more coverage. There is no need to lighten your complexion to copy a blonde reference photo.
If your blue shadow tends to shed onto your cheeks, do the eye-shadow portion of the next stage first. Sweep away fallout before applying foundation, then return to blush and brows. That small change saves you from rubbing blue pigment into a finished base.
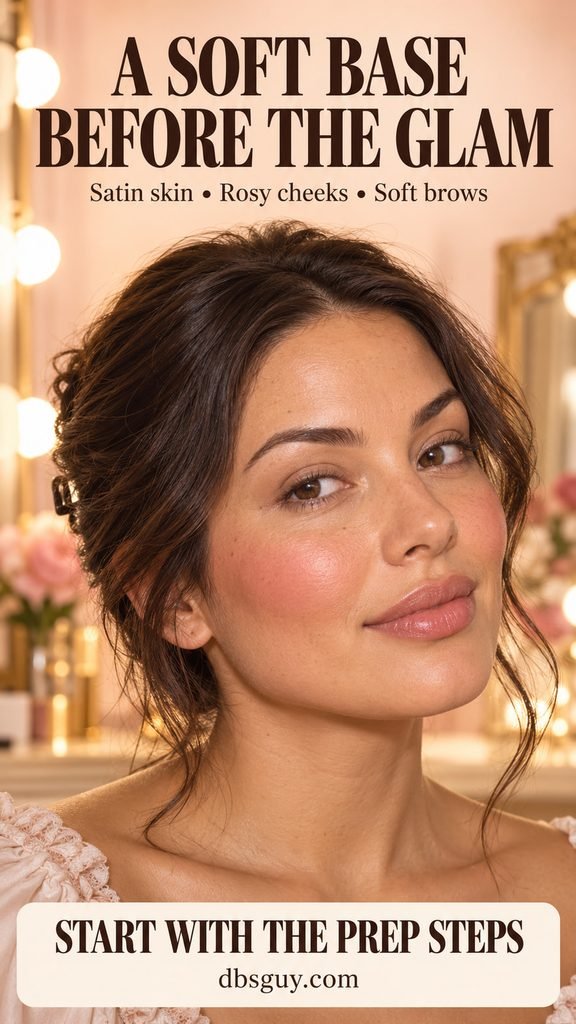
Keep the cheeks rounded and the skin comfortable
For this look, begin blush on the rounded part of the cheek below the outer half of the eye and blend outward toward the ear. Start lightly, look straight ahead, and add another thin layer only if the color disappears from a few feet away. Avoid a hard stripe under the cheekbone; the aim here is a rosy cheek rather than sculpted contour.
Soft rose is an easy starting point on fair skin. Try warmer rose or coral on medium skin, and a more saturated rose, berry, or coral on deep skin. These are color suggestions, not rules. Pick enough pigment to show against your complexion, then soften the edge with a clean brush.
Press a little powder onto areas that feel tacky or become shiny, rather than covering every inch of the face. If your skin is dry or textured, leave comfortable areas alone. A thin, even base leaves room for the eyes and lip to stand out.
Follow your existing brow shape
Brush brows into place and fill visible gaps with short strokes. Define the arch you already have, keeping the inner ends softer than the tails. Choose the brow color for your own brows, even if you will wear a blonde wig. A sharply drawn black brow can compete with the blue shadow and red lipstick.
2. Create the ’70s Eyes: Blue Lid, Soft Crease, Thin Liner
The useful distinction is between lid color and crease shading. Blue goes on the movable lid; brown gives the upper edge some shape. Blending them everywhere at once can turn a clear pastel eye into a muddy gray patch.
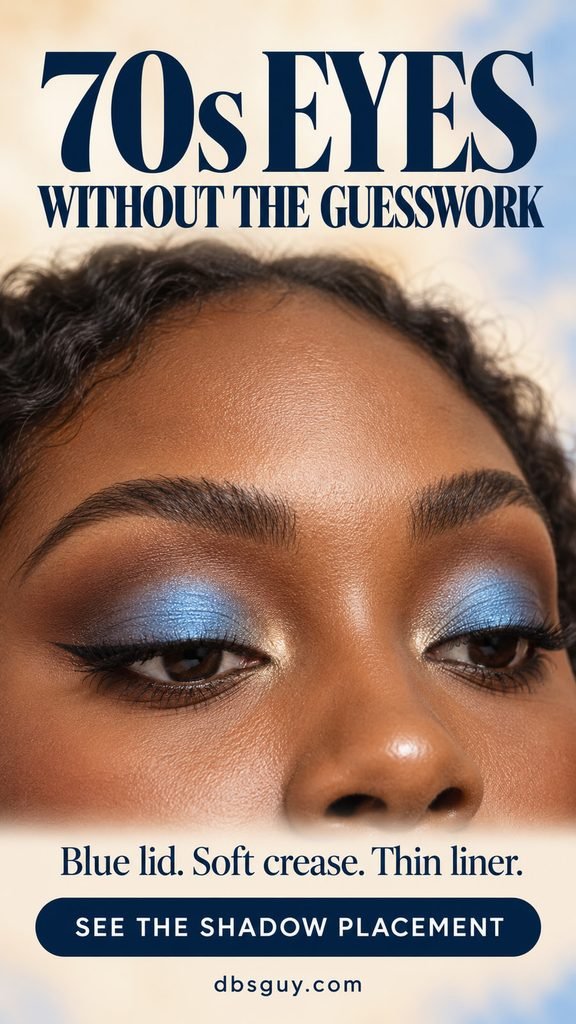
- Prepare the eyelid. Apply a thin layer of eye primer according to its instructions. If it needs setting, use a small amount of shadow close to your skin tone. Avoid building a thick, slippery concealer layer under the blue.
- Map the crease with your eyes open. Look straight into the mirror with relaxed brows. Use a small amount of matte brown to mark the area where you want depth, following the socket’s curve. Choose taupe or soft brown on lighter skin and a deeper cocoa on darker skin so the shading remains visible.
- Soften the upper edge. Blend with a small fluffy brush using light pressure. Keep most of the brown away from the center of the movable lid, where the blue needs a clean space.
- Press on the blue. Pat pearl-blue shadow onto the lid with a flat brush, starting at the center and working toward the corners. Build thin layers rather than sweeping a loaded brush back and forth. Stop around the crease instead of carrying a solid blue block to the brow.
- Add a restrained highlight. Place a small touch of pale champagne or pearl near the inner corner. On deep skin, a warm pearl or soft gold may blend more easily than an opaque white. Keep the brow bone mostly skin-toned.
- Draw a fine upper line. Use short black strokes close to the upper lash roots, on the lid skin. Join them and add a small flick if you like. Check with your eyes open before making the line thicker.
For the lower lash line, use the brown left on a small brush along the outer third, staying on the skin below the lashes. Keep the inner area lighter and finish later with a light touch of mascara. You do not need a heavy black ring or waterline pencil for this version.
Adjust the placement for your lids
Hooded eyes: place the brown slightly above the fold that hides when your eyes open, checking the position without lifting your brows. Keep the upper liner especially thin. If a flick breaks across the fold, end the liner at the outer corner; the lashes can supply the drama.
Little visible lid space: use a smaller brush and keep the blue concentrated where it can be seen above the lash roots. A narrow wash of color and separated lashes can be more useful than a large, concealed patch of shadow.
Textured lids: try a smooth satin blue instead of a chunky sparkle finish. If the color looks chalky on your skin, choose a more saturated blue with less white in its base before adding more layers.
3. Fit Big Lashes Without Hiding the Eyeshadow
Choose a wispy strip with visible spaces between the strands. A rounded style, longer near the middle and shorter at the corners, suits the open-eyed shape used here. An extremely dense band can hide the blue you just applied, especially on smaller lids.
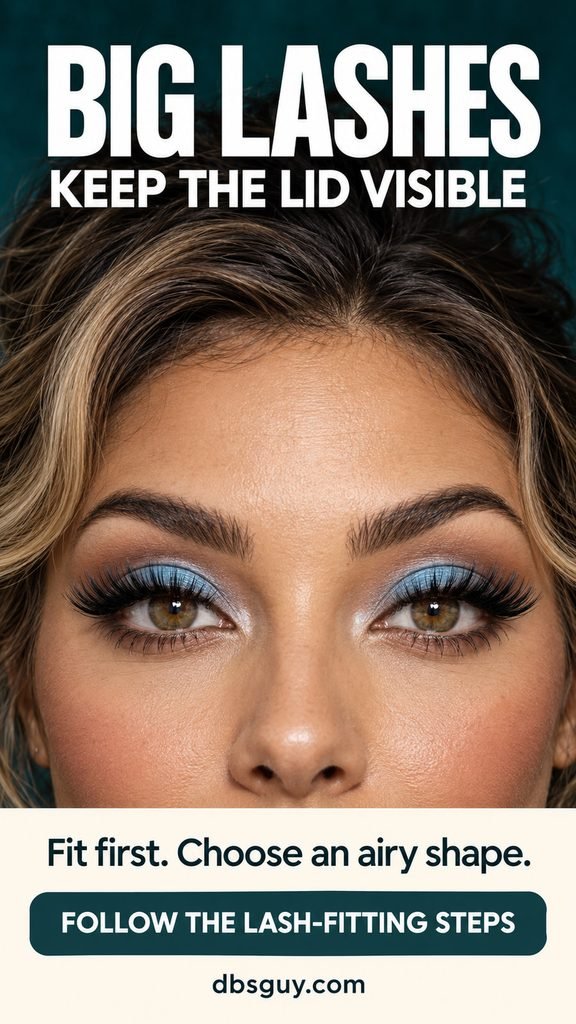
- Fit each eye separately. Before adding glue, rest the strip along the upper lash line. It should not poke the inner corner or extend beyond the outer corner. Remove it and trim a small amount from the outer end if needed, following the lash maker’s instructions. Trim away from your face.
- Prepare your natural lashes. If you normally use a curler, use it on bare, dry lashes before mascara and false lashes. Apply one light coat of mascara so the natural lashes are dark without forming thick clumps.
- Apply the correct adhesive. Put a thin line of compatible strip-lash glue on the band. Wait for the tacky stage specified on the label; do not assume every formula has the same timing. Keep the adhesive away from the eye itself.
- Set the strip in place. Look slightly down into a steady mirror. Position the band on the lid skin immediately above the natural upper lash roots. Secure the center, then adjust the outer and inner ends. Keep it off the waterline.
- Check before touching up. Let the adhesive set as directed. Look forward and blink. If an end pinches or lifts, remove and refit the strip according to its instructions instead of adding glue near an open eye.
Once the band is secure, cover any small visible gap with a little liner on the lid skin. Leave the false-lash tips airy. Add only a light touch of mascara to the lower lashes, using the wand carefully so it does not touch the eye.
If you prefer no false lashes: apply mascara from the roots upward, giving the center upper lashes a little more attention. Add a second light coat only if the formula permits it. You will get a softer result, but the blue lid and red lip still keep the look recognizable. Skip lash glue if you have reacted to it before.
4. Finish With a Bold Red Lip and Clean Edges
A satin red gives this version a little sheen without a thick gloss layer. Start with a cherry red you already enjoy. If you are choosing a new color, compare a cooler cherry and a warmer tomato red on yourself; use the one you like beside the blue shadow and blush. The technique works on every skin depth.
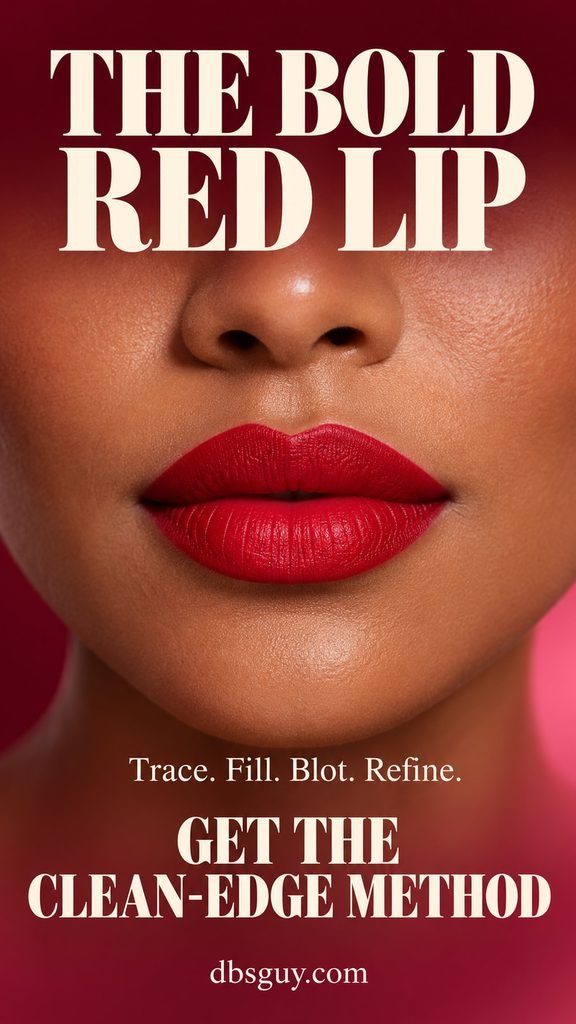
- Blot away excess balm. Lips should feel comfortable rather than slippery. If they are peeling or sore, avoid scrubbing them to force a perfectly smooth finish.
- Outline the natural shape. With a sharpened red lip pencil, mark the Cupid’s bow and the center of the lower lip. Join those points to the corners using small strokes. Keep the corners on your real lip edge instead of widening the mouth.
- Fill the lips. Lightly shade inside the outline with pencil, then add a thin layer of satin lipstick. A small lip brush is useful near the corners if the lipstick bullet feels too broad.
- Blot and check. Gently press a tissue between the lips, then add a little more lipstick where the color looks uneven. Check the corners and inner lip edge rather than repeatedly coating the whole mouth.
- Refine one edge at a time. Remove a stray mark with a clean swab and suitable remover. Let the skin dry, then repair the small area of base makeup. Drawing concealer over a fresh red smear can spread it into a pink halo.
These steps suit a traditional satin lipstick. If you use a long-wear liquid formula, follow its own application and drying directions instead; blotting or layering it before it sets may disturb the finish.
Check the full face with your wig and outfit on before adding more makeup. If the eye looks too dark, soften the lower liner first. If the lip looks uneven, refine the outline before adding shine. Carry the lipstick, pencil, and a tissue for touch-ups after eating.
Also read: Last-Minute Dolly Parton Costume: 13 Things in Your Closet That Work if you still need an outfit to wear with the makeup.
Take the Makeup Off Gently
Follow your lash adhesive’s removal instructions and use a compatible remover. Let it soften the bond before easing off the strip; if there is resistance, stop and give the remover more time. Do not pull at dry glue or tug your natural lashes. Remove the remaining eye makeup carefully, then cleanse away the base and lipstick.
Dolly Parton Makeup FAQs
Does Dolly-inspired makeup have to use blue shadow?
No. This tutorial chooses blue for its ’70s-inspired eye, but Dolly references span many colors. For this look, use a sheer blue layer if a full pastel lid feels too strong. Keep the softly defined crease and fluttery lashes.
Should I use pink lipstick instead of red?
You can choose pink for a different Dolly-inspired look, but red is the finishing detail promised in this tutorial. If you are copying a particular performance photograph, follow that photograph’s lip color rather than assuming one shade represents every era.
Can I wear this without a blonde wig?
Yes. Wear your own hair with some volume, or use a wig you like. Keep your foundation matched to your skin and your brows suited to your face. The costume is an interpretation; you do not need to change your features.
Why does the look feel heavy instead of wide-eyed?
Check whether thick liner or a dense lash strip has covered the blue lid. Reduce one of those first, then soften a dark lower lash line. More shadow is unlikely to solve a lack of visible lid space.